The Concept:  I wanted to build a metal fabrication and welding table that could save space in my small one car garage workshop.  

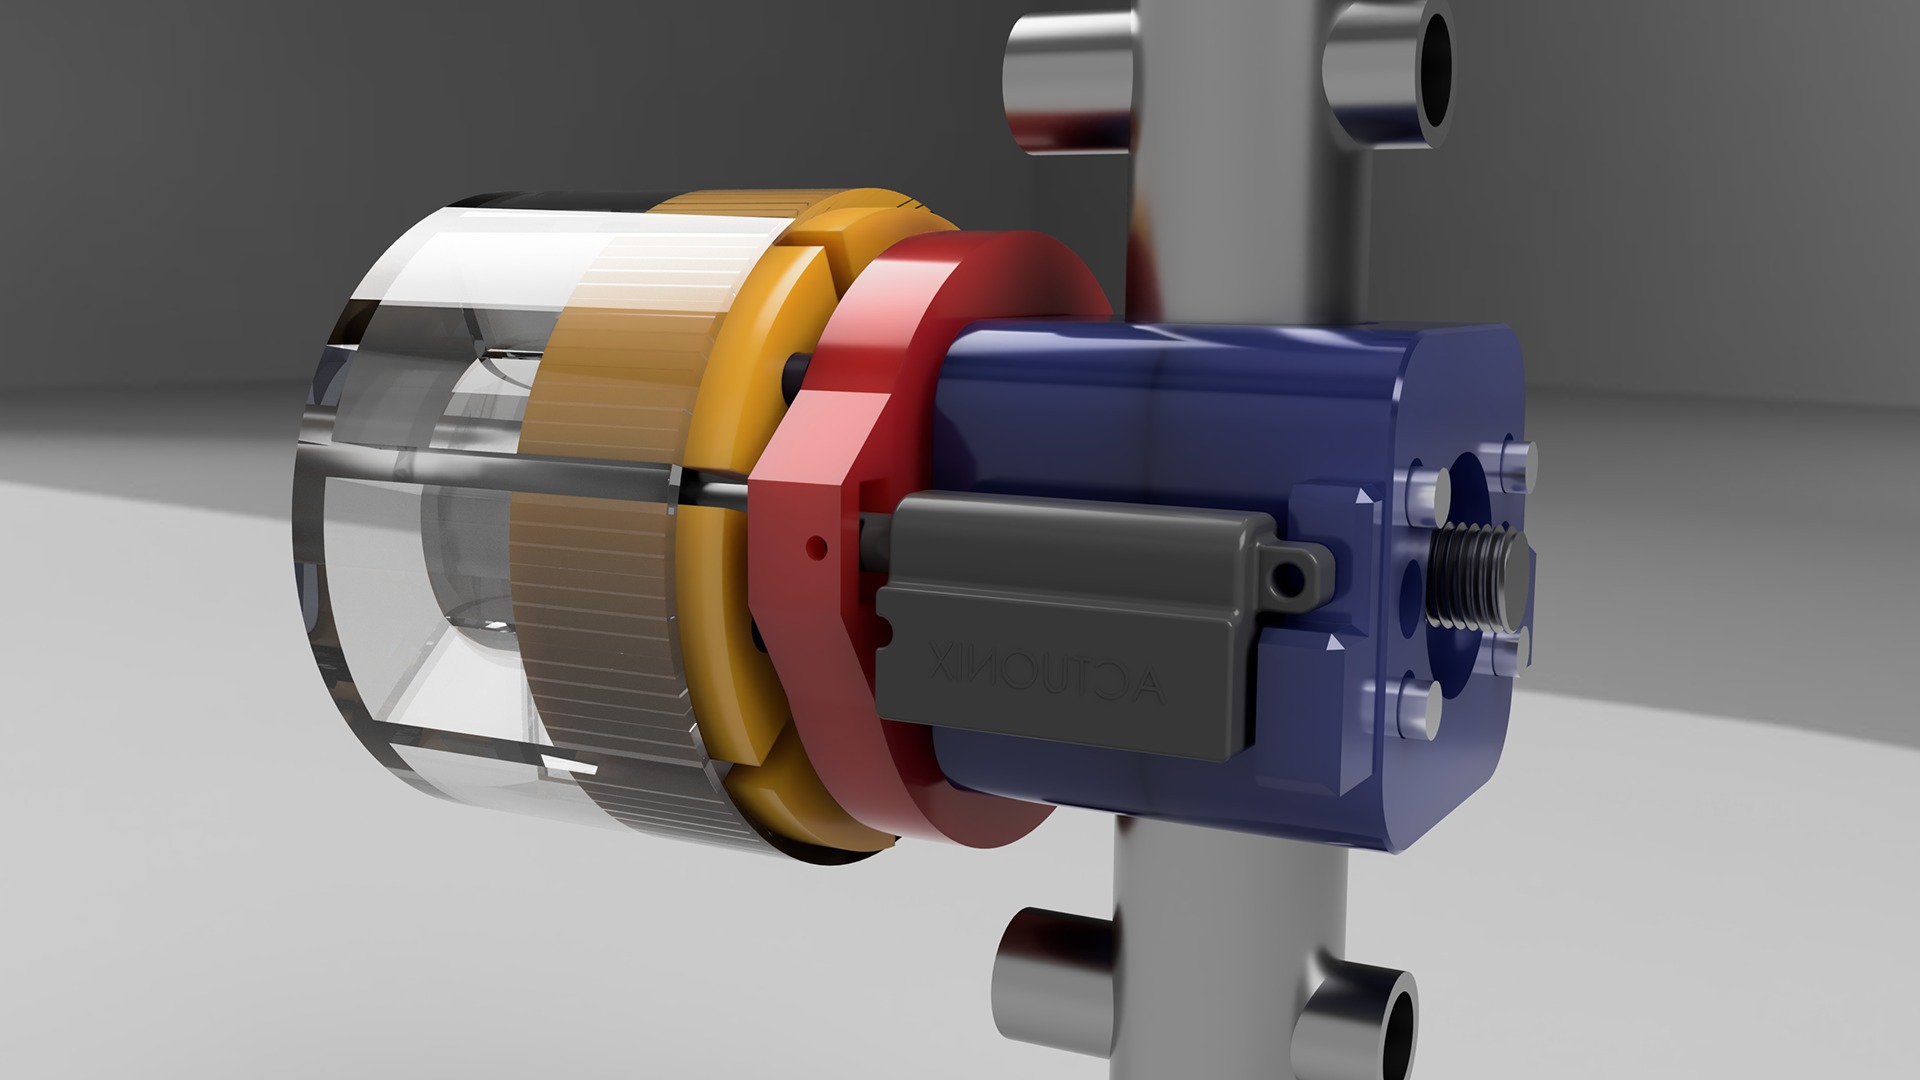
I also wanted fixture holes for clamping workpieces and tools to the table top.  I also decided to split the legs into angle iron uppers and square tube lowers  so the height could be adjustable.  I also wanted the table to be easy to disassemble for when I move.  This render reflects these changes (lowers not shown).

The table top is from an old saw.  It has webbing which will give it greater resistance to deformation when the surface heats from welding.  However, it makes fixture hole placement trickier.  I didn't want to damage the webbing when cutting fixture holes.  I warped this photo to remove lens distortion in Photoshop then used it as a template to arrange fixture holes.  The final cuts only affected two webbing locations.

I purchased a used Milwaukee portable band saw.  They're one of the most affordable saws capable of cutting steel, offer great versatility in the shapes they can cut unlike an abrasive chop saw, and blades are cheap and plentiful.  I plan to build a table for it to convert it to a vertical band saw once this workbench is complete.  In the meantime, it was very useful in cutting the thick stock for the table legs amongst other tasks.

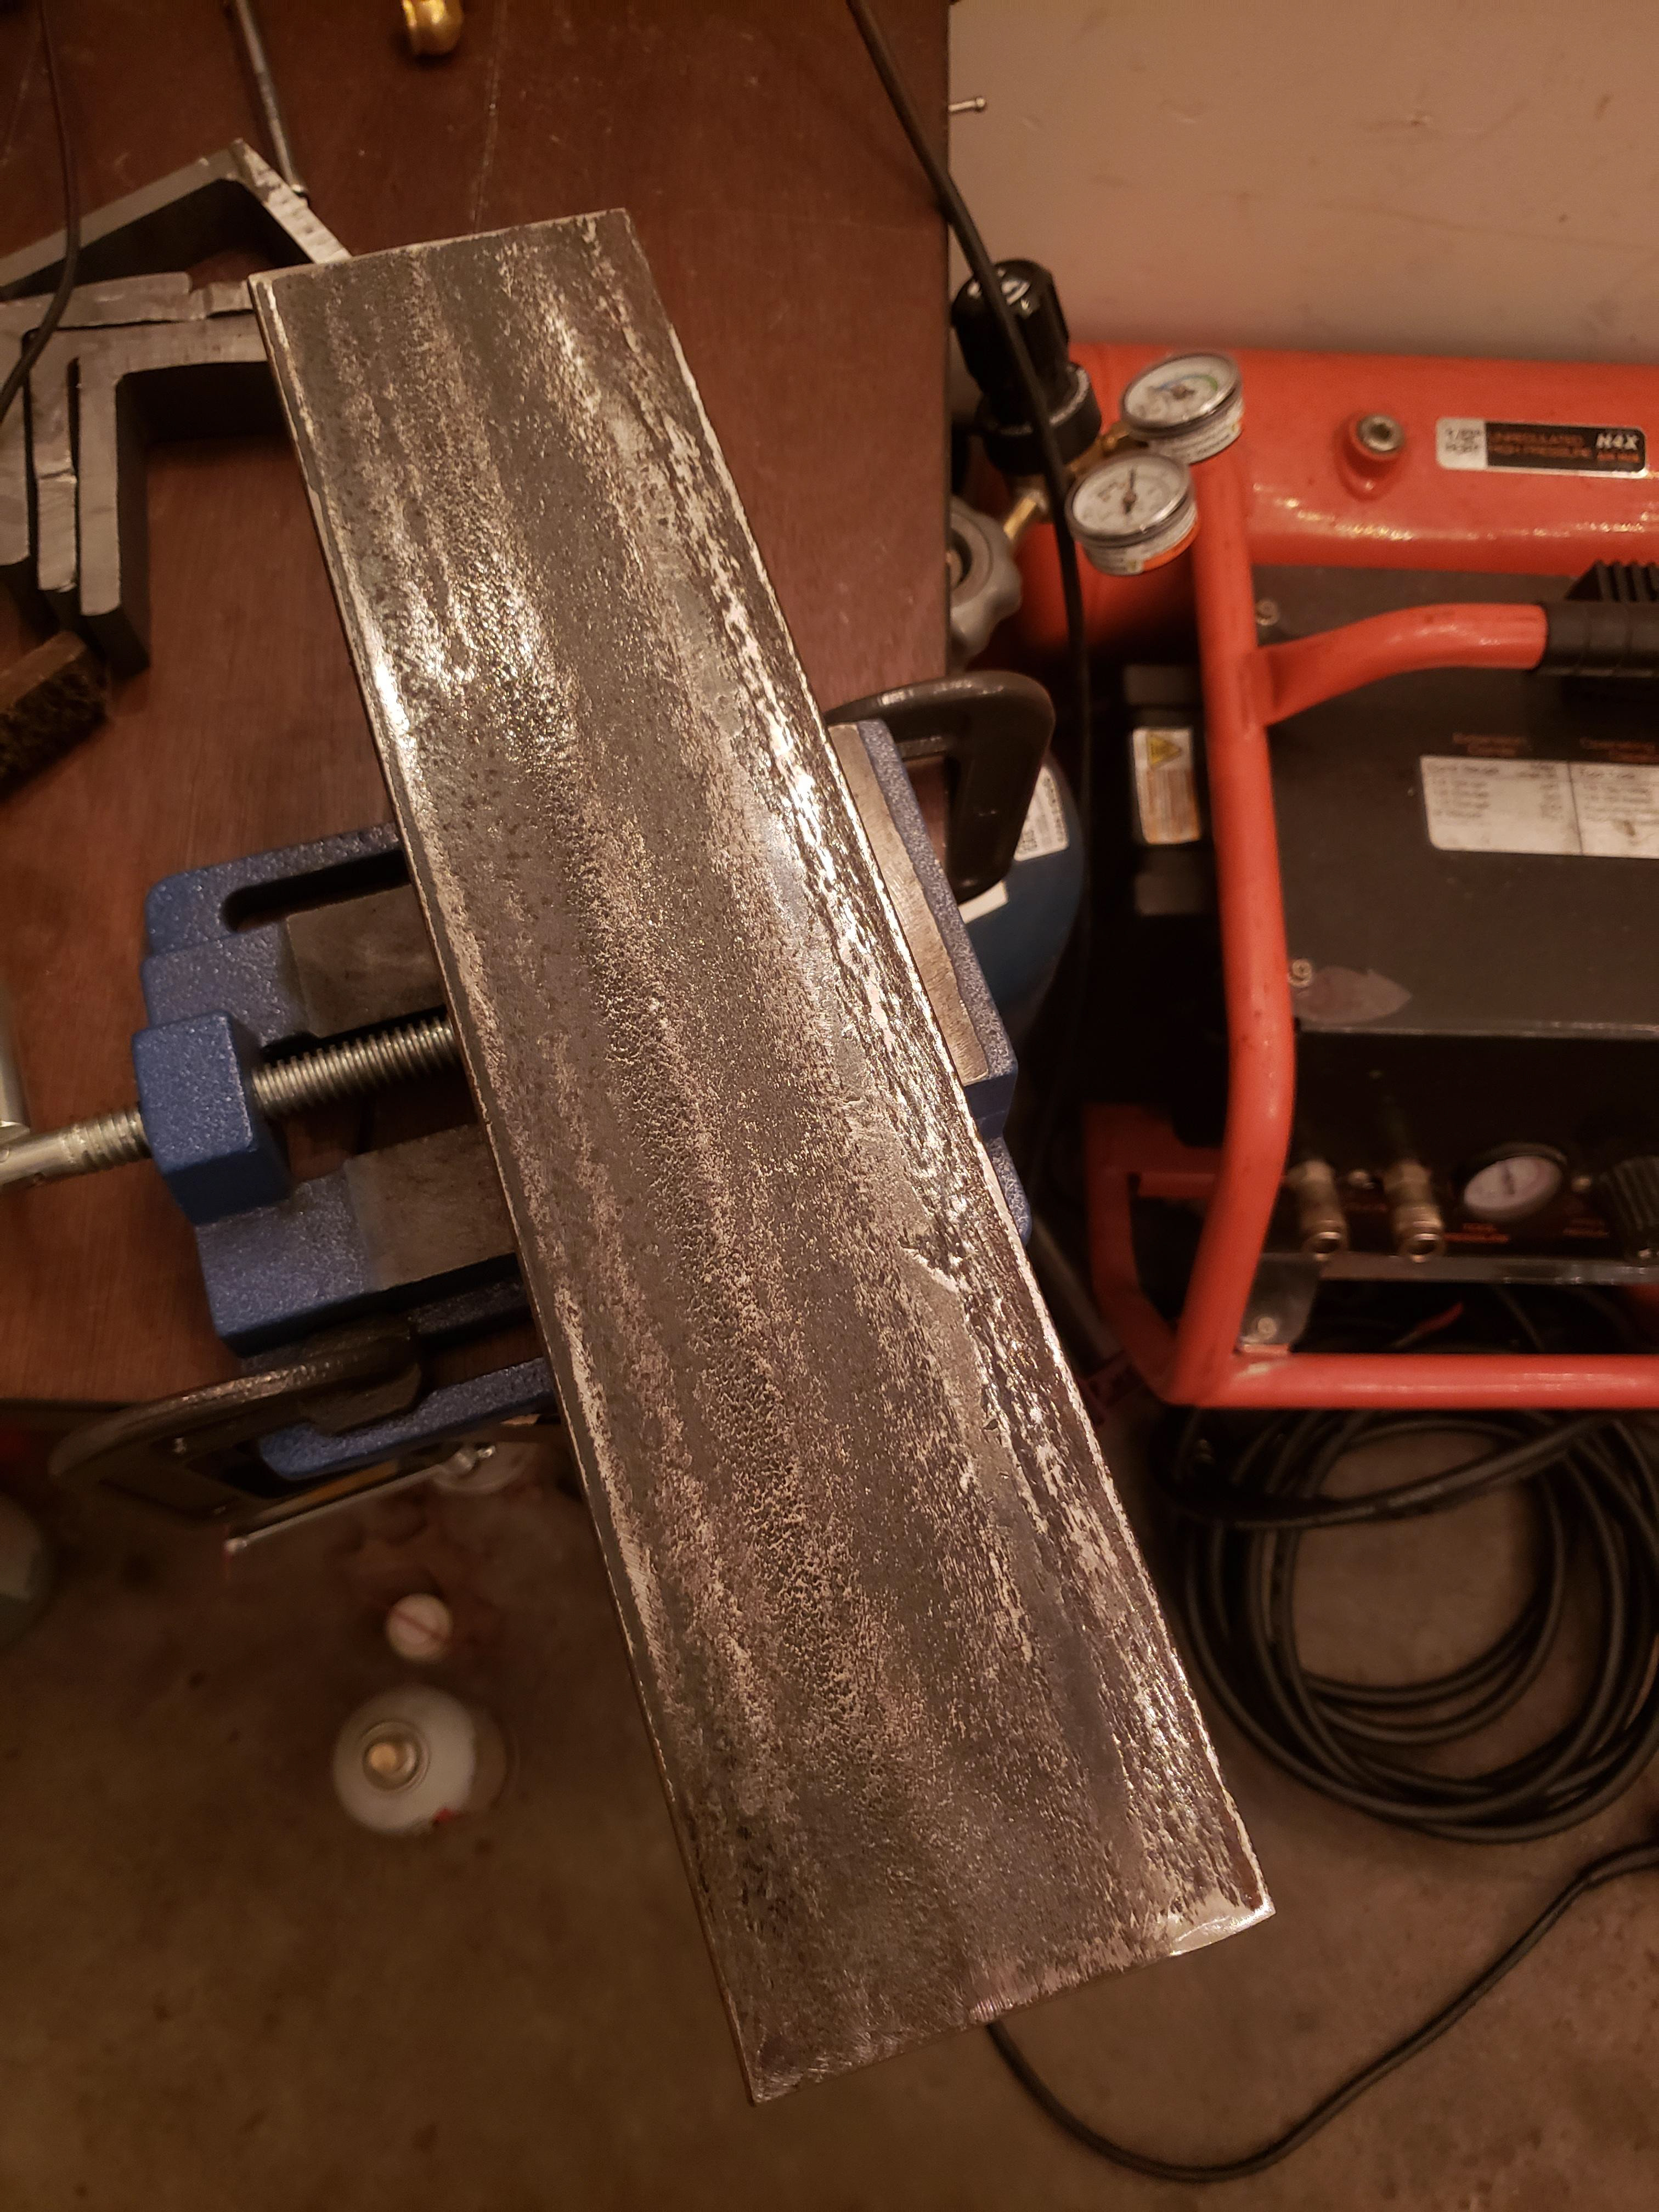
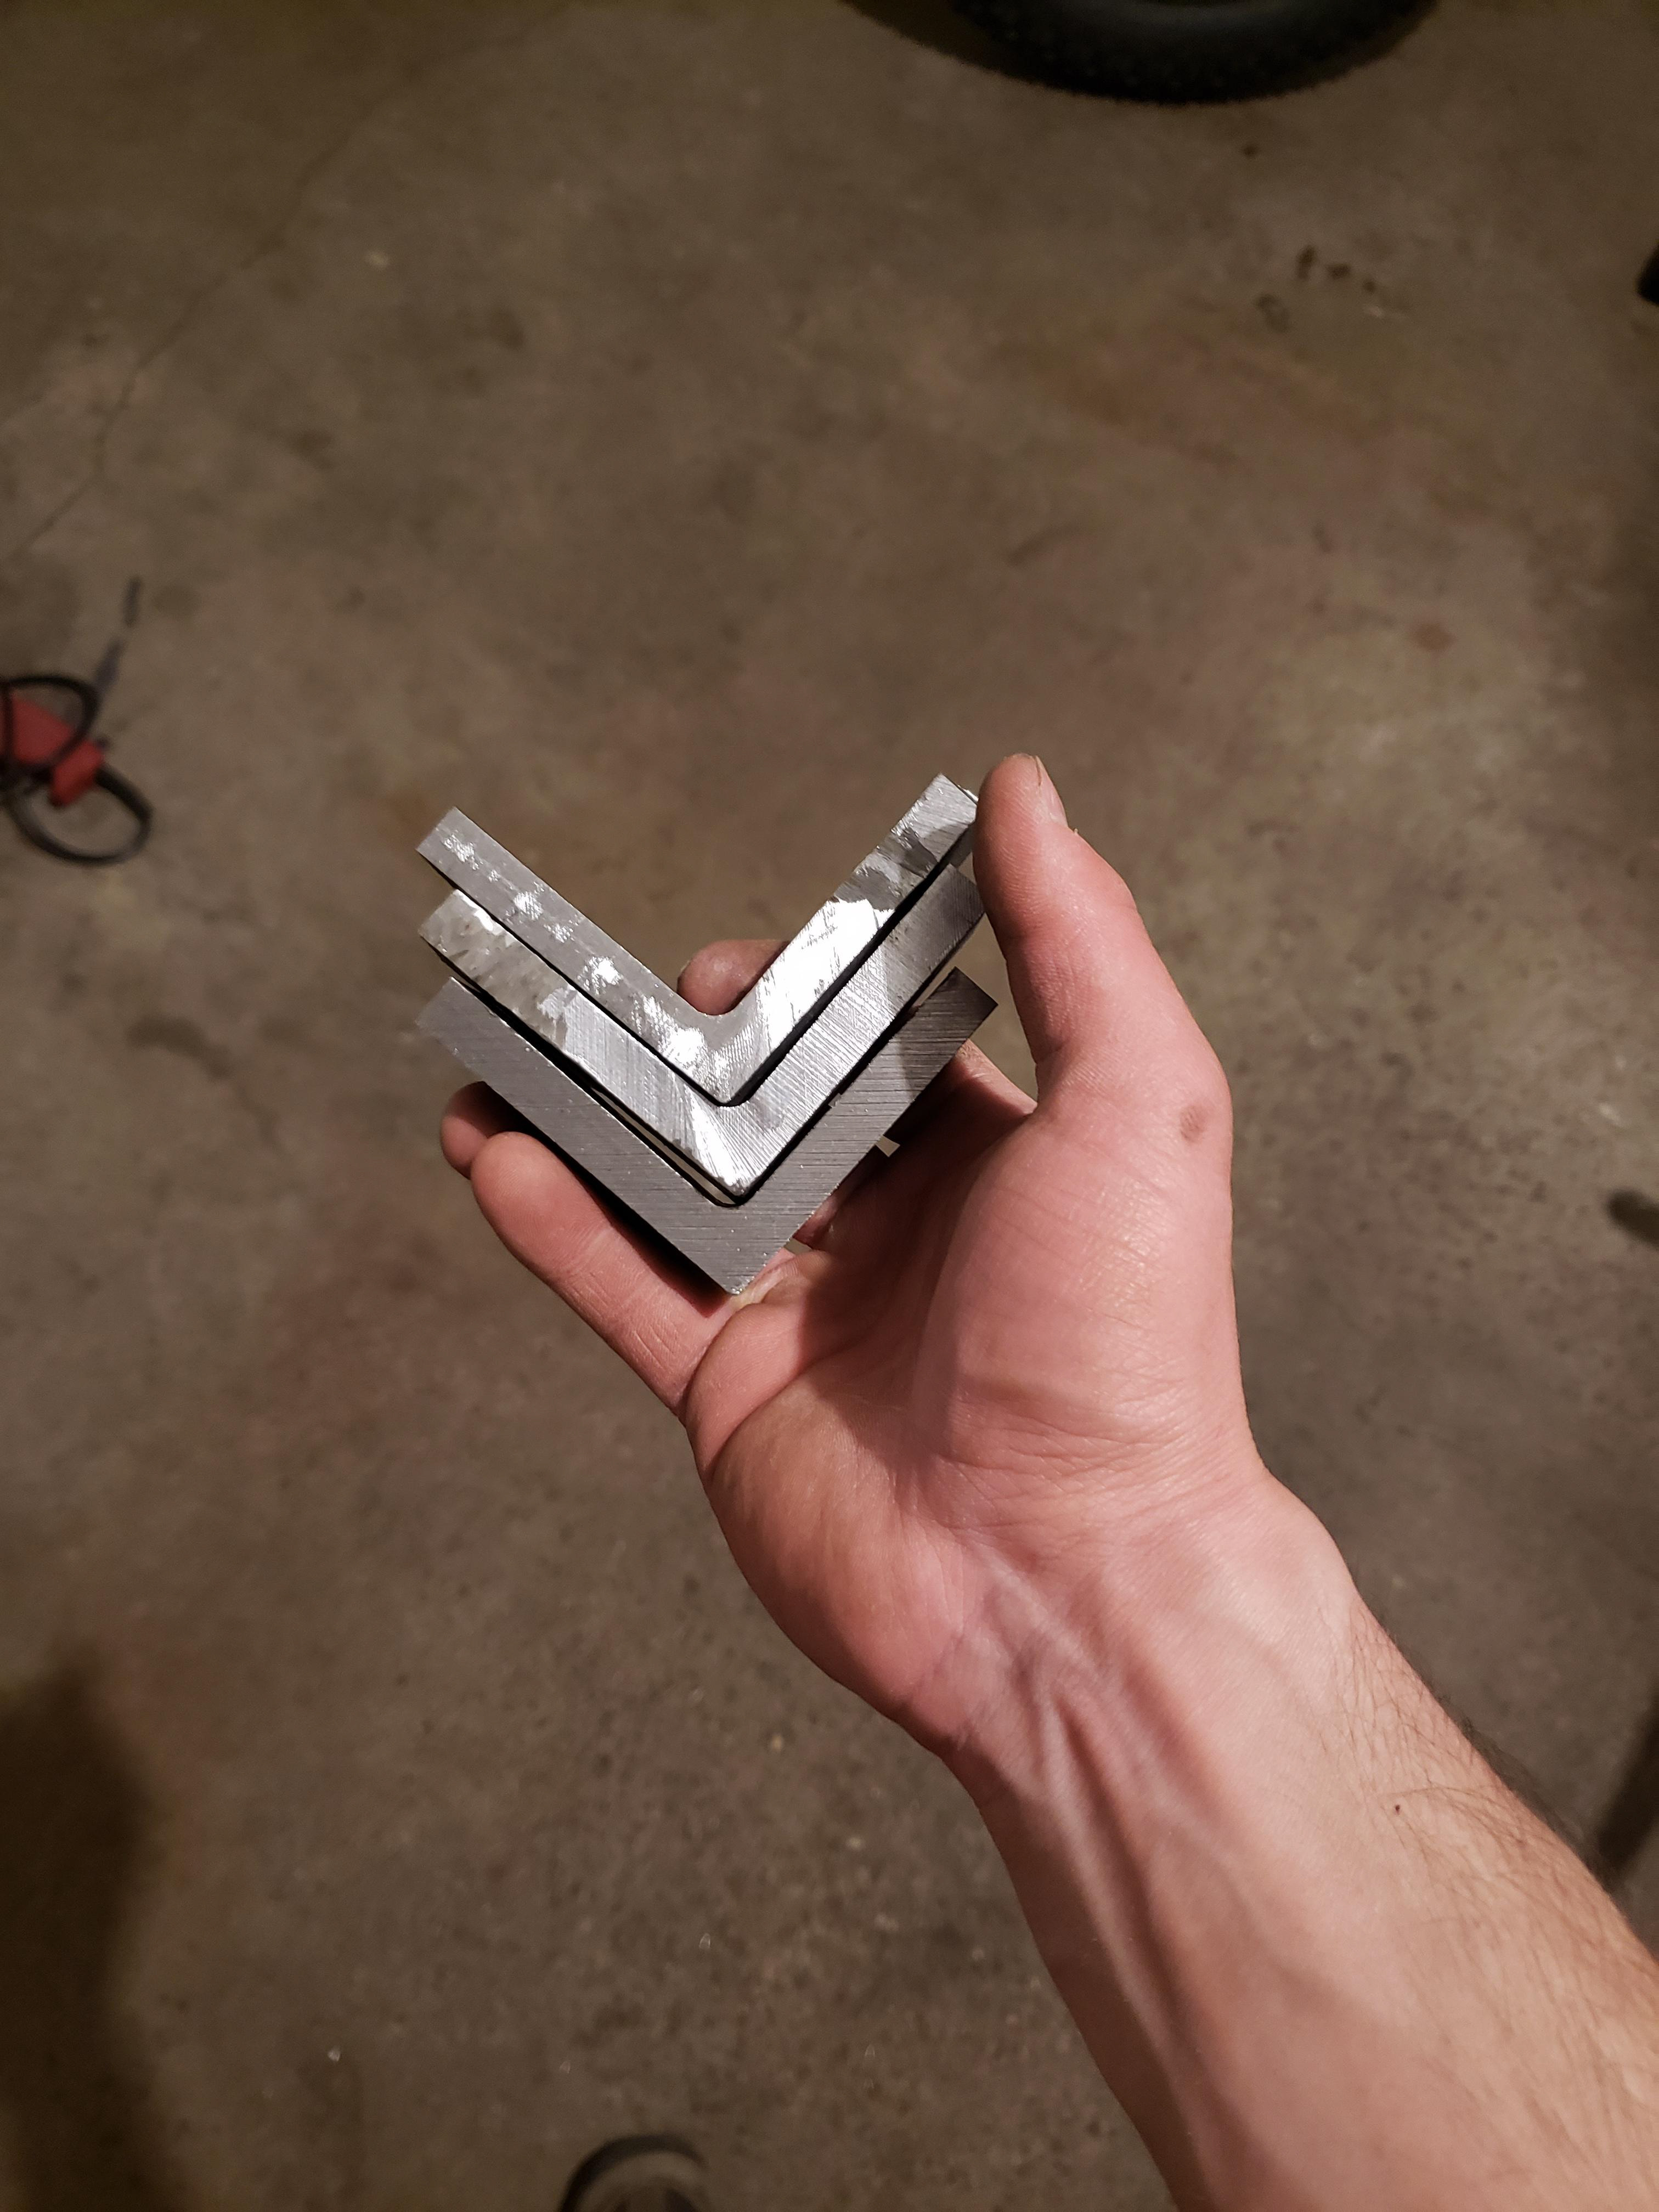
Upper legs all cut!  Note all the mill scale and rust.  This dull grayish oxide coating is a product of the hot rolling manufacturing process.  The mill scale is much harder than the steel beneath it and quickly clogs flap discs which are how I initially approached removing the scale.
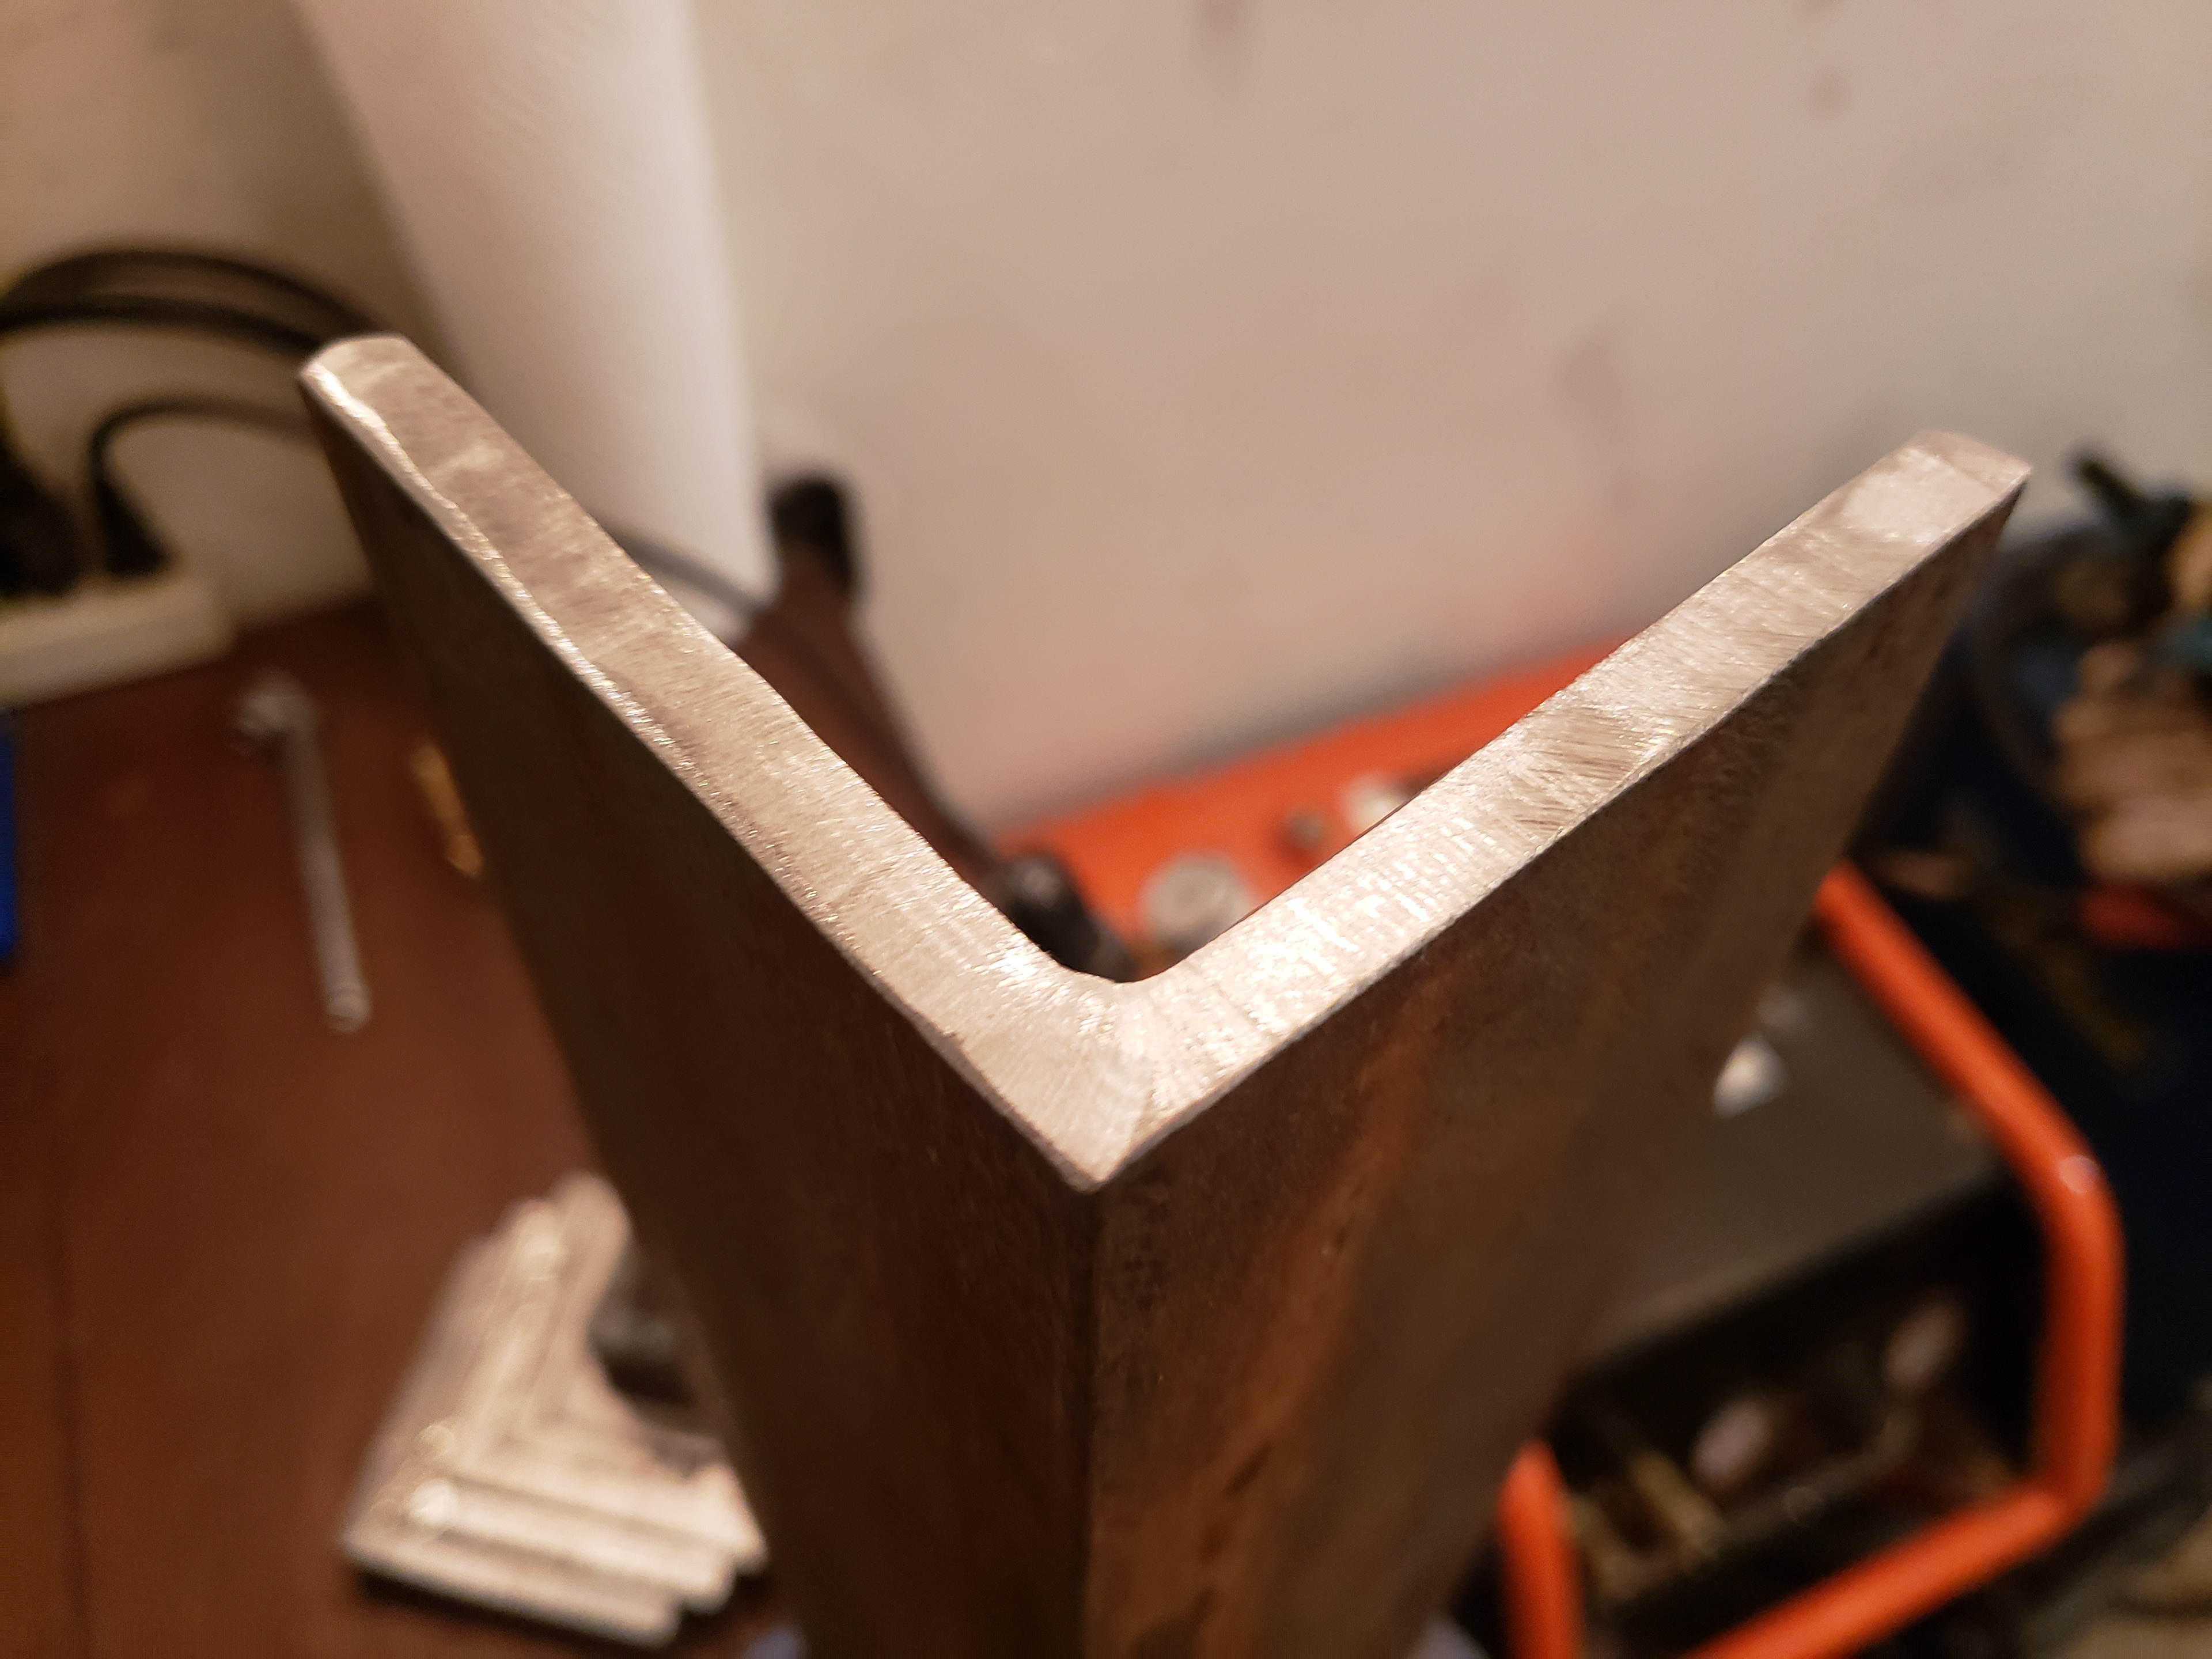
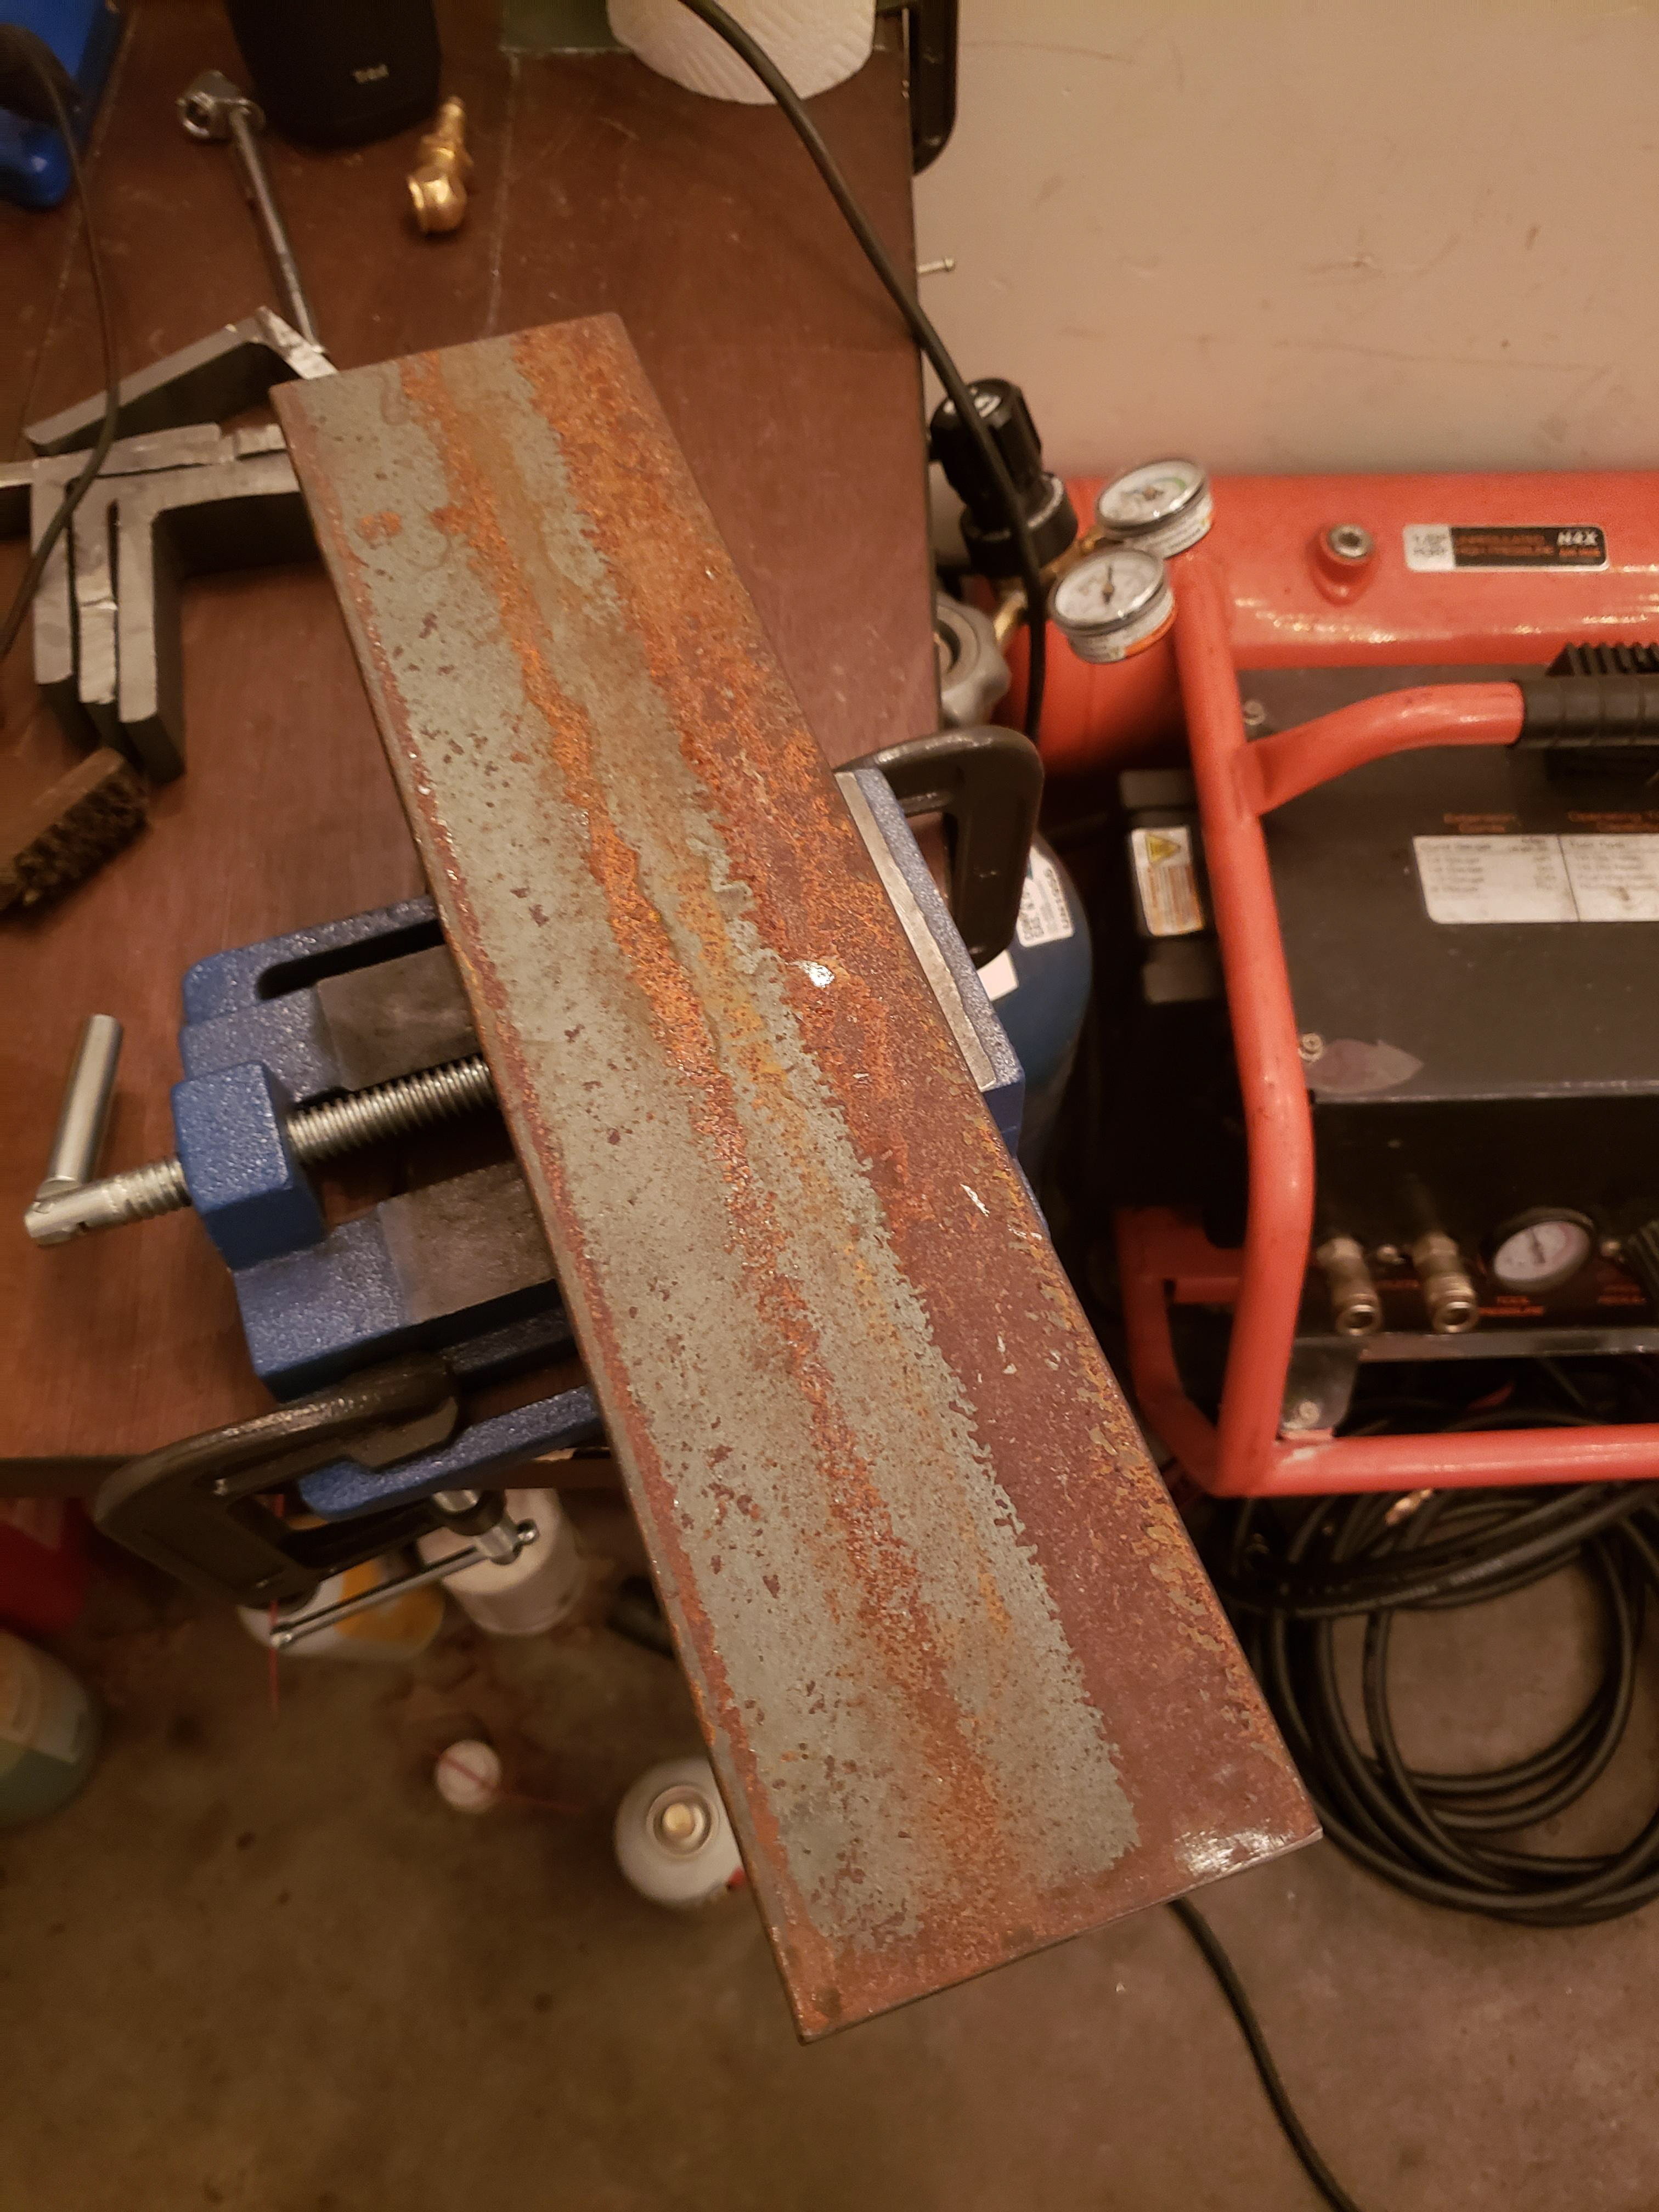
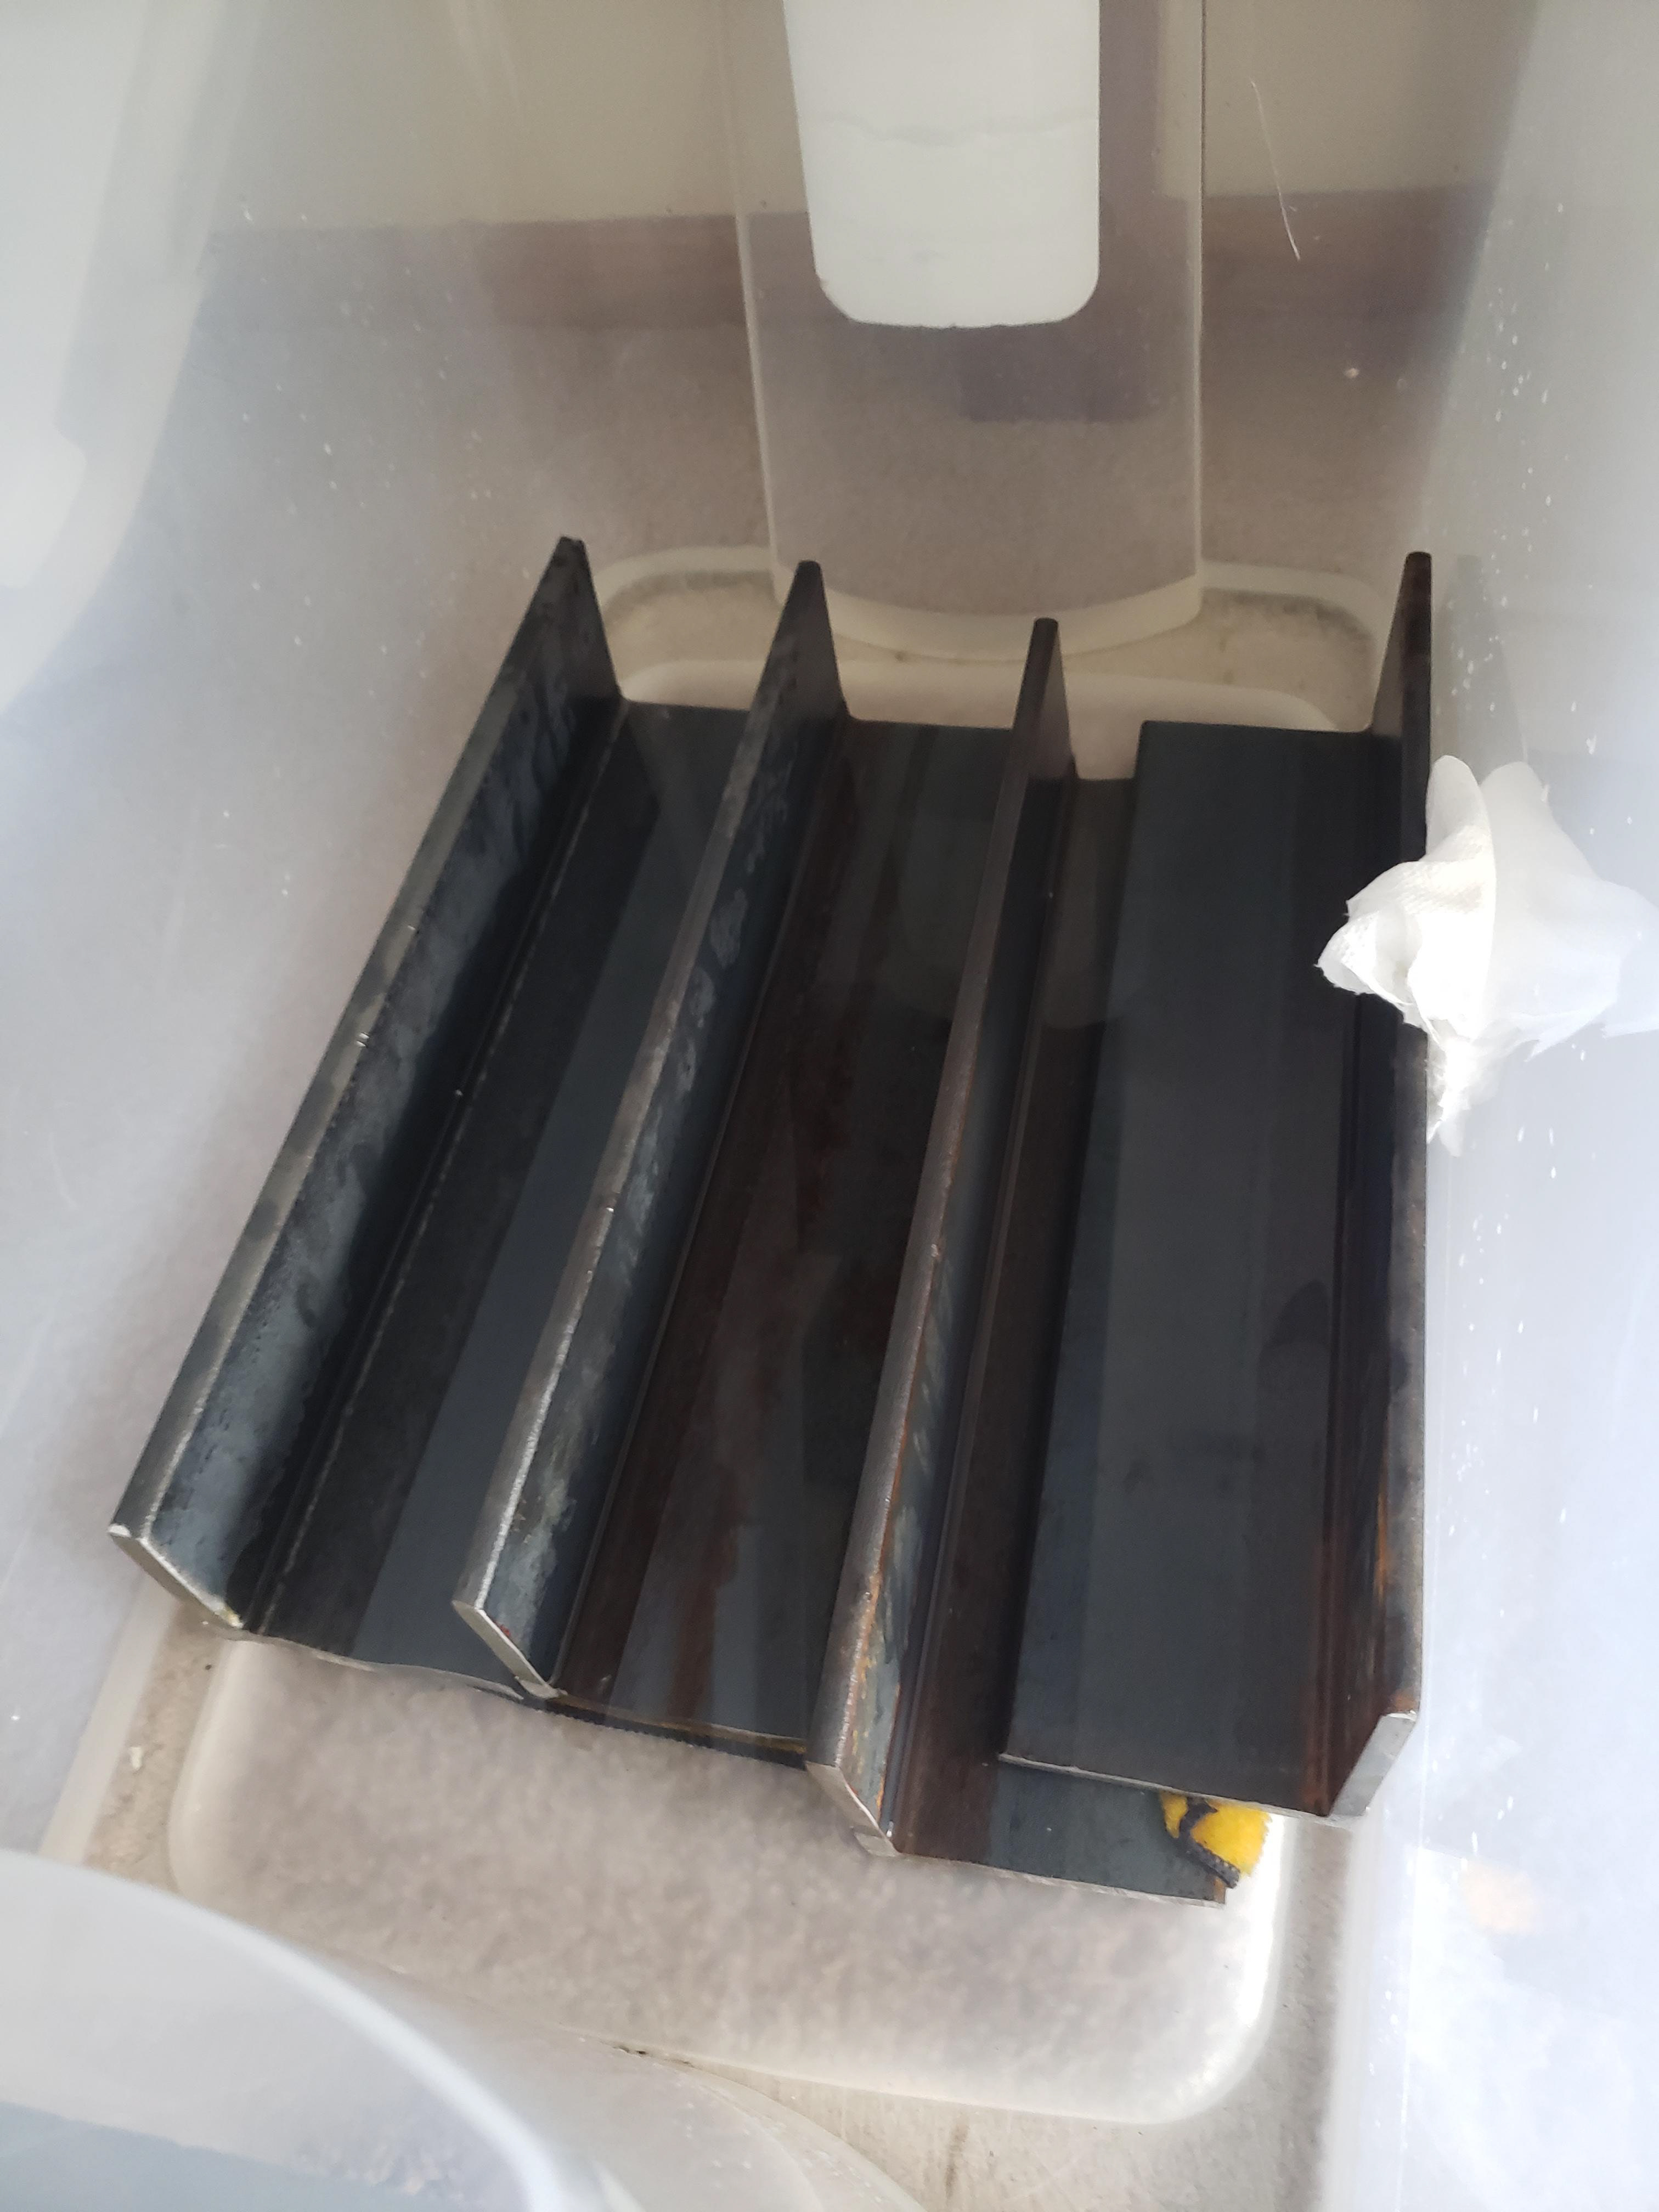
Cleaning up the leg uppers.  I removed the burrs and sharp edges from the cut surfaces.  I then ground away the rust and mill scale best I could using flap discs.  I quickly learned how fast mill scale clogs flap discs and attempted to remove the scale with vinegar instead.
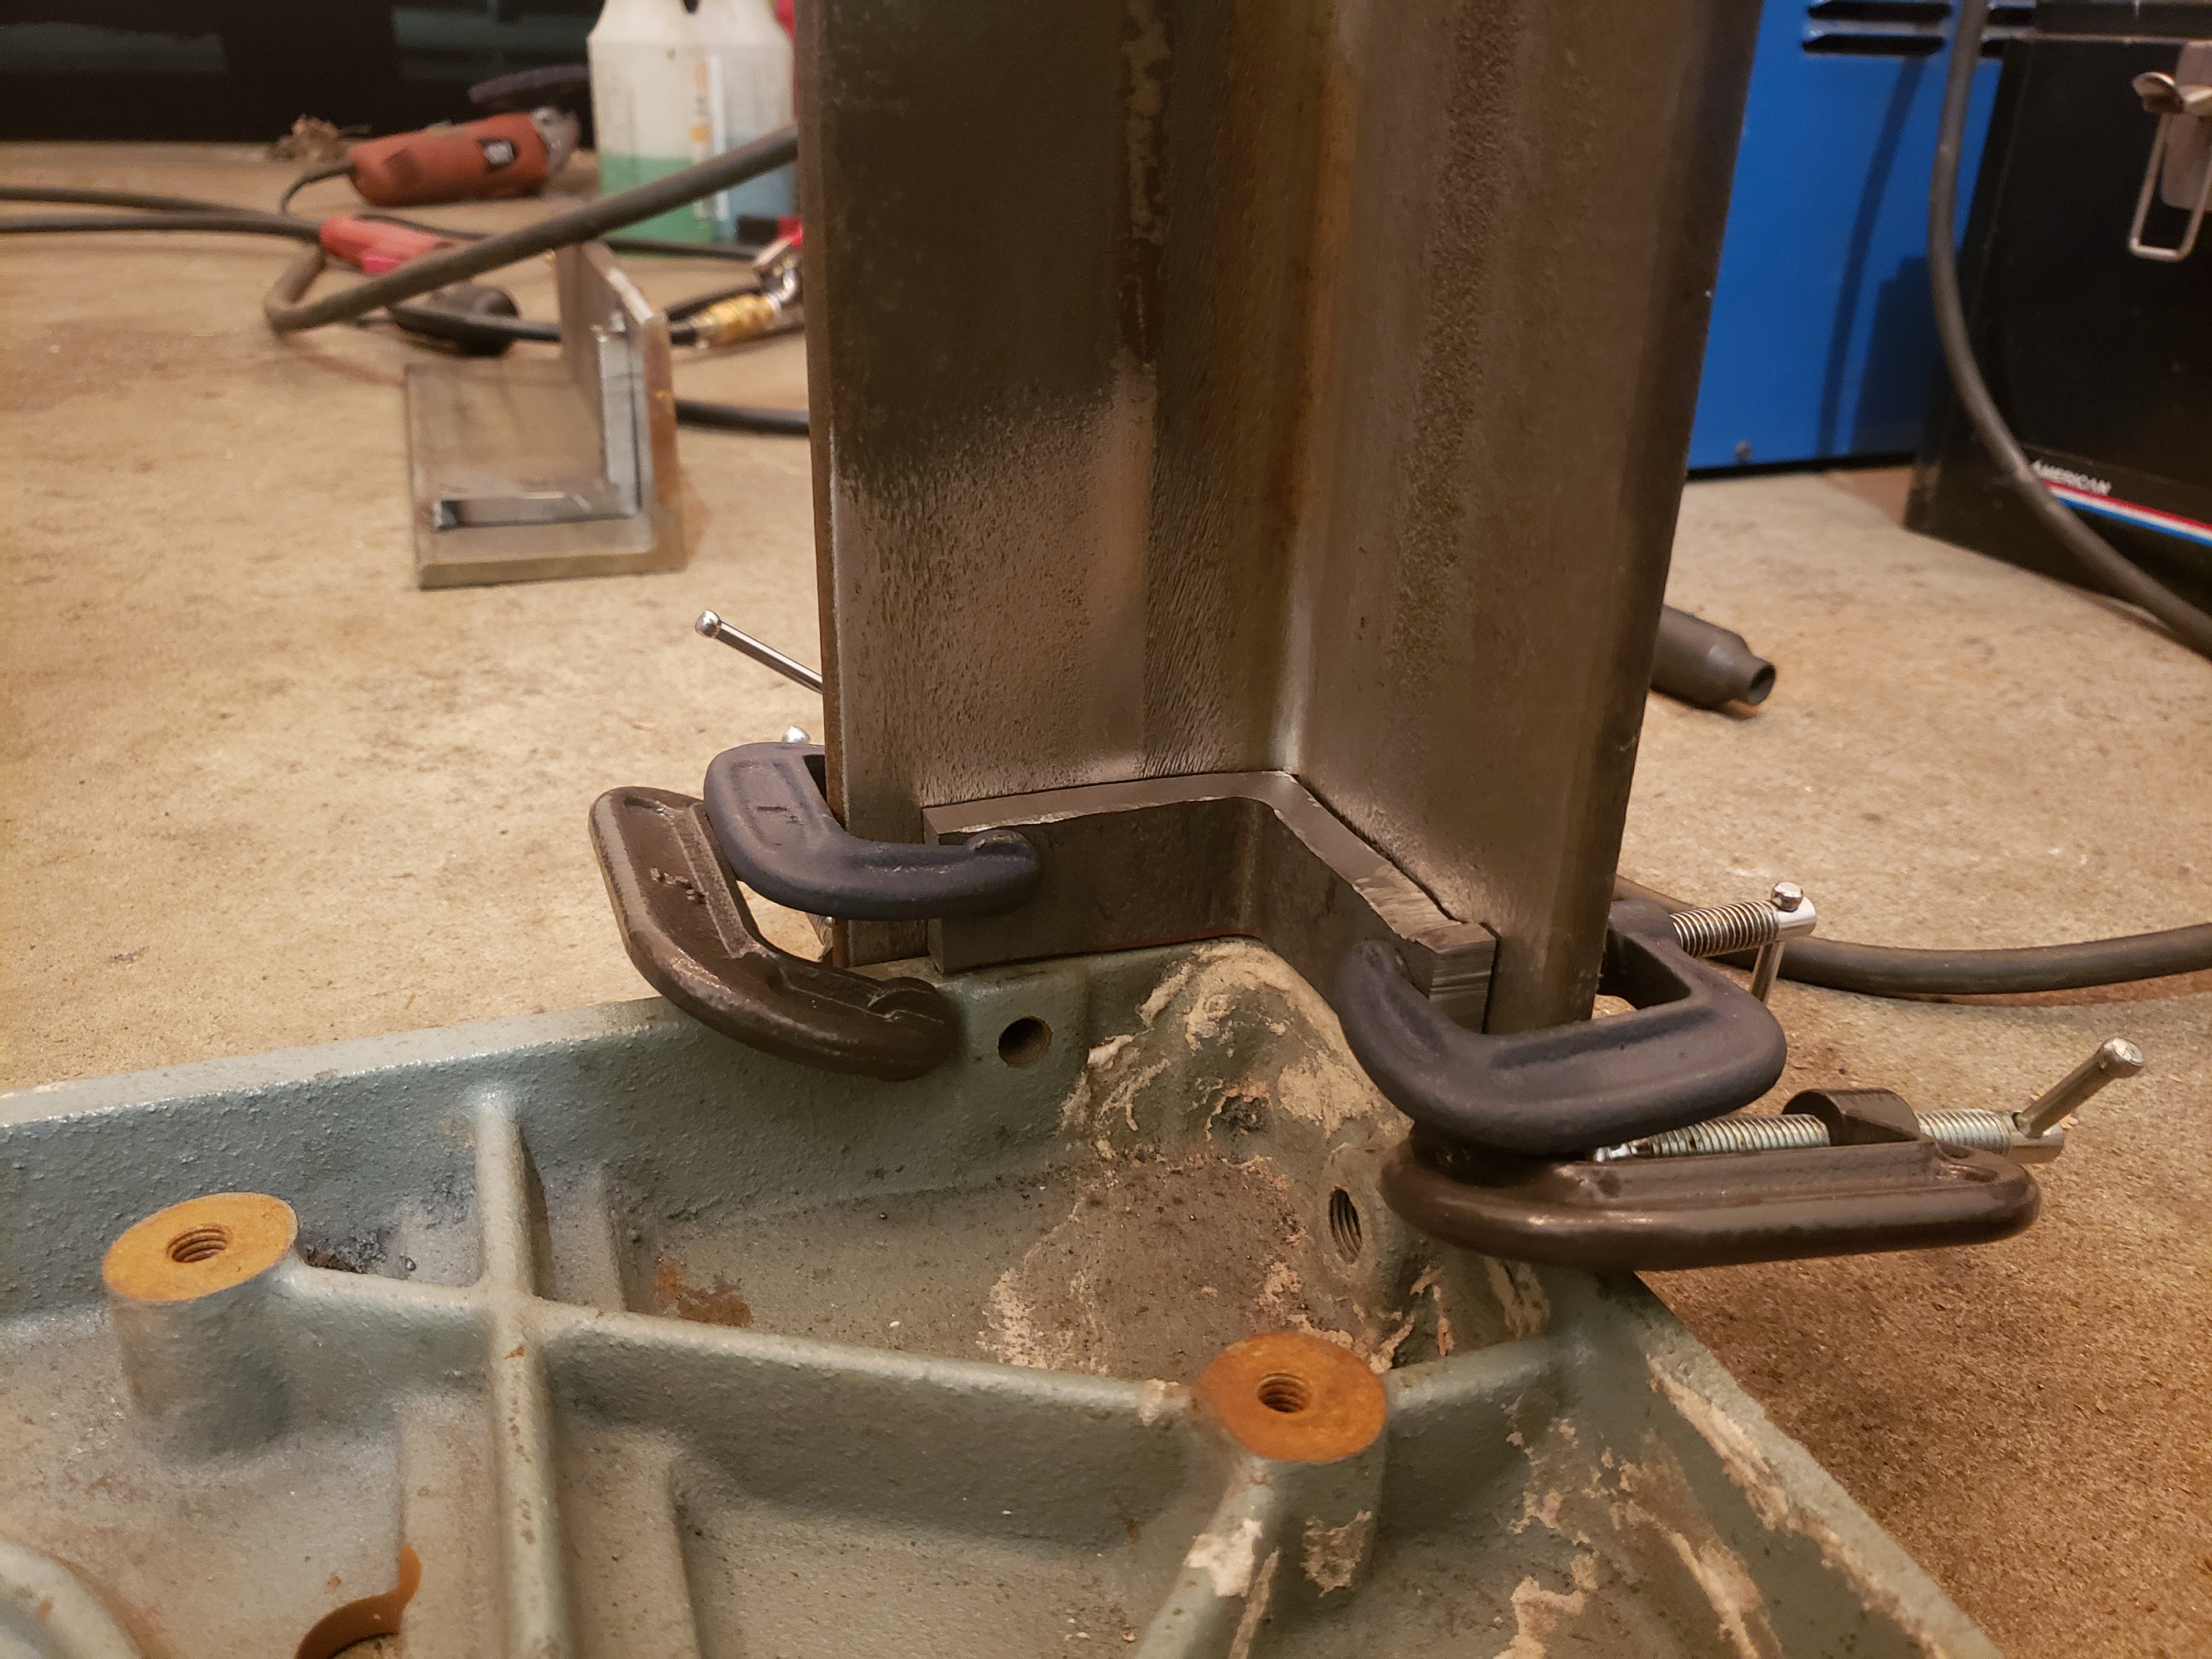
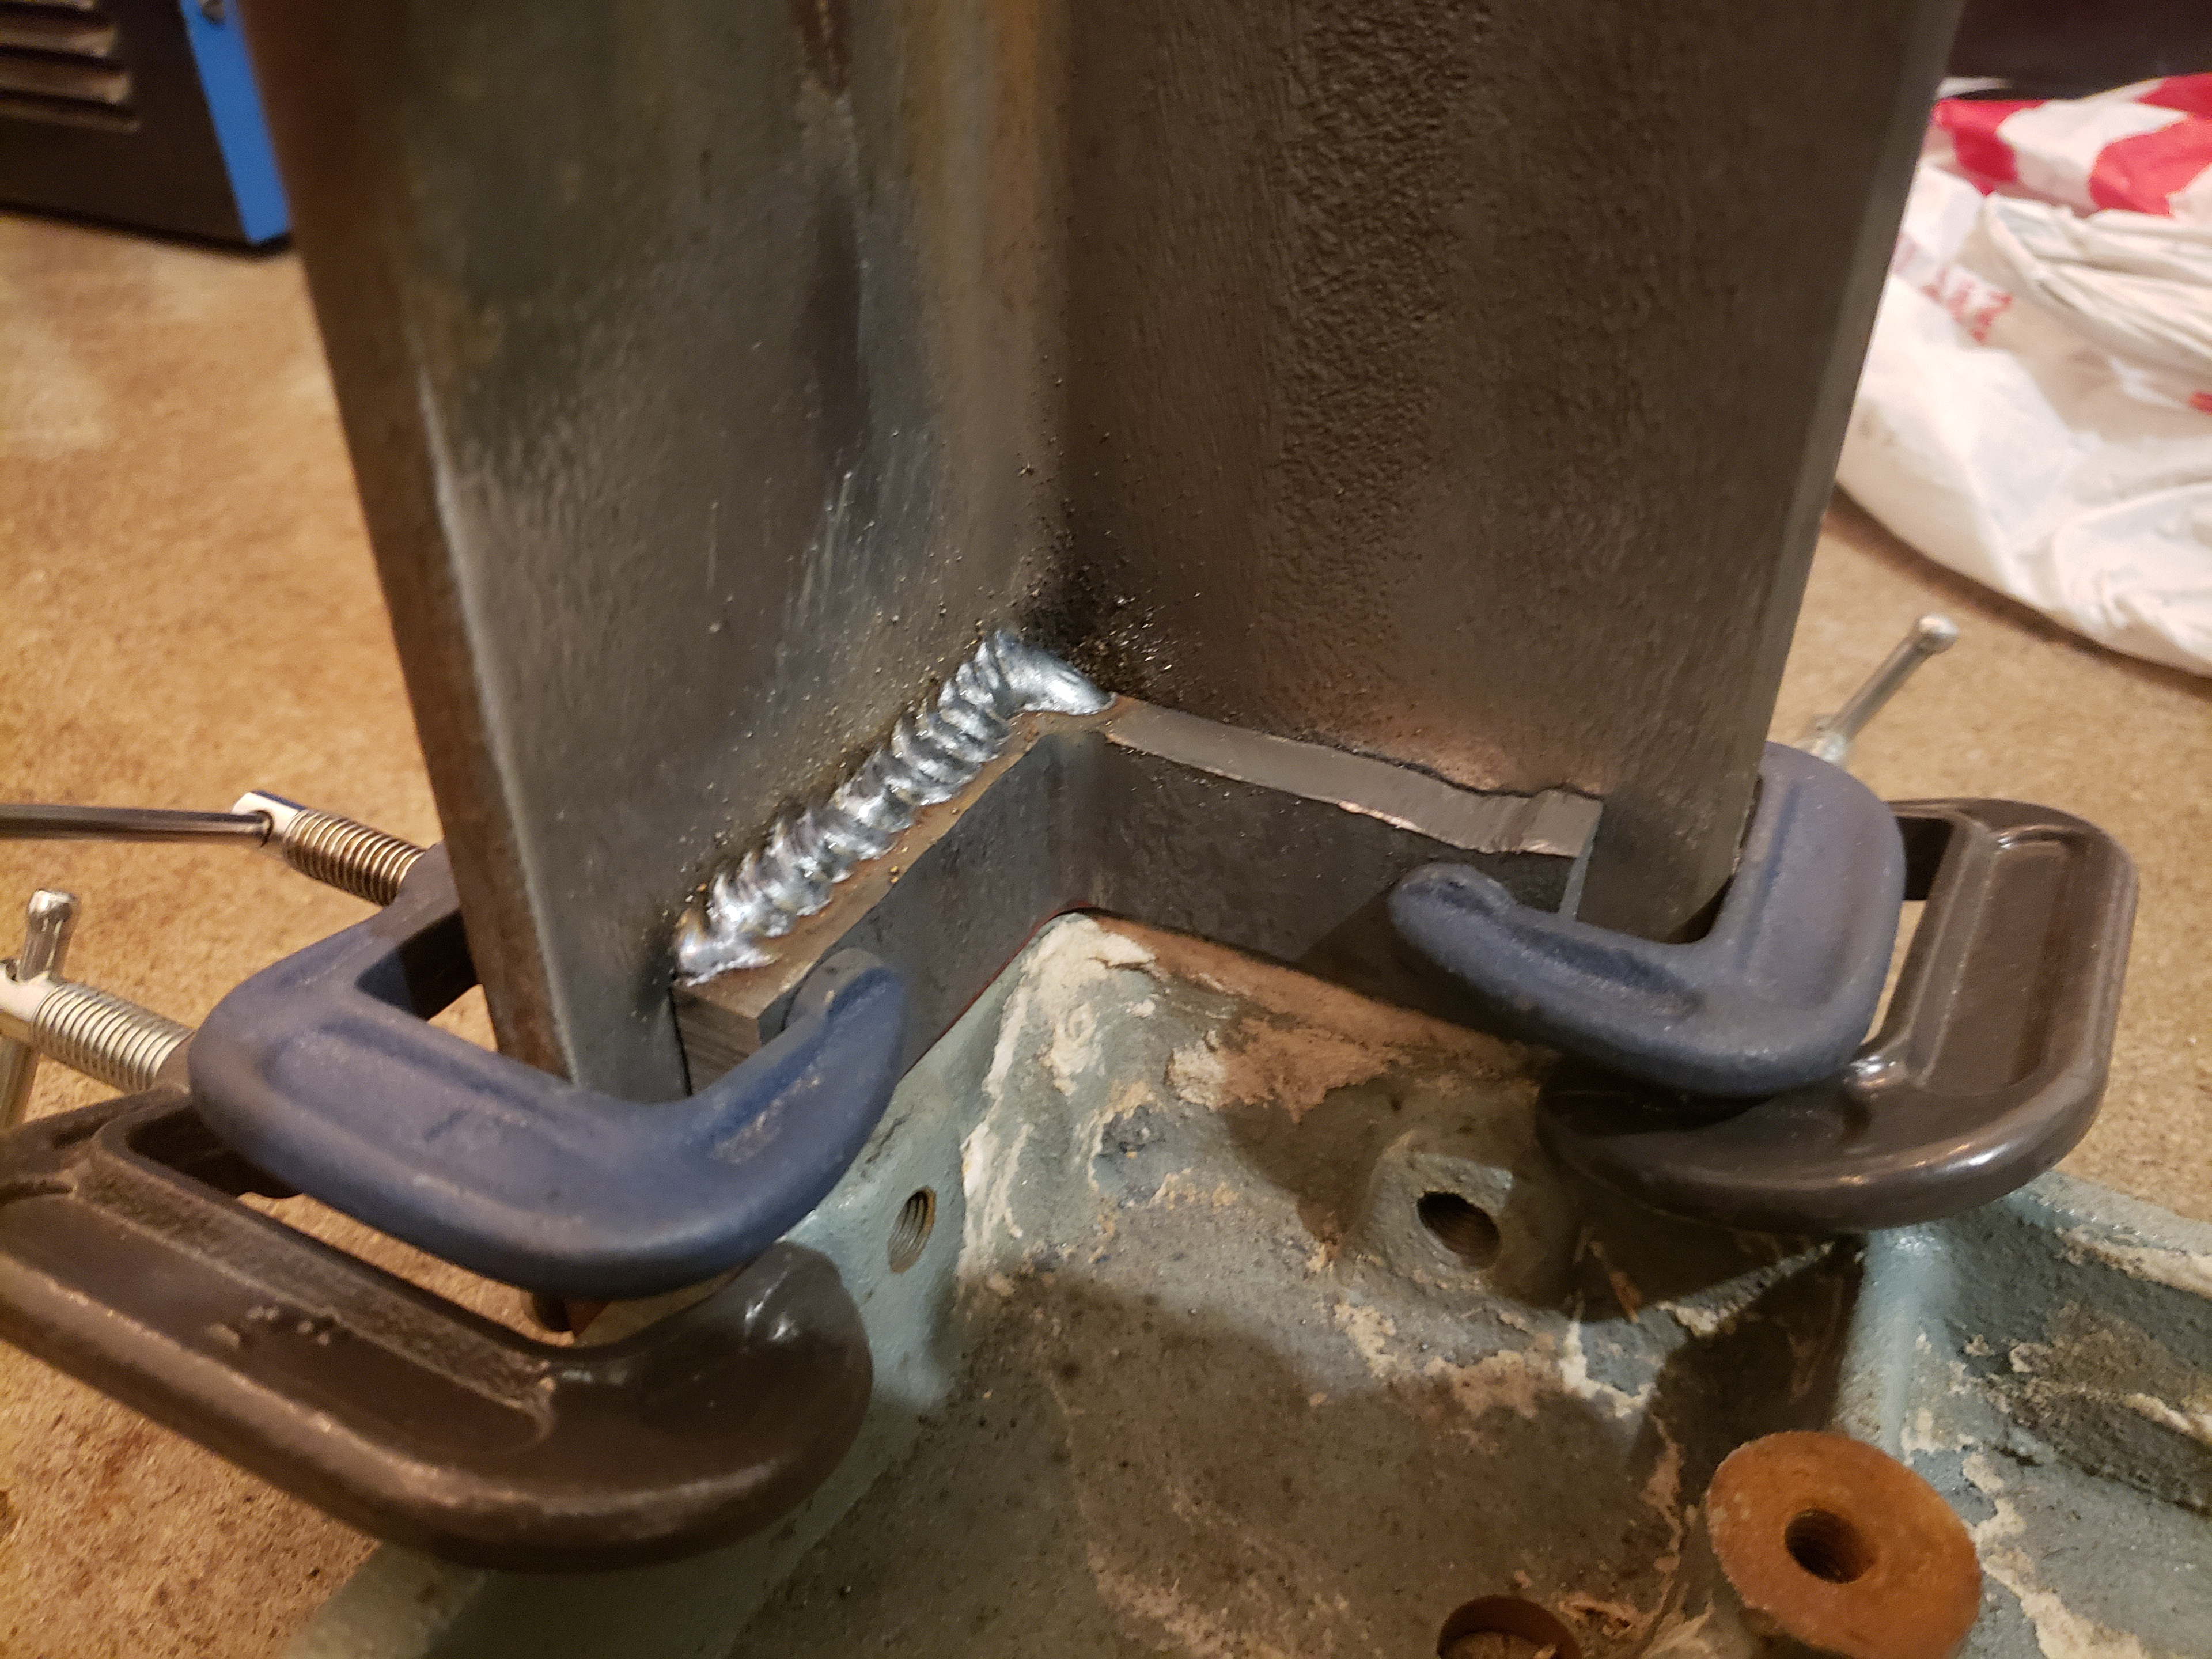
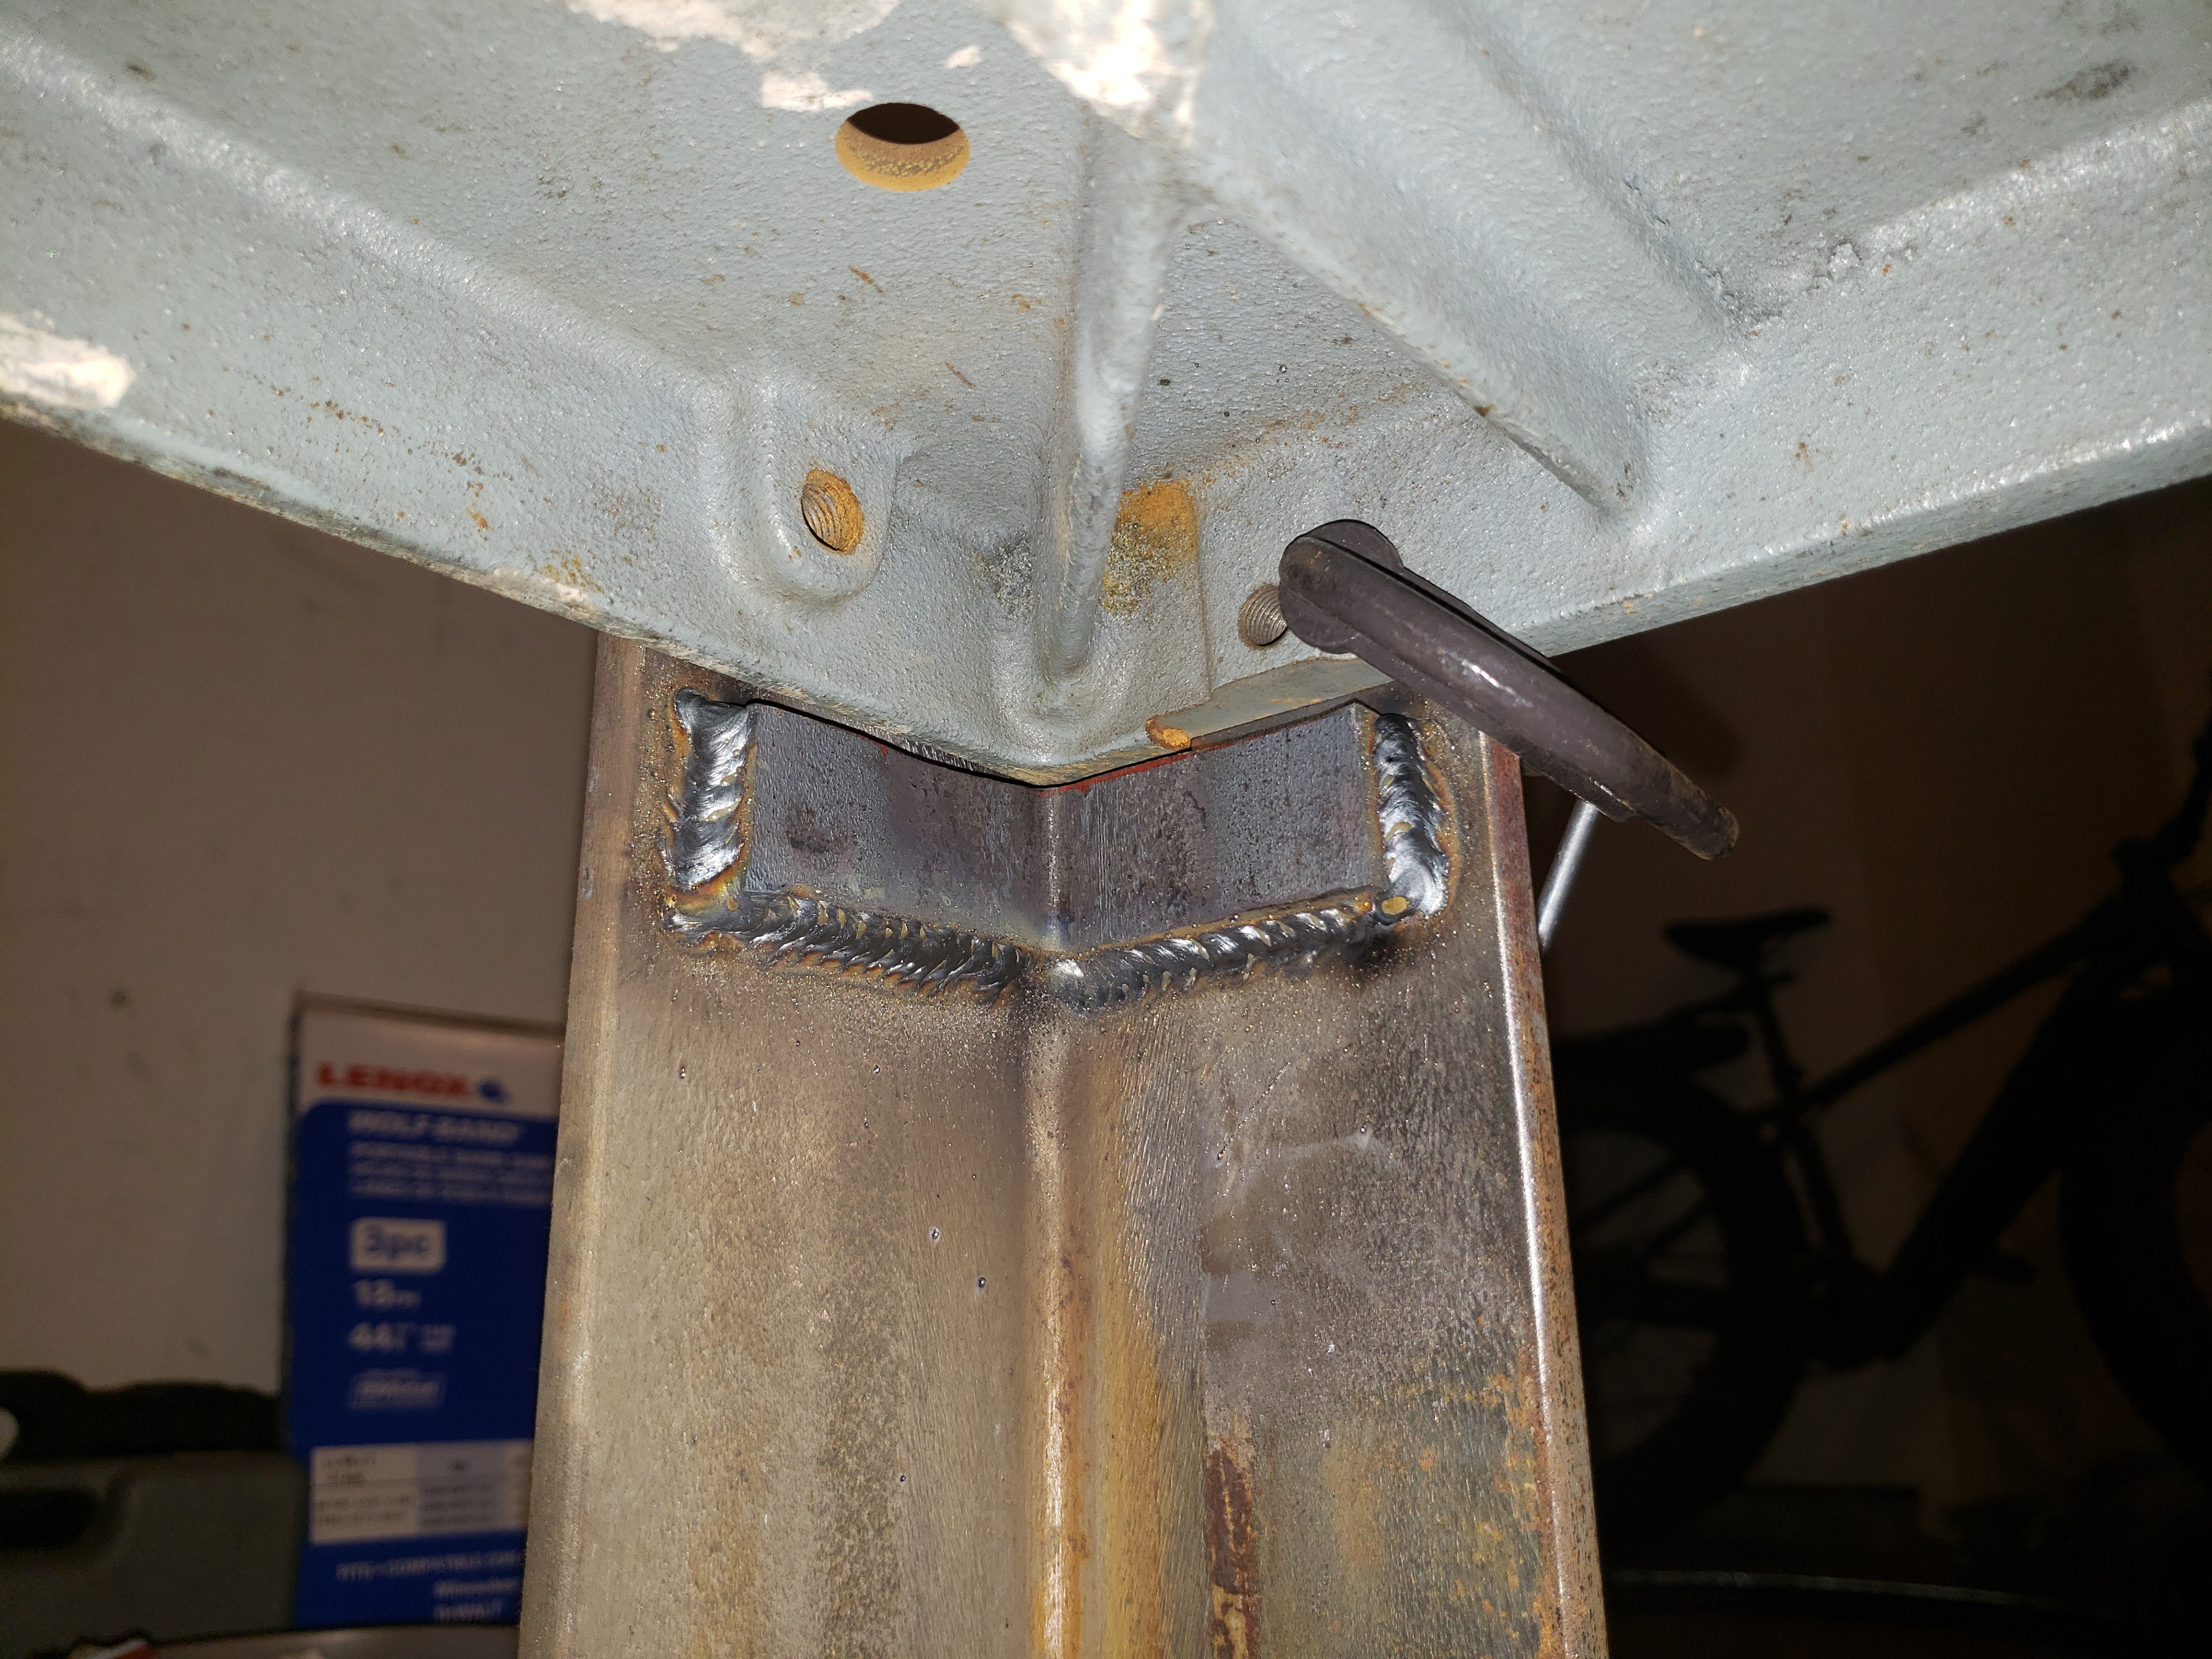
Next, I cut table supports from the remaining angle iron.  I dry fitted the table top, each leg upper, and each table support before welding them in place.  The table supports exist partially to remove load from the bolts which hold the table top to the legs, and partially just to make assembly easier.

Waterjet working its magic.

The holes are 37/64" holes, which is the drill size for 5/8-18 UNF threads.
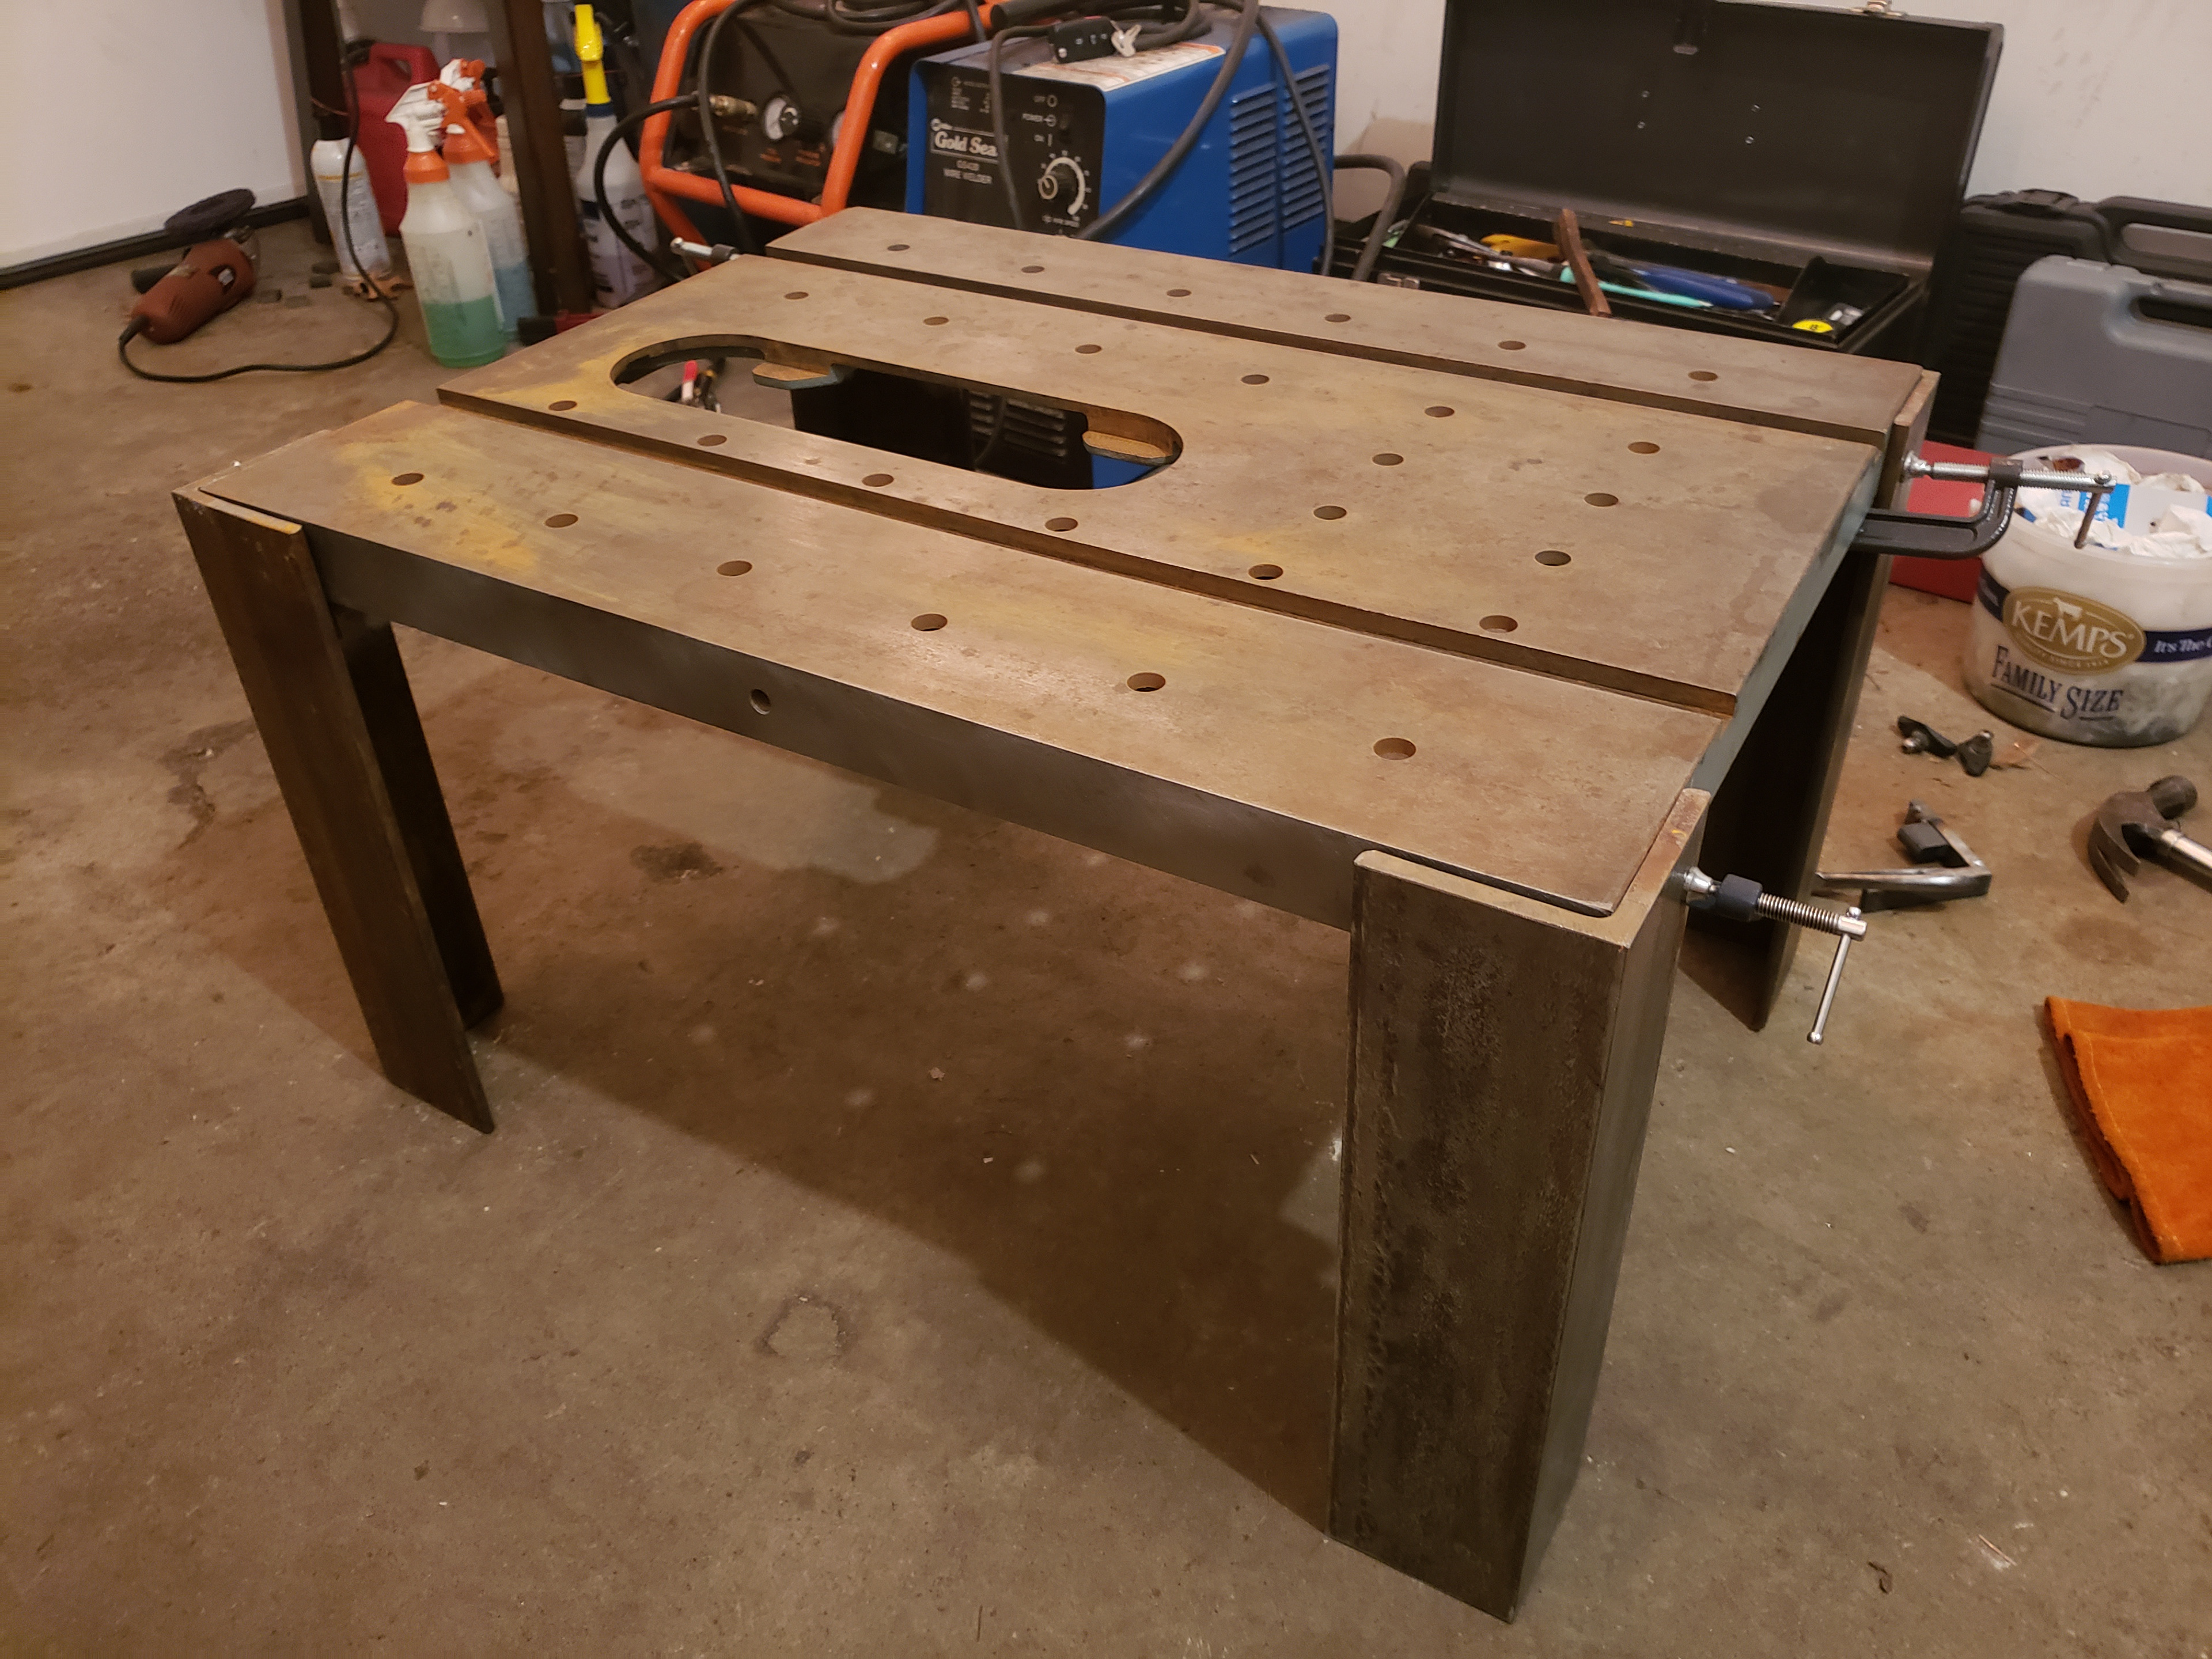
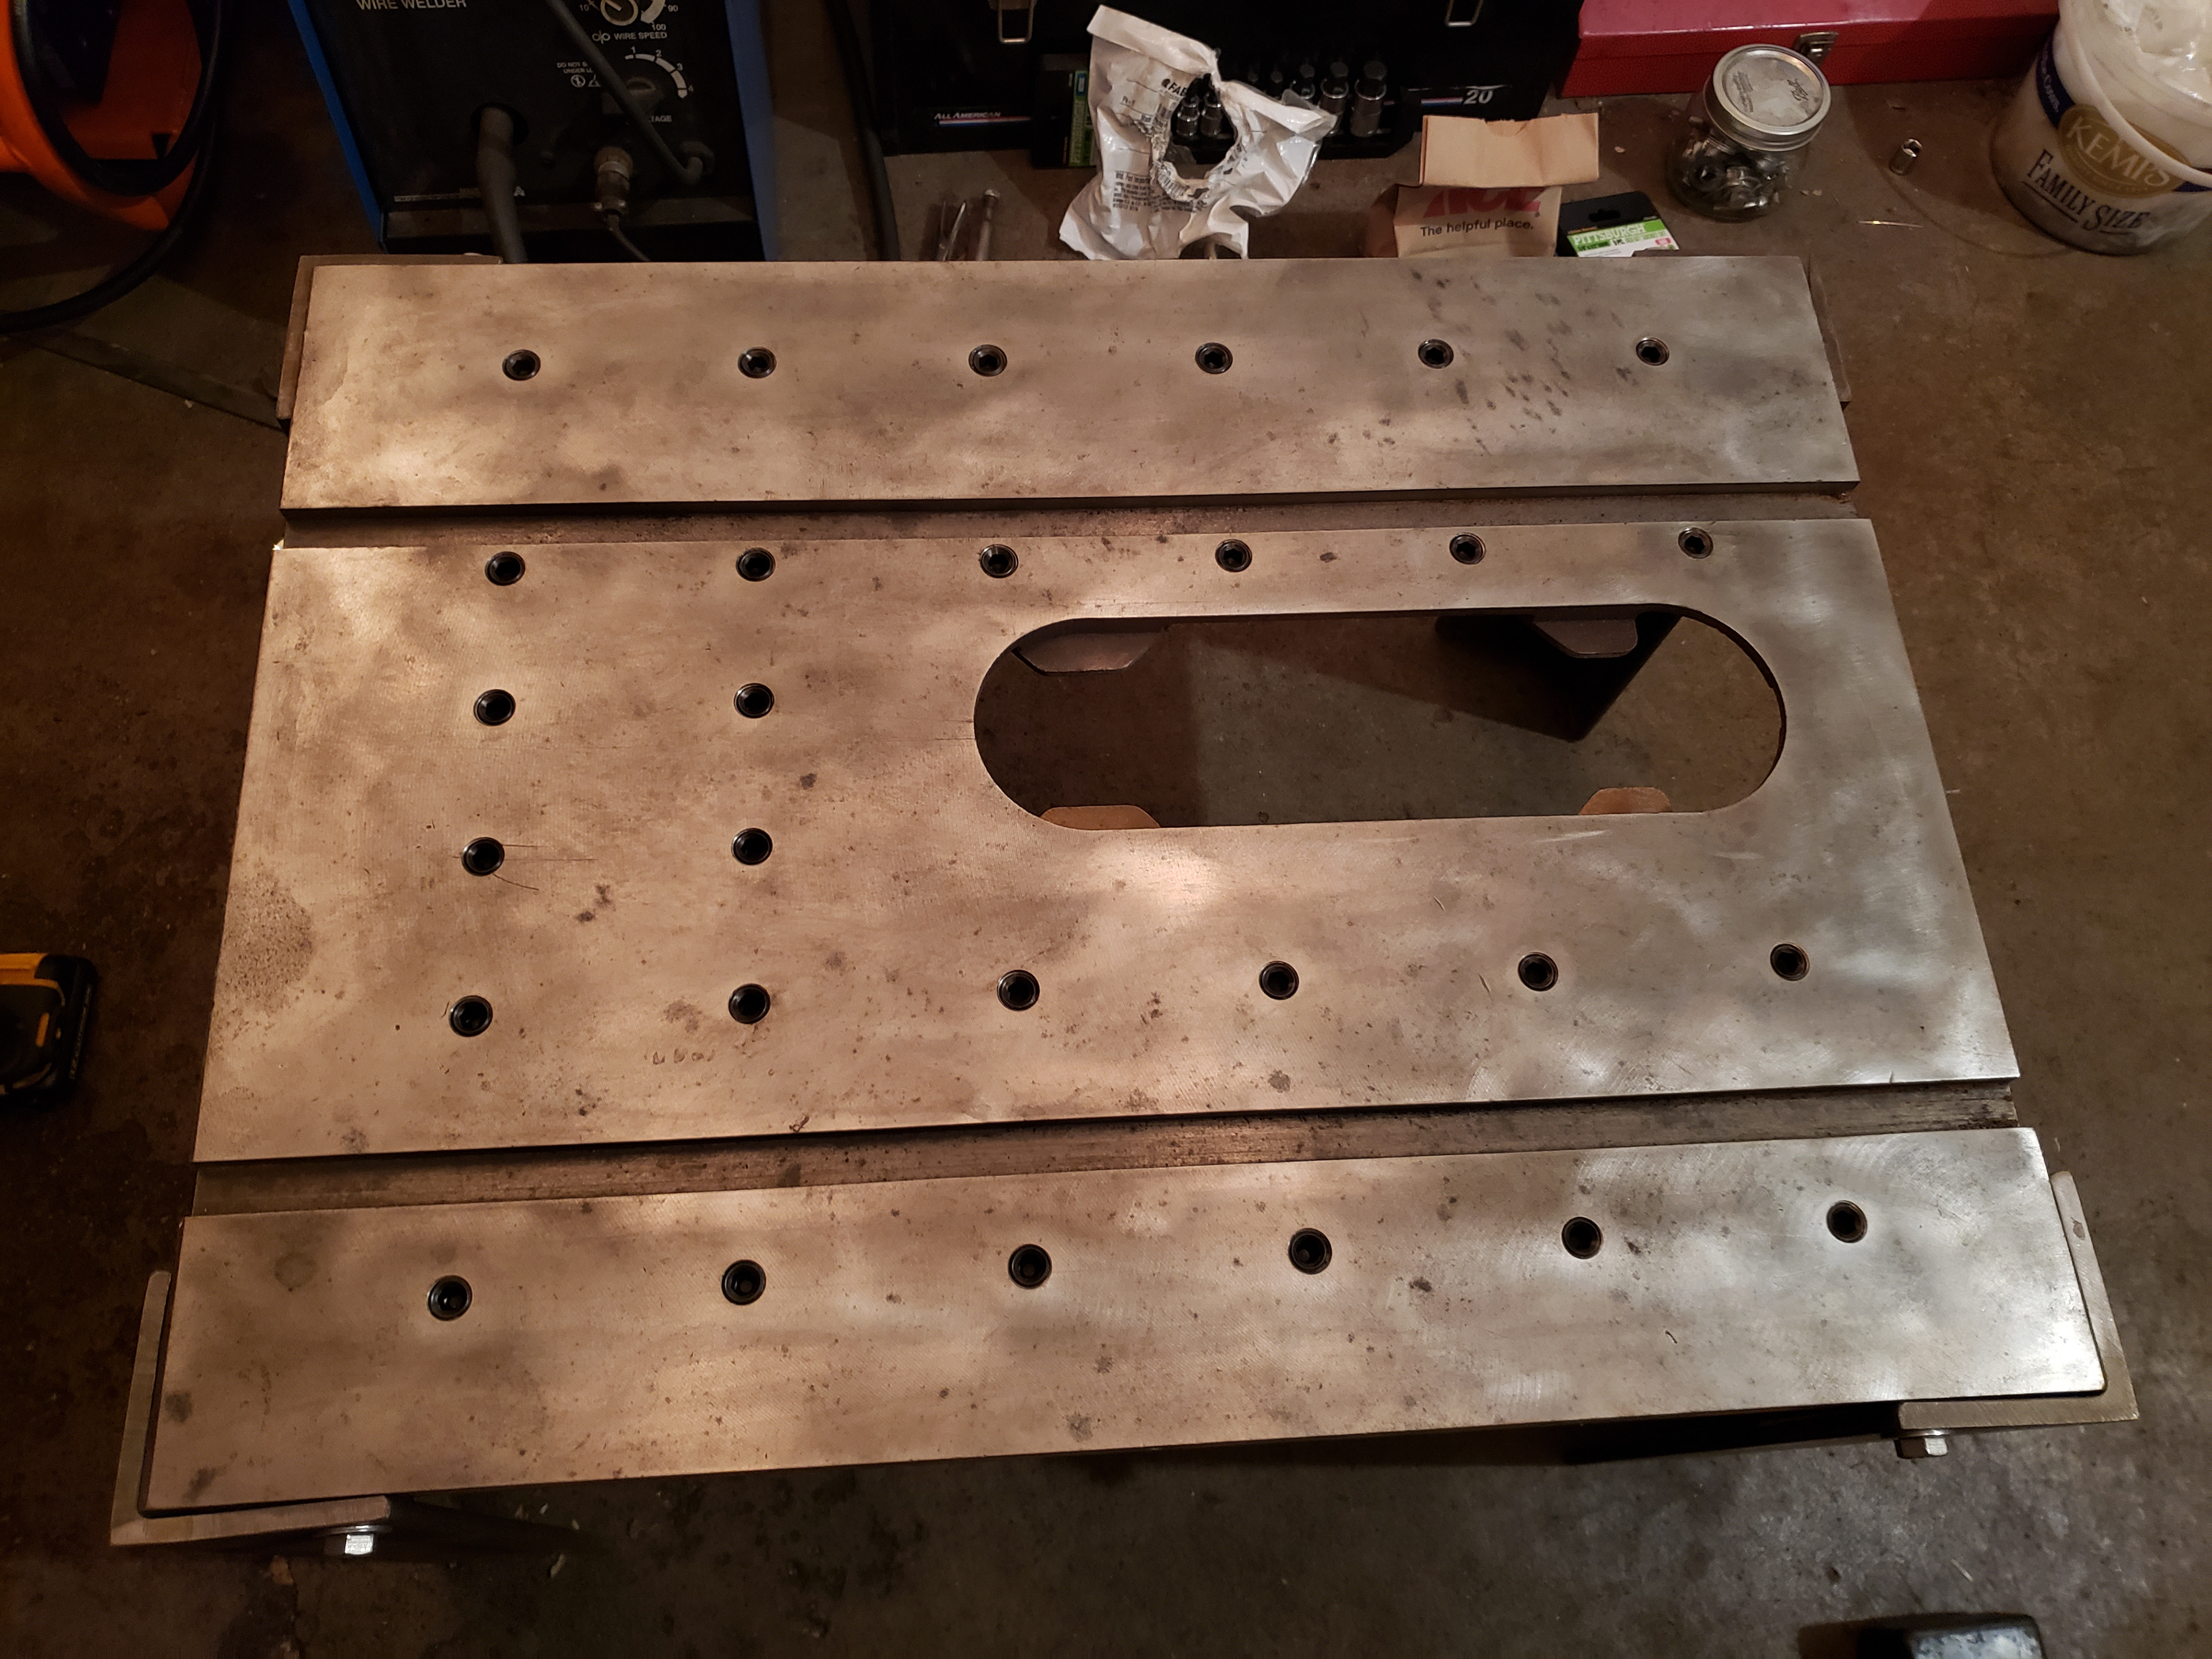
Table top before and after cleanup.
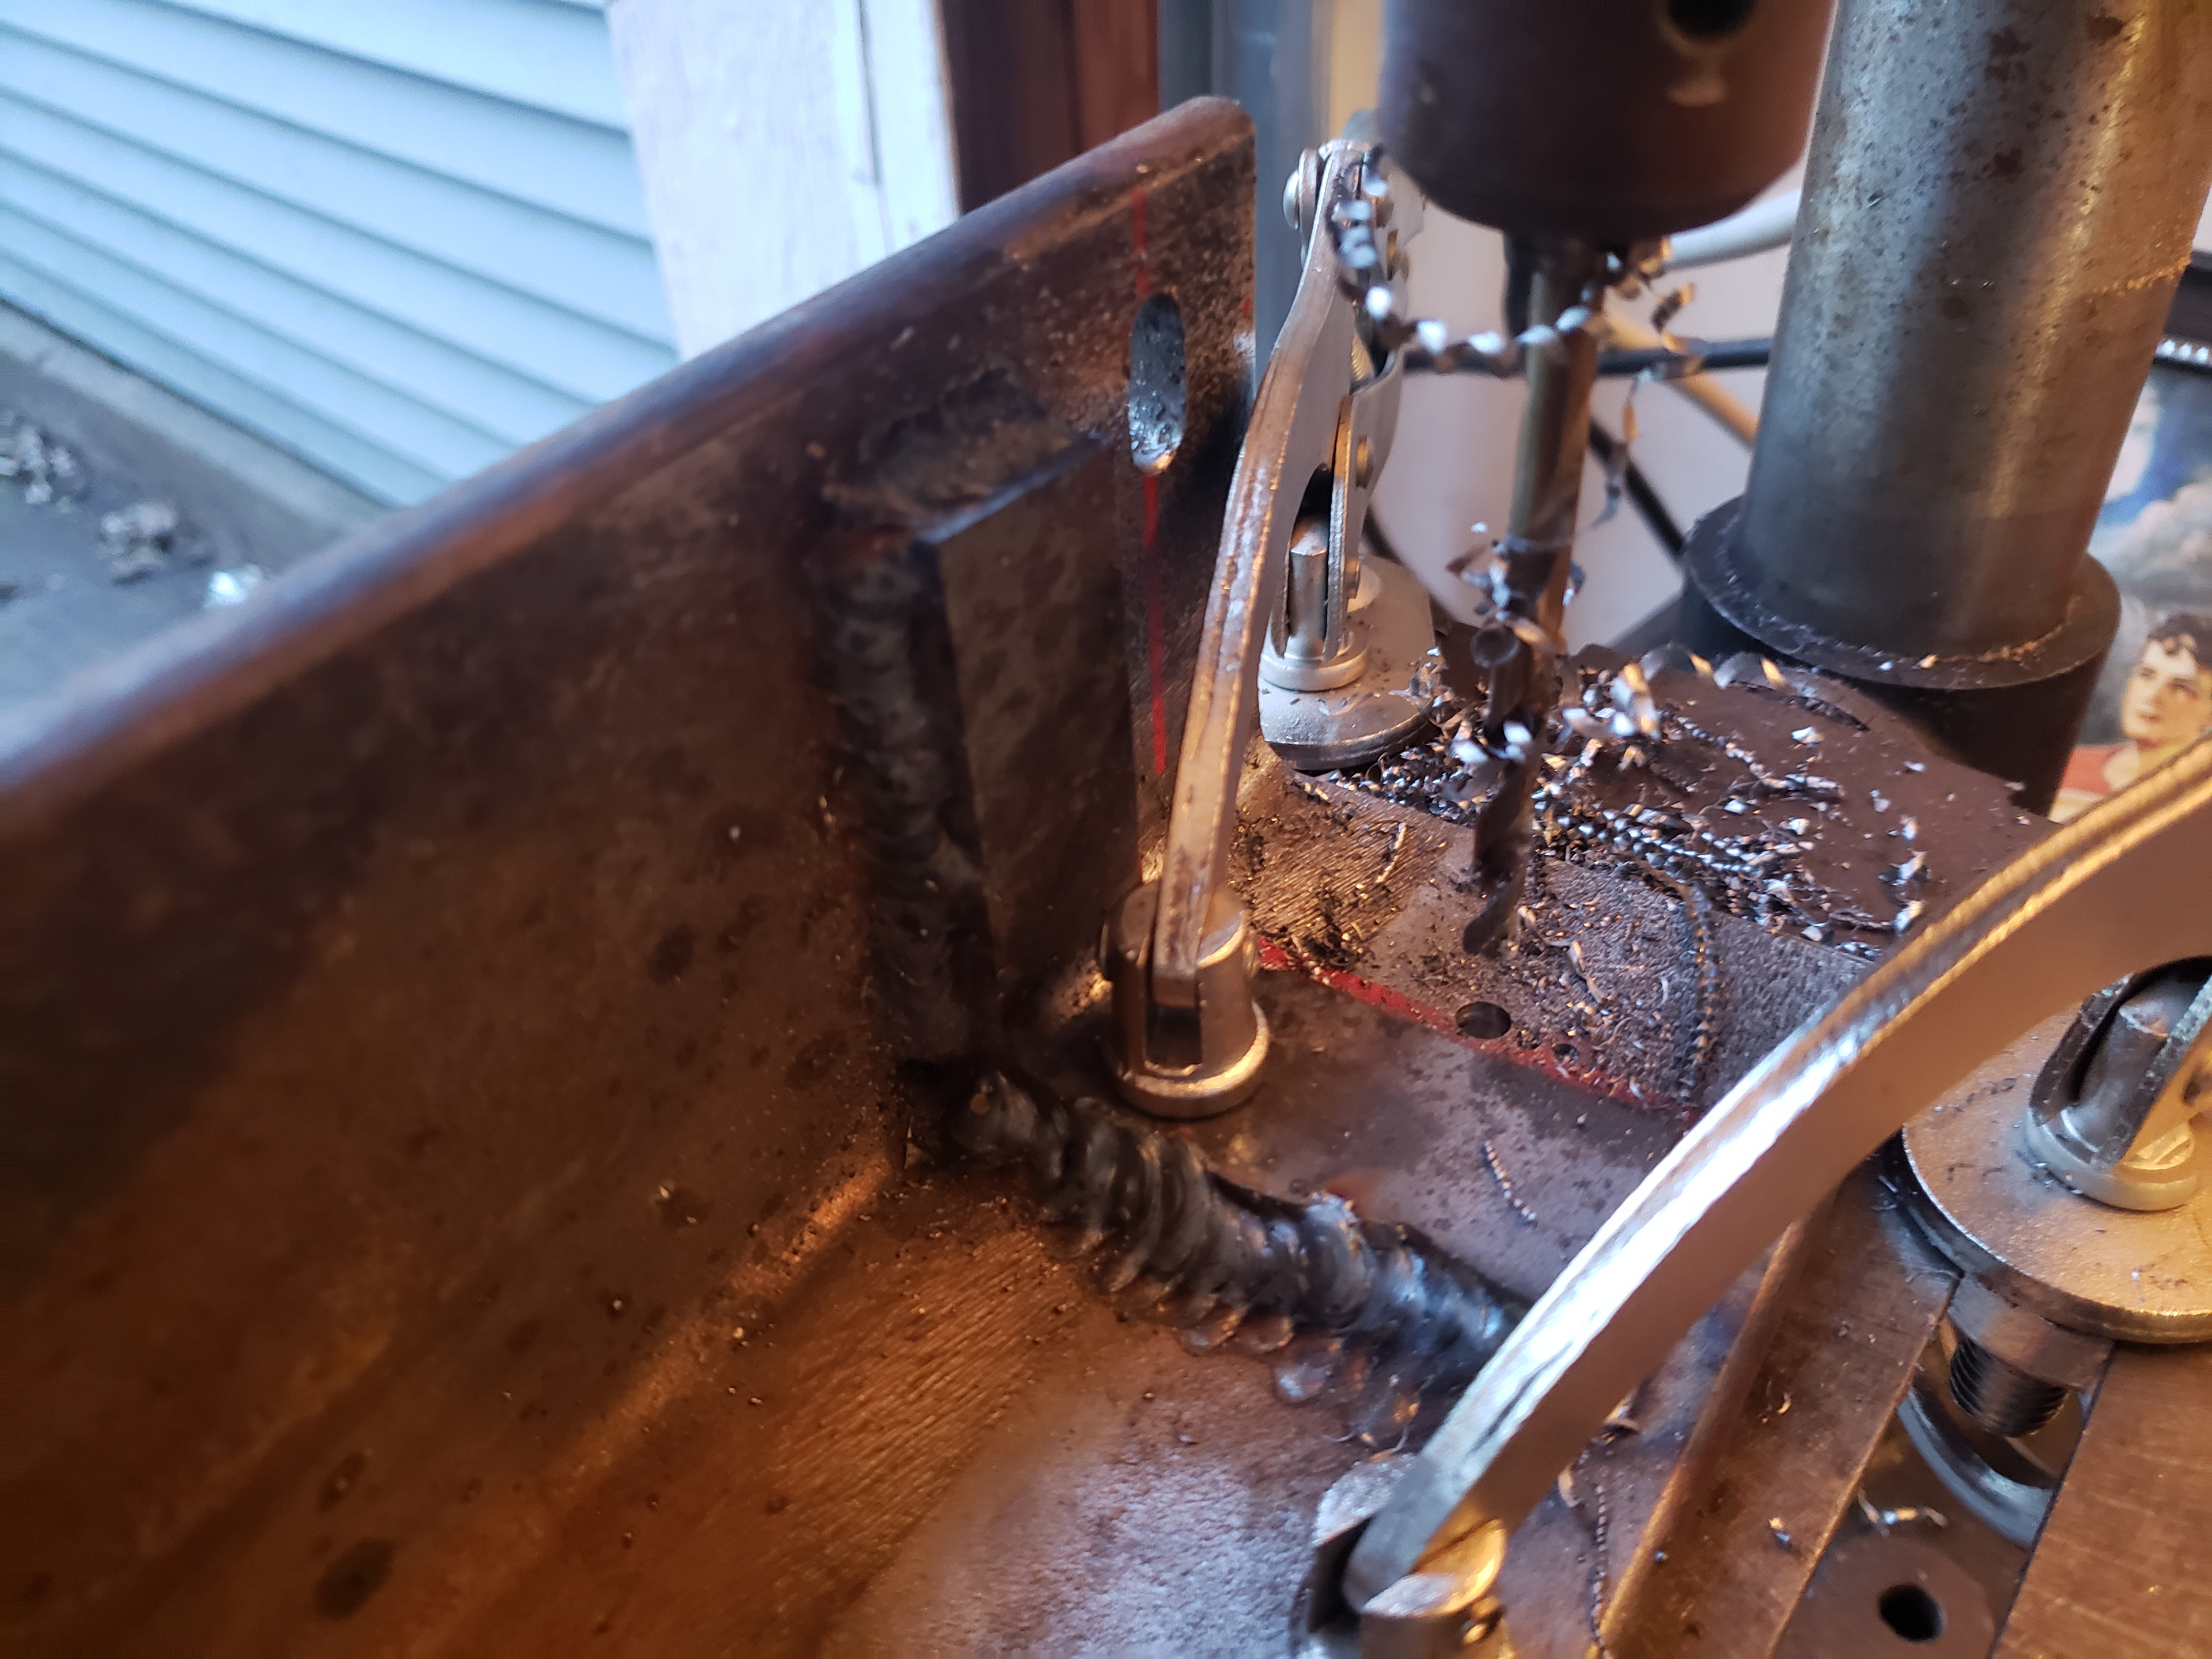
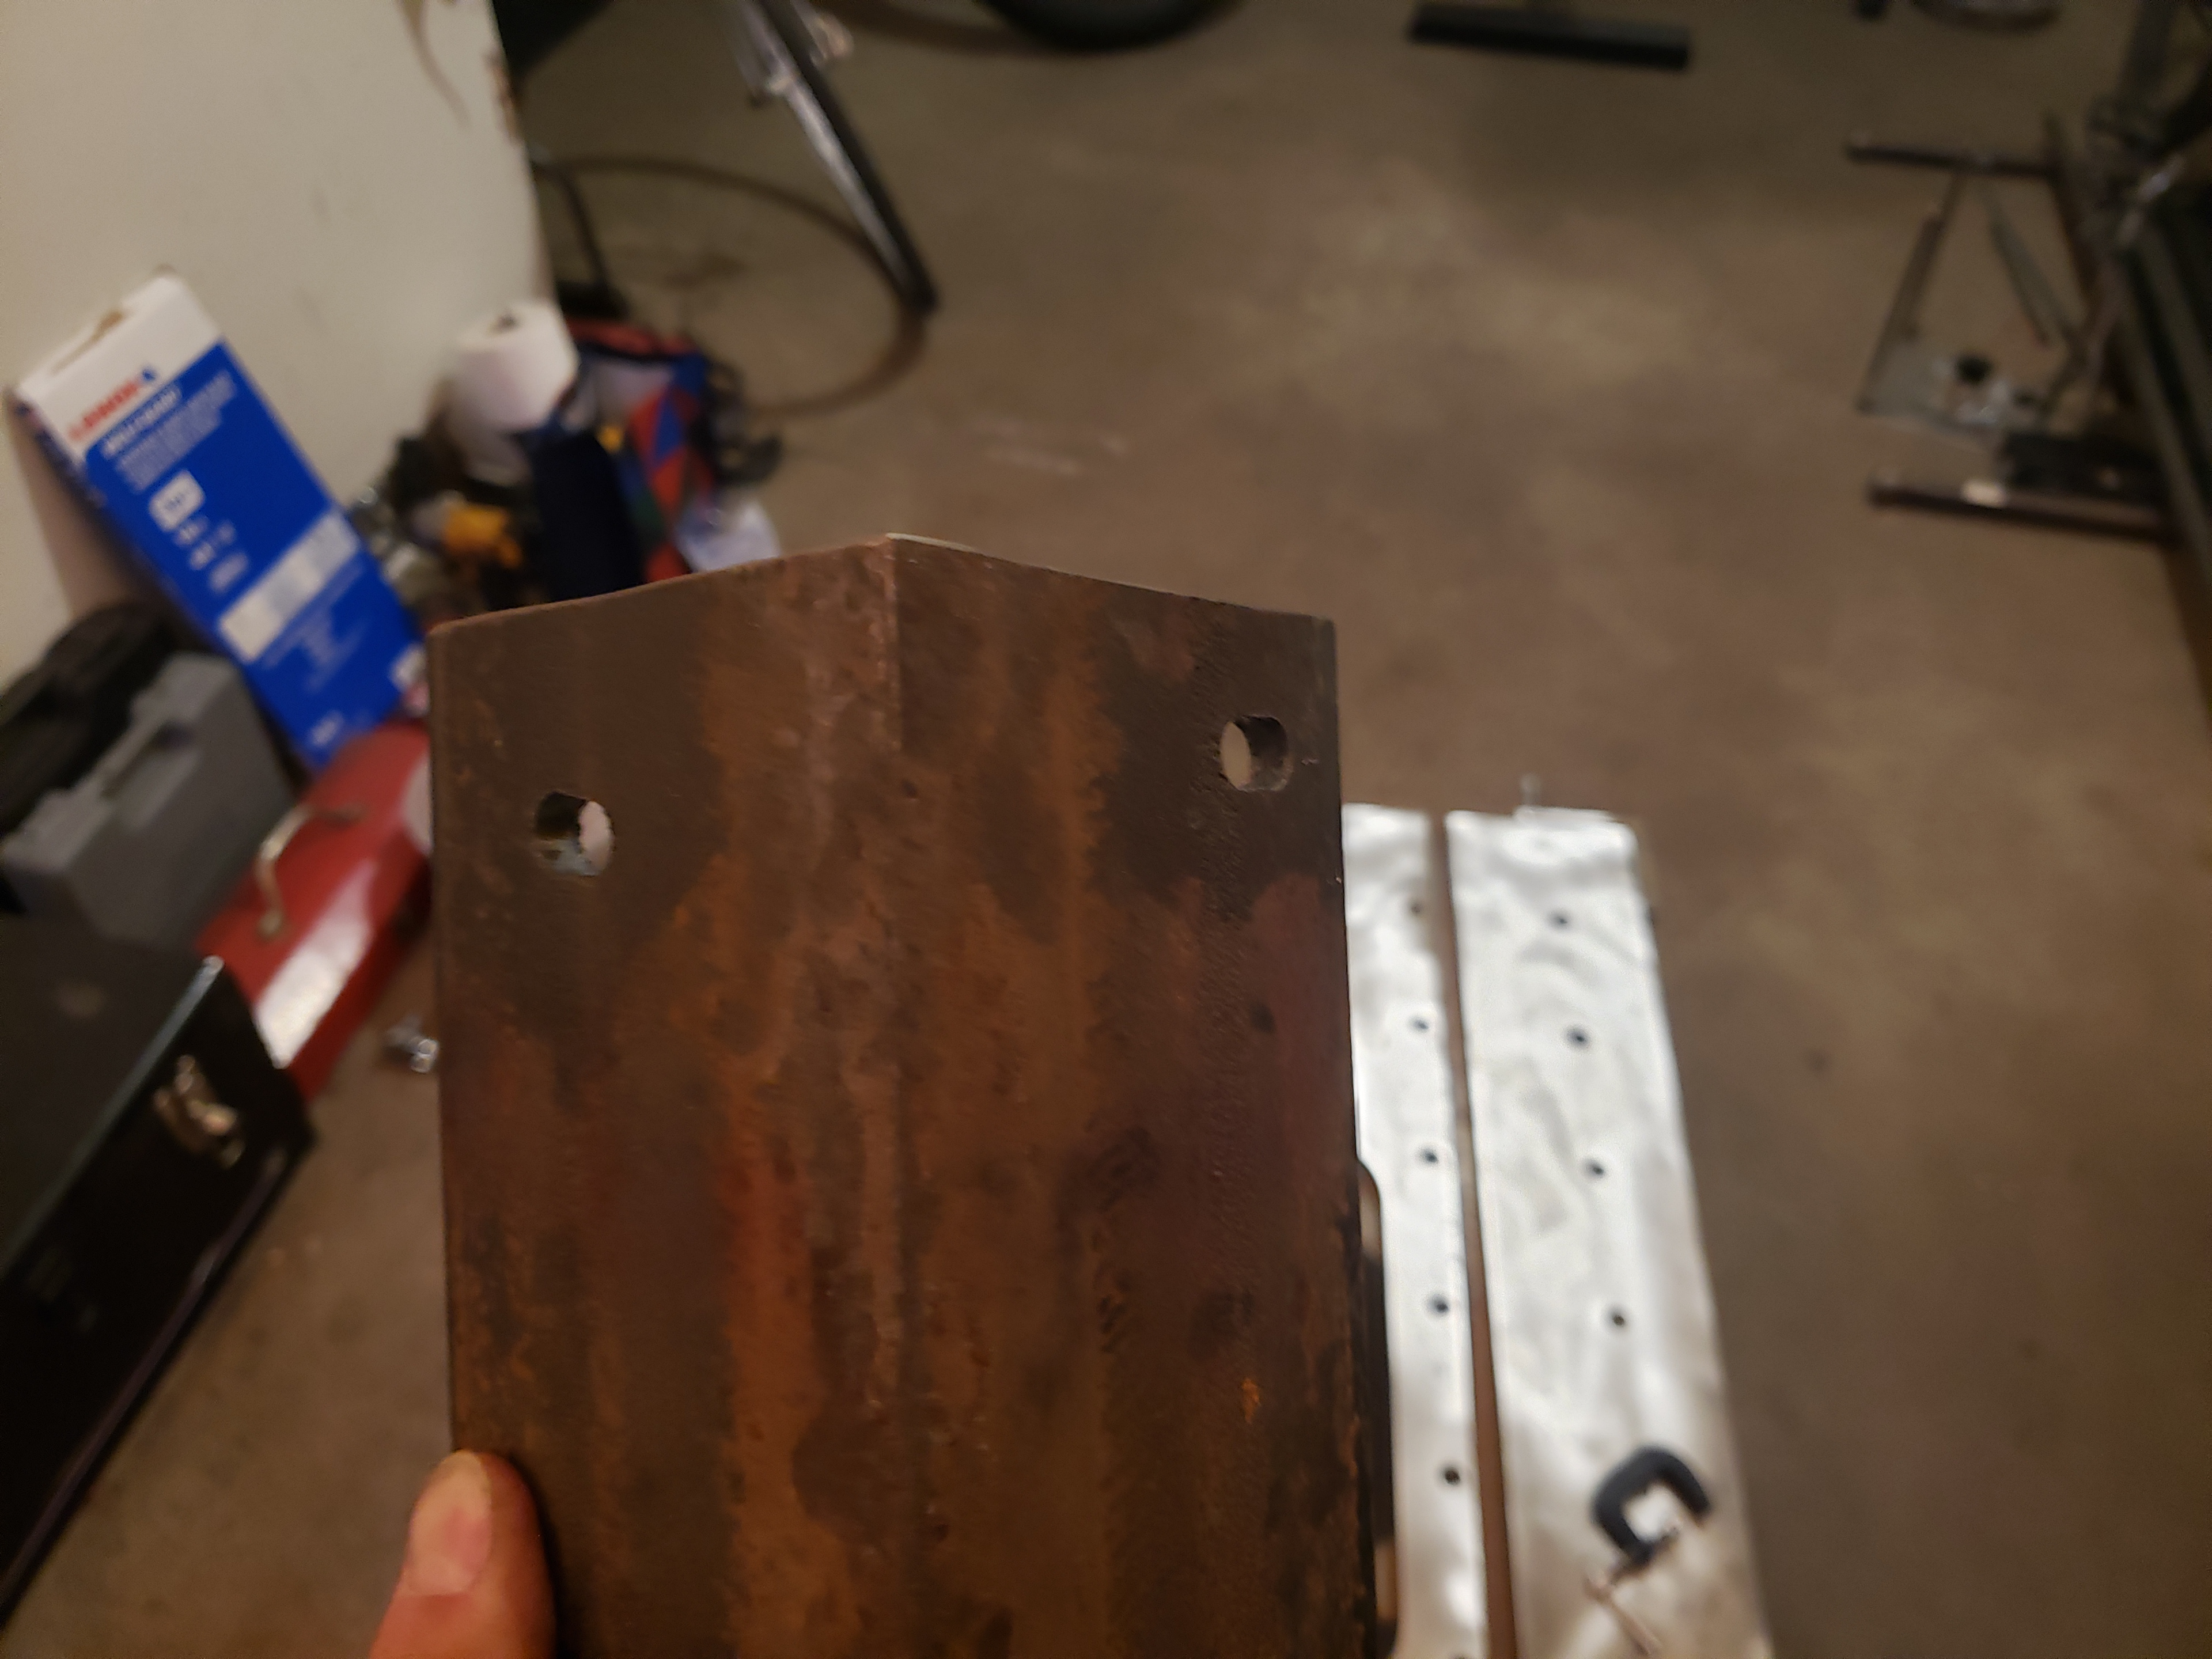
Next came drilling the holes to bolt the leg uppers to the table top. Locating and sizing the holes proved to be a challenge.
The paint pen didn't fit so I used a Q-tip instead.  I knew that as the bolts were tightened, they would pull the angle iron closer to the table top, changing the effective location of the holes.
Initially I drilled slots, but found doing so to be time consuming.  Getting the spacing just right so the bits wouldn't wander was difficult too.  I ultimately switched to using oversized holes instead.
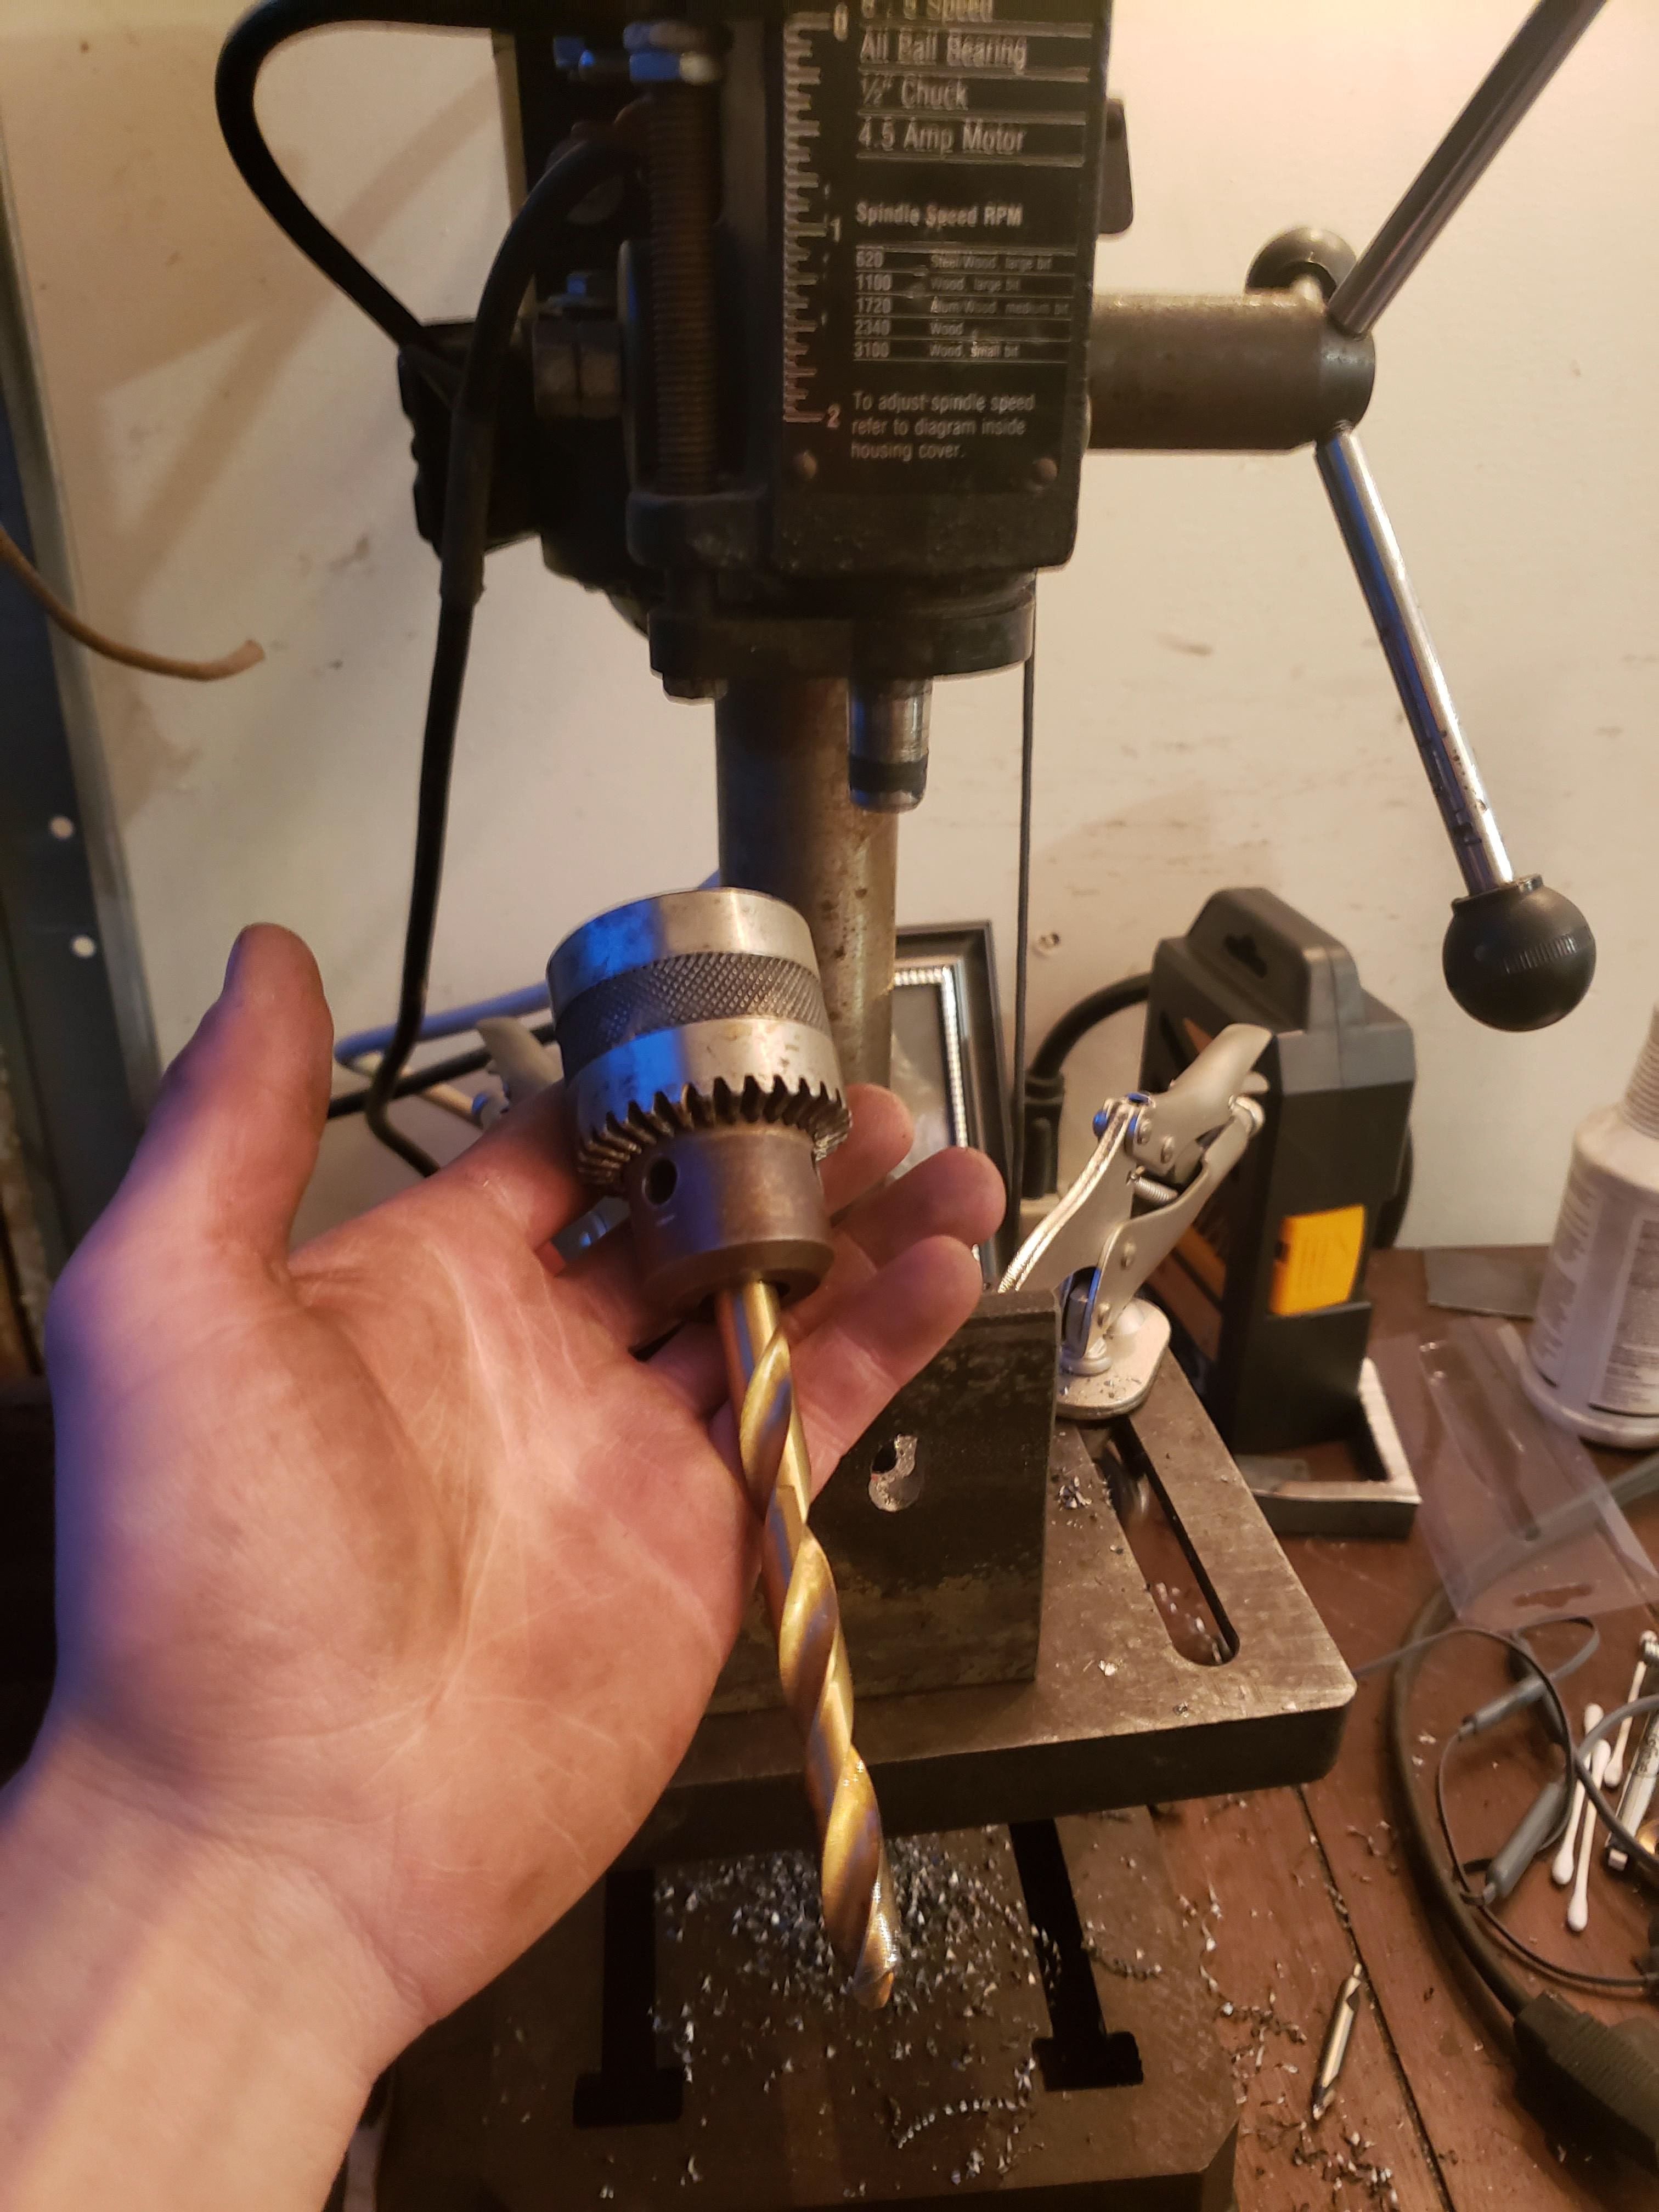
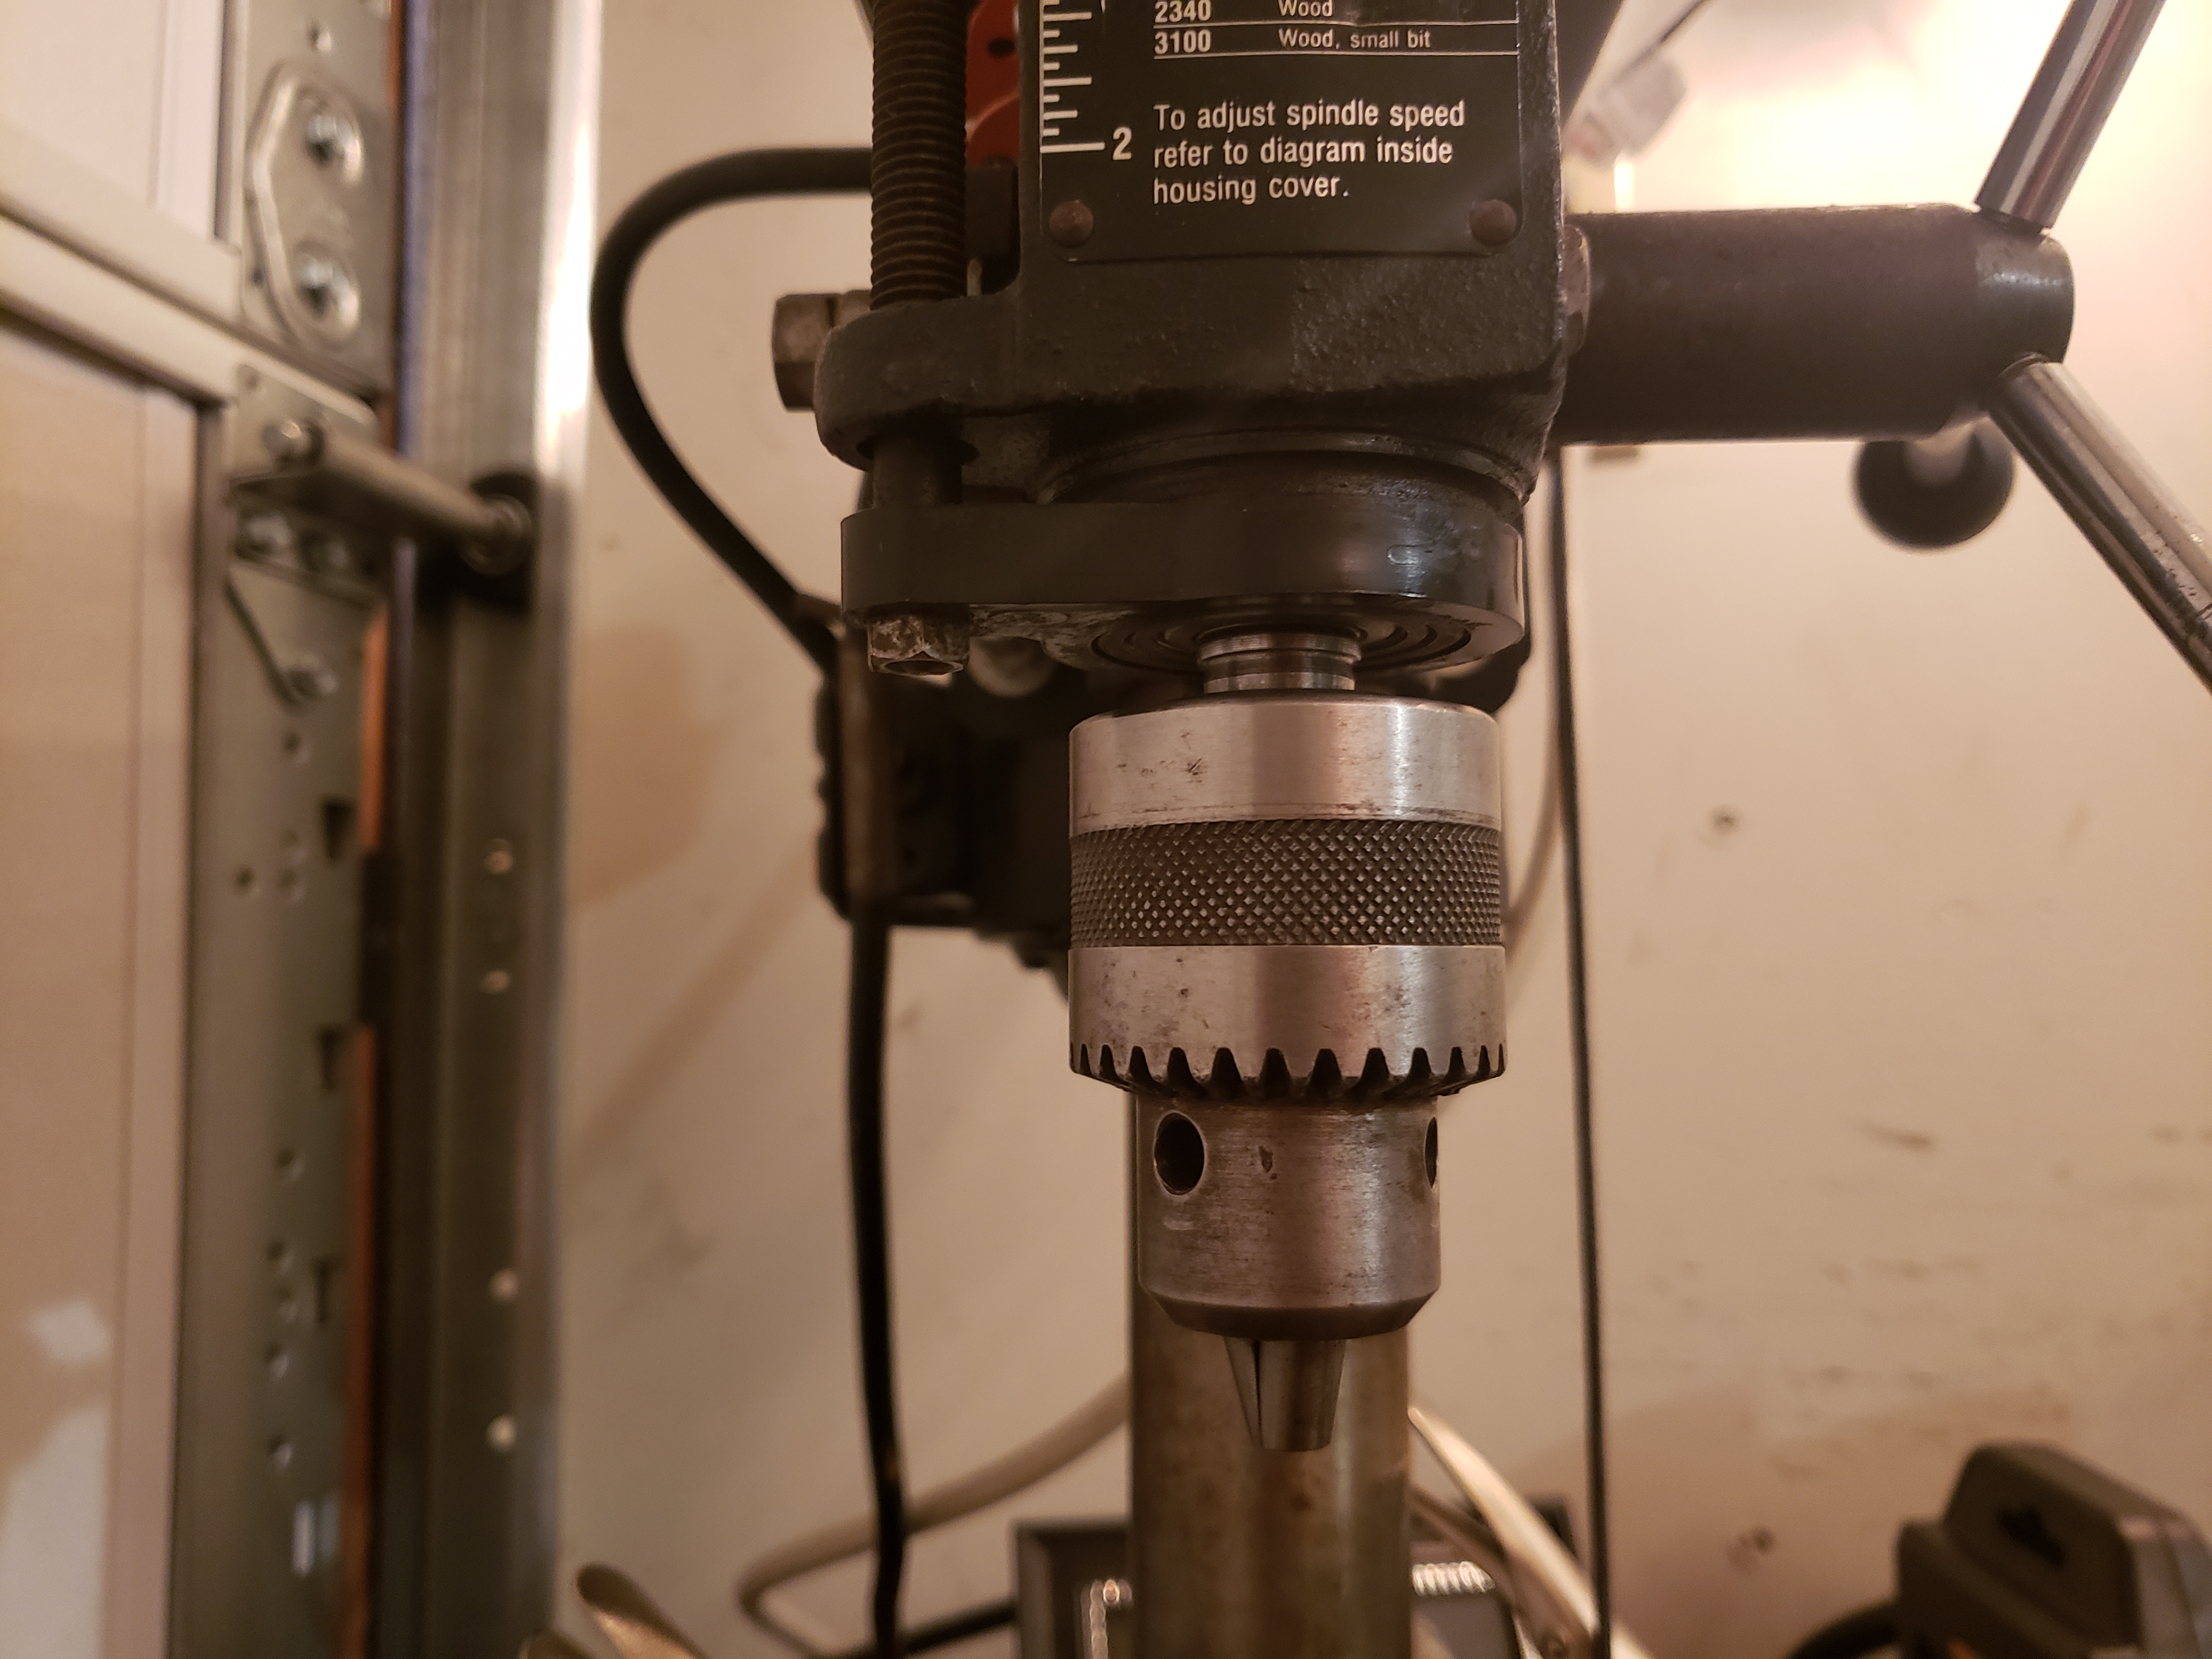
While drilling the bolt holes, my drill press chuck fell off.  I learned that drill press chucks are held on by friction, and the previous owner had tried gluing the chuck to the spindle.  I removed the surface rust from the chuck, and reinstalled it correctly, by cleaning the spindle and chuck mating surfaces, heating the chuck with a torch, and tapping the chuck with a 2x4.
After being reinstalled correctly, the chuck spun more true than ever where before it had a very slight wobble.

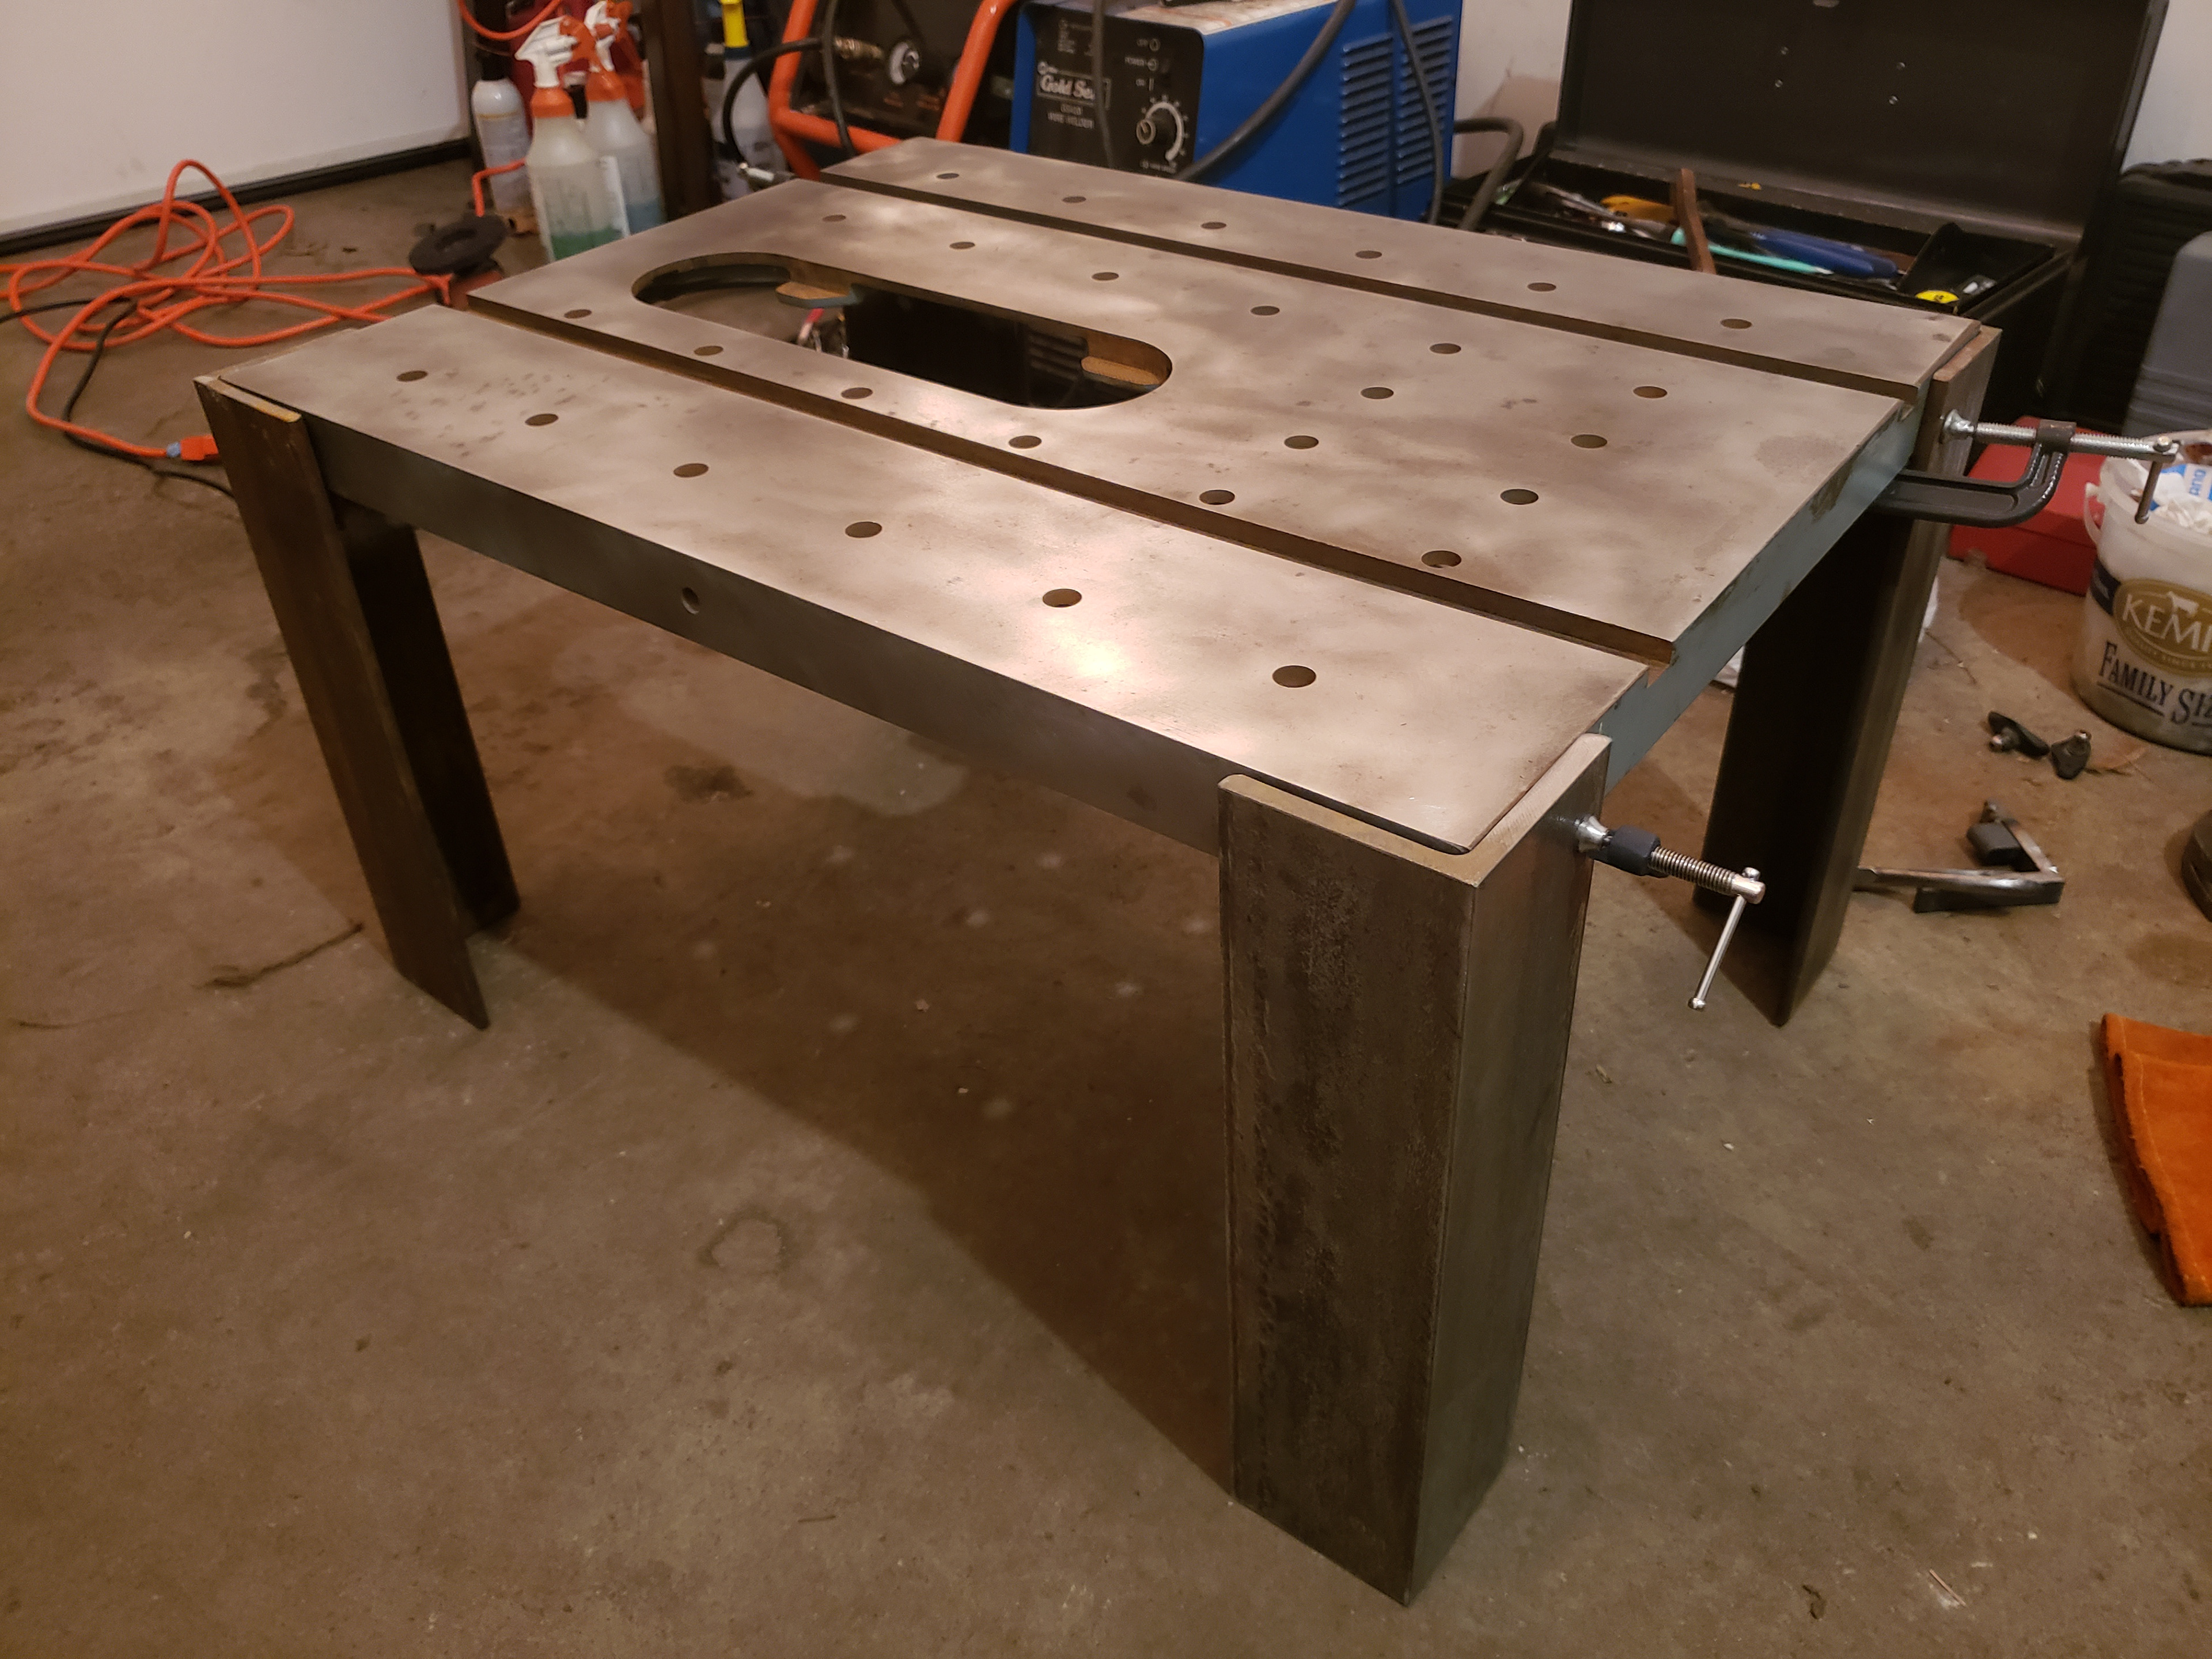
Table legs on!

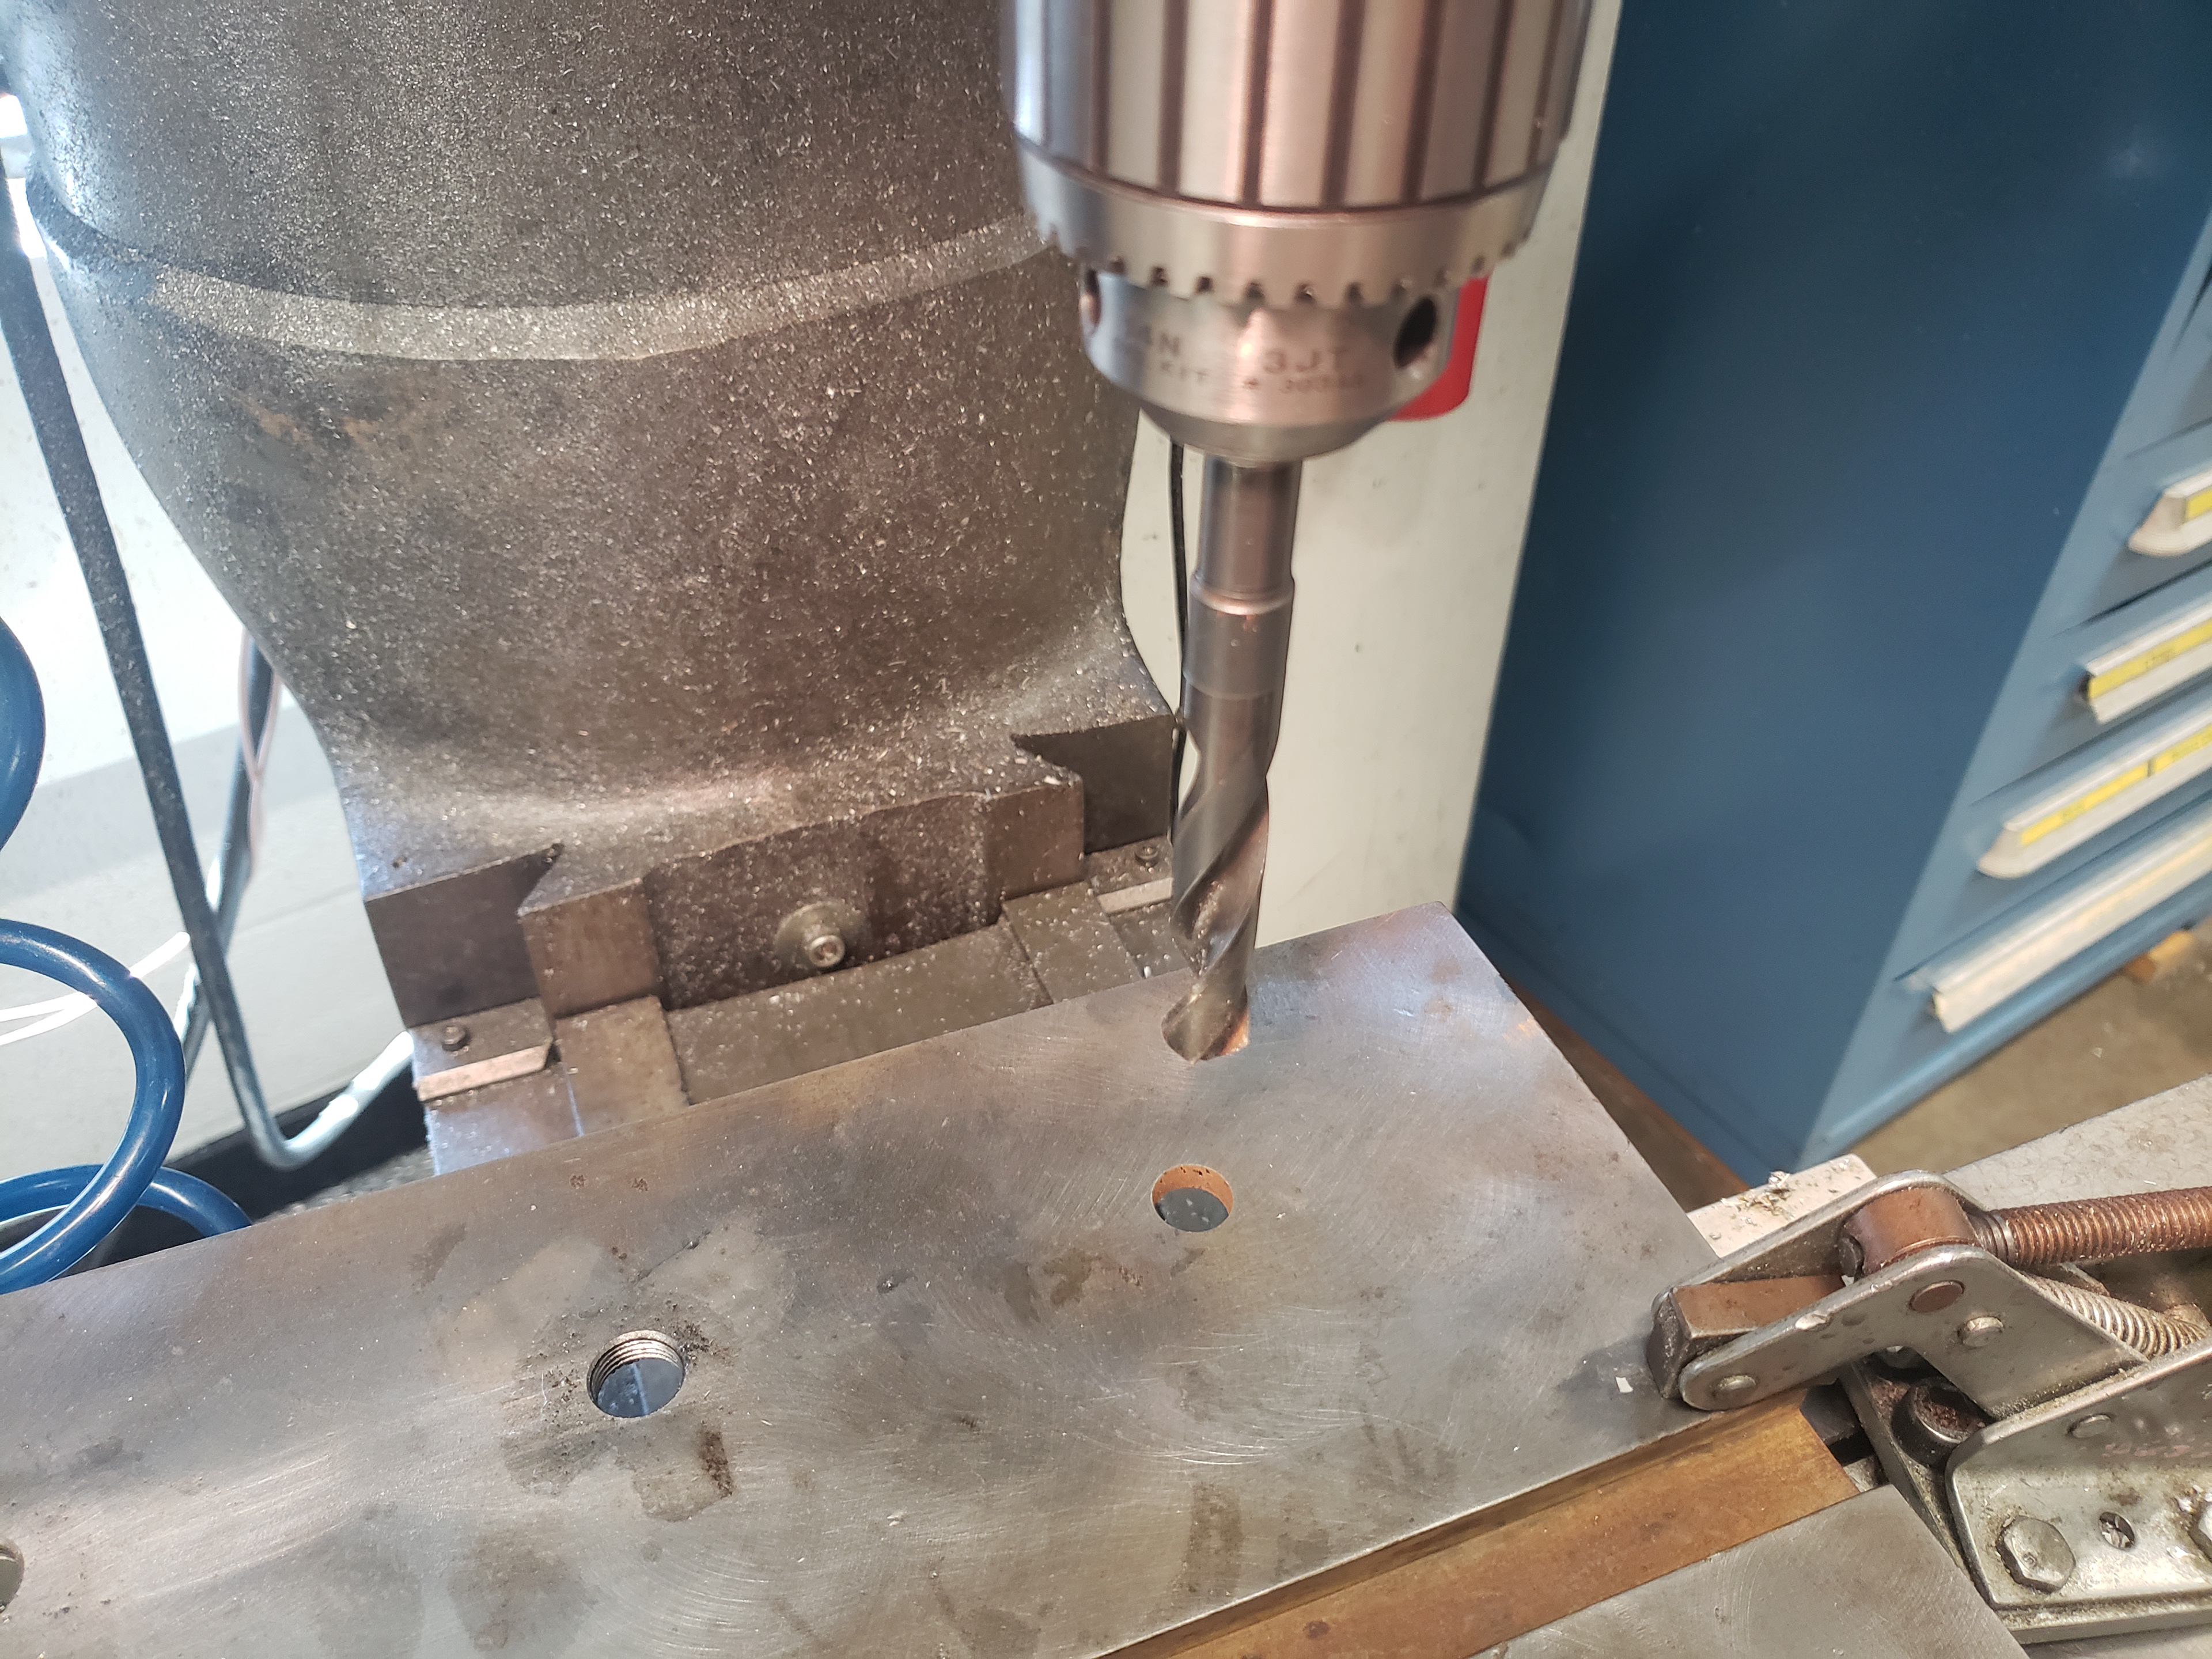
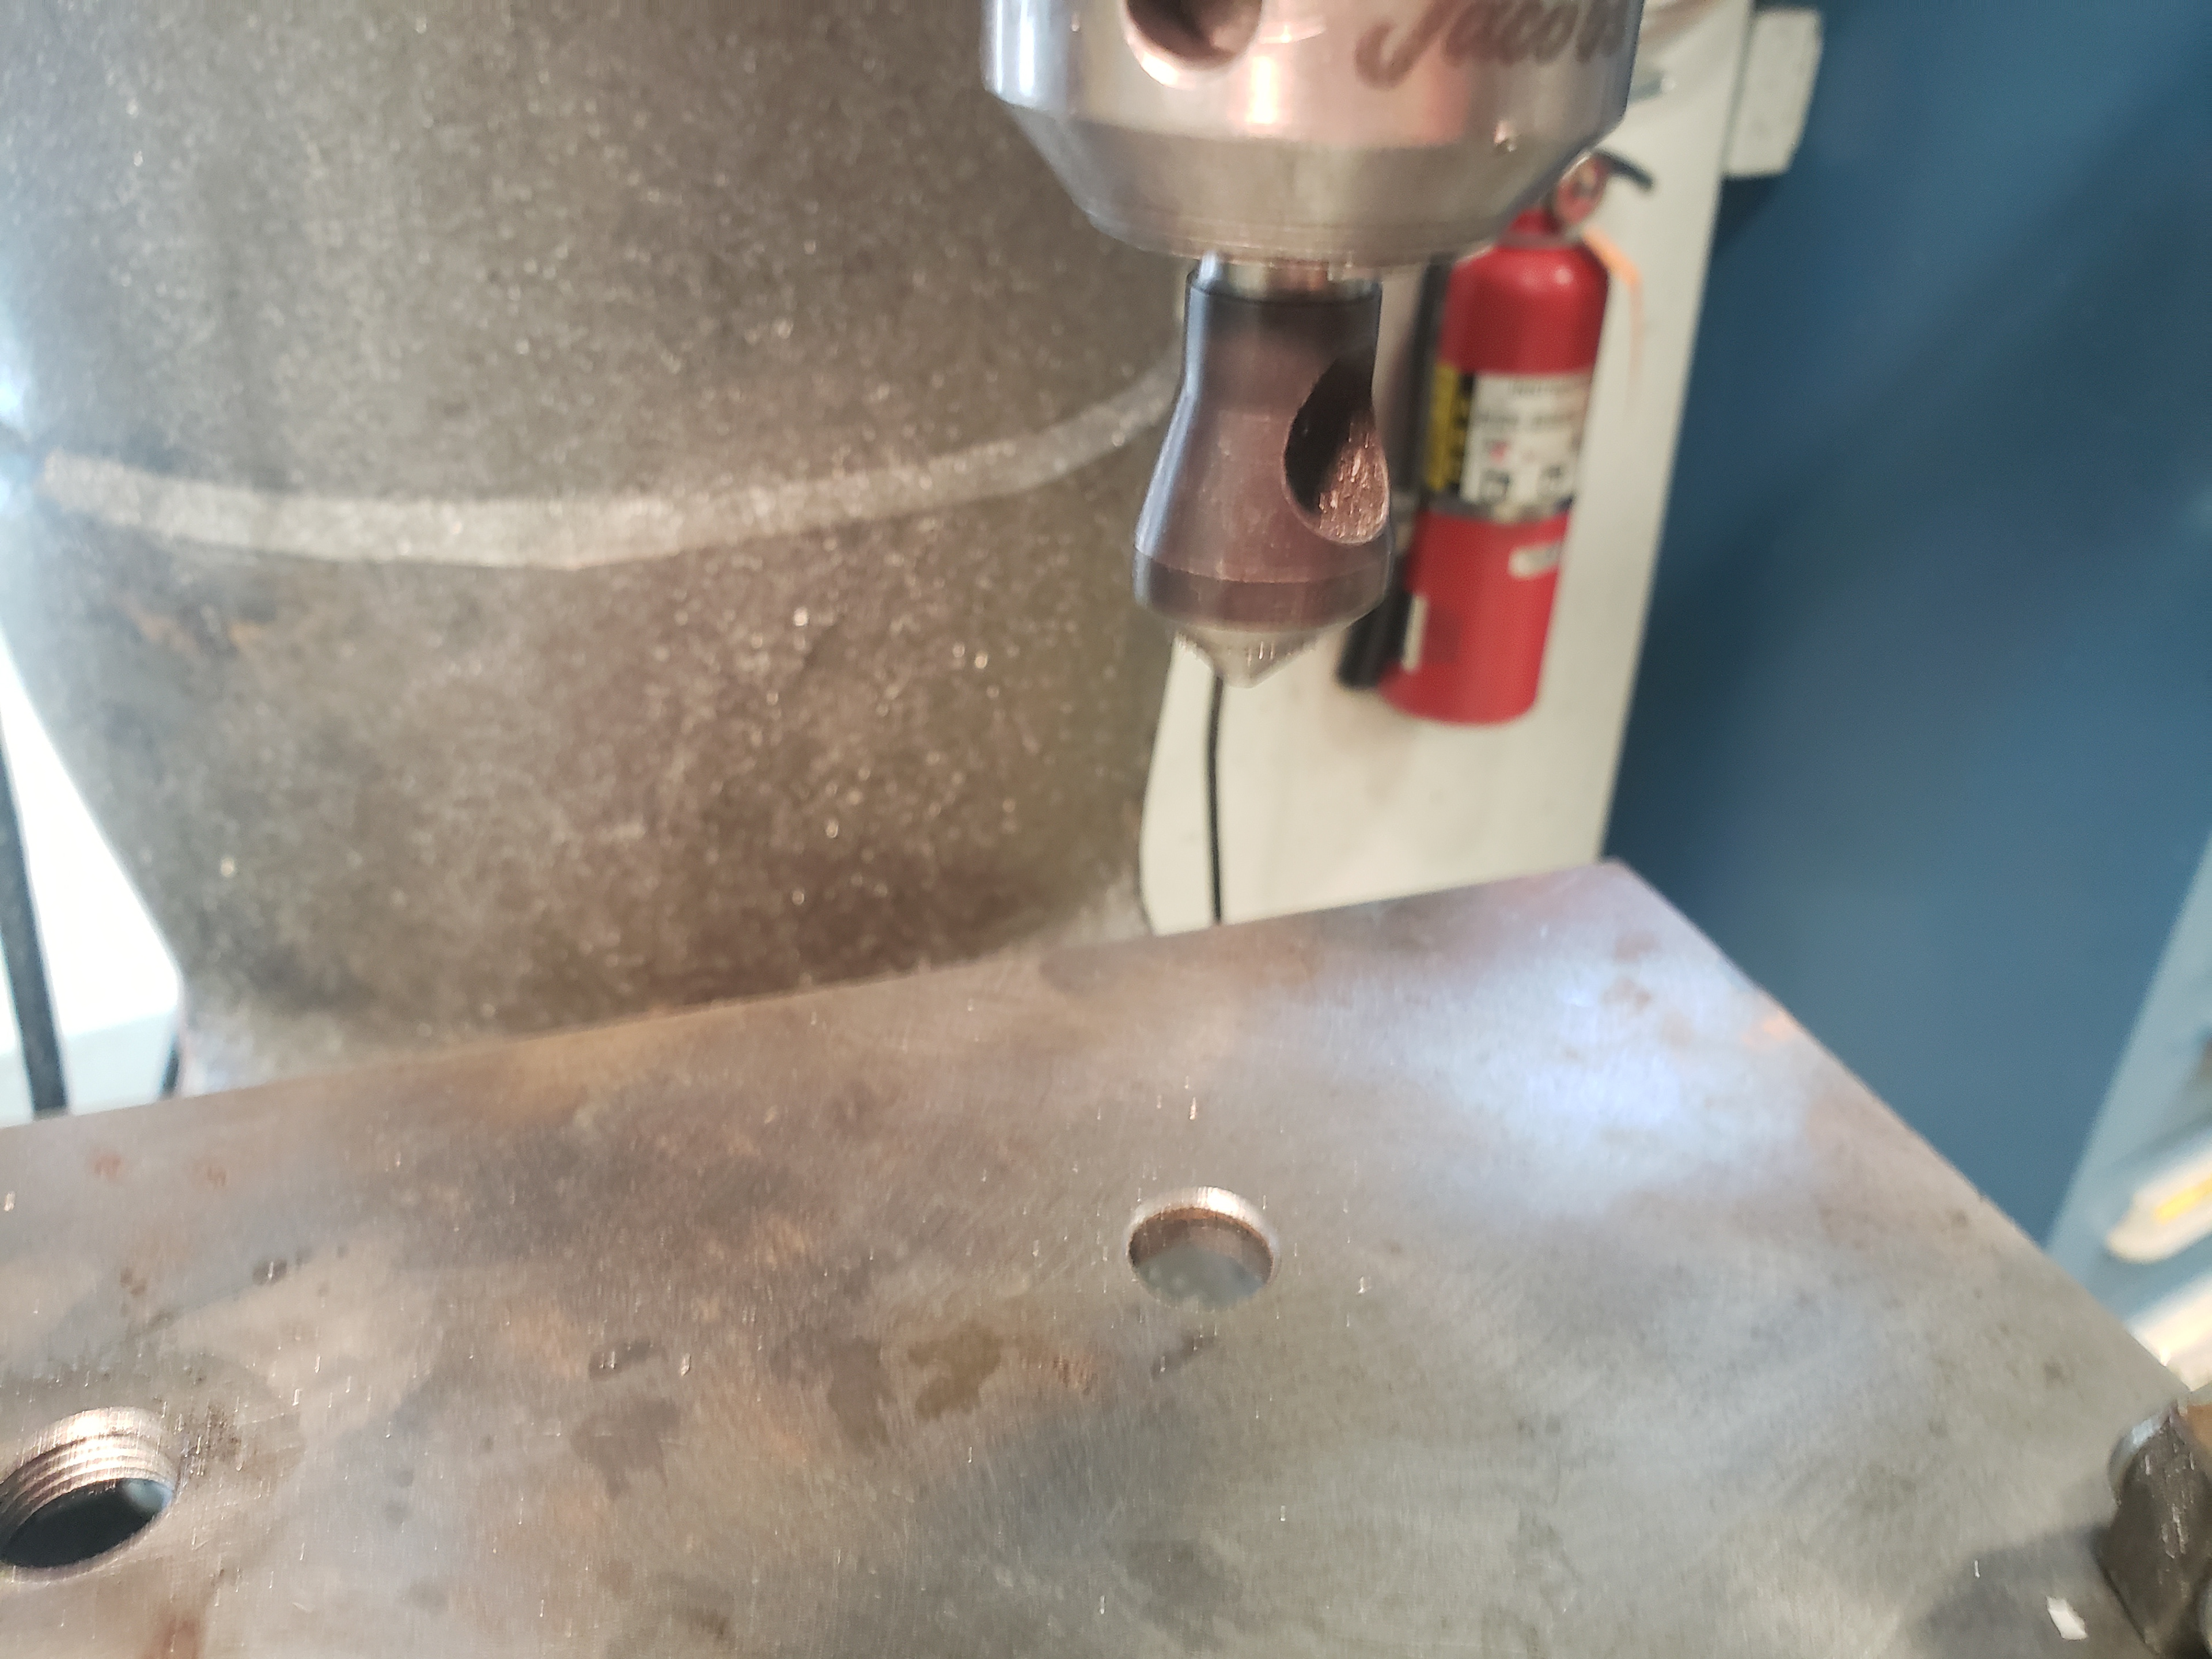
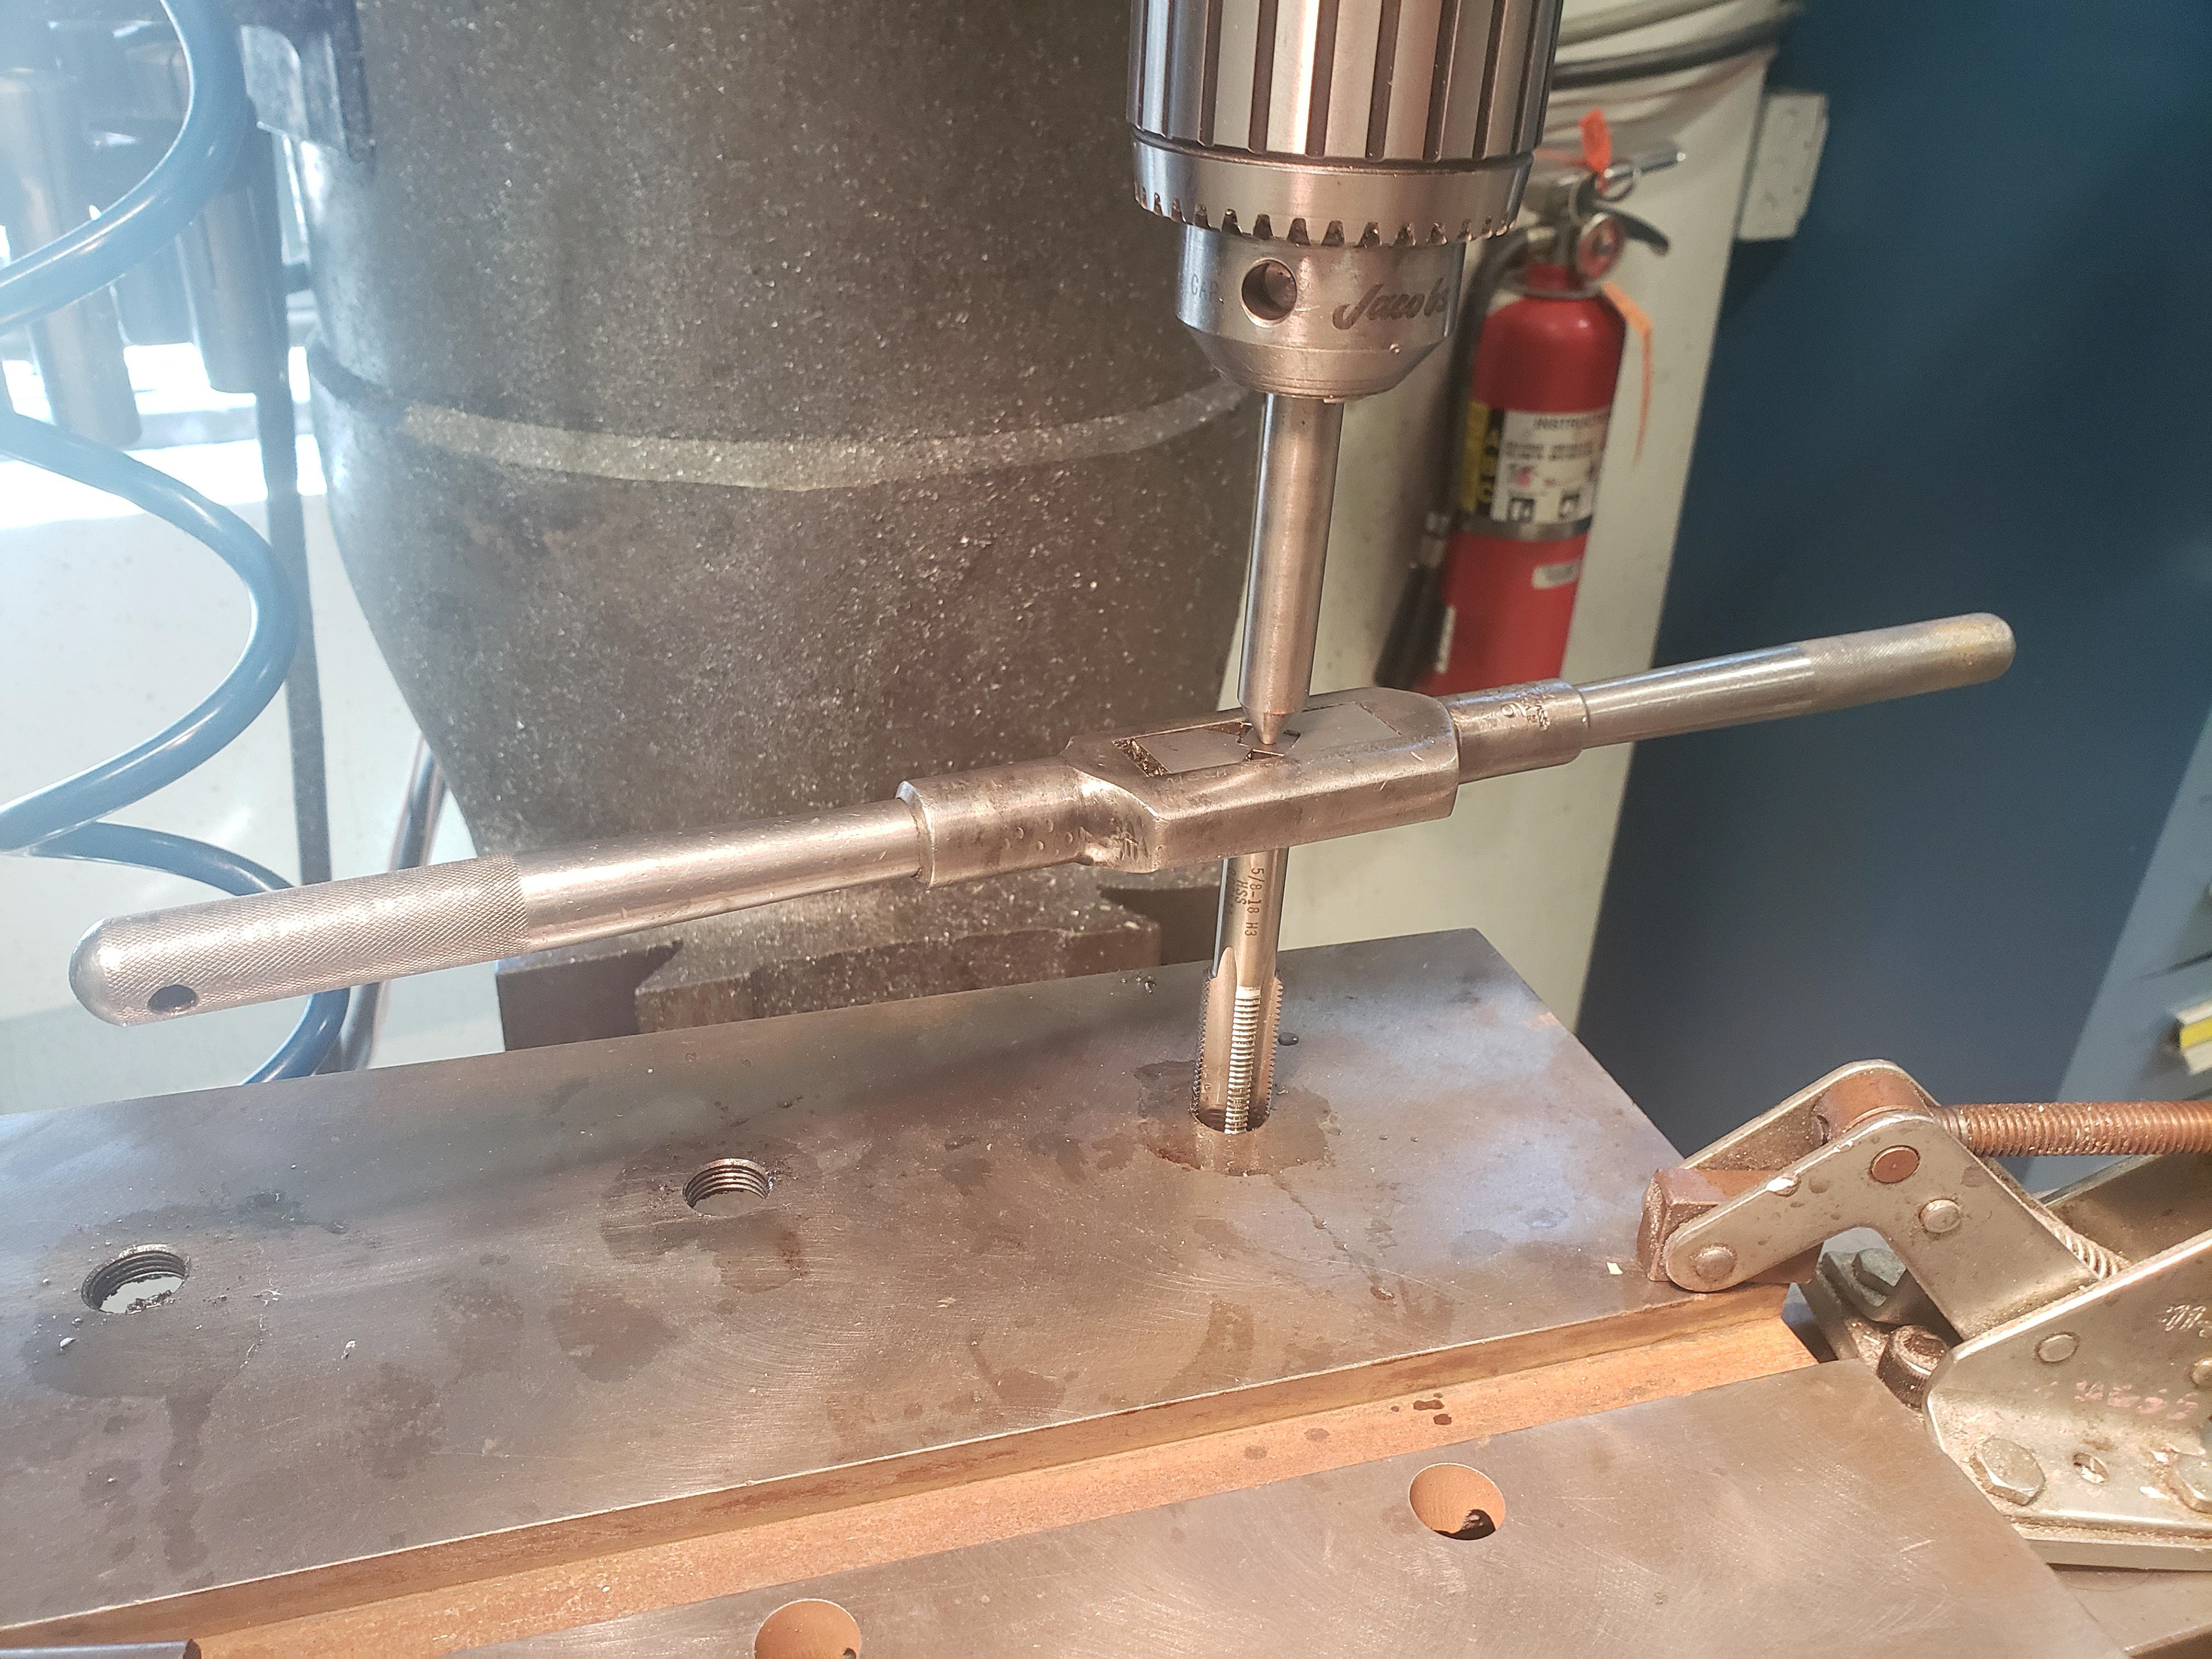
Meanwhile it was time to tap all 24 of the fixture holes.  I used the Bridgeport milling machine at the University of Minnesota Student Machine Shop.  First I would center the workpiece using the drill bit, add a slight chamfer to the hole with a countersink bit, and finally tap the hole using a guide to ensure the threads are perfectly straight.
Ben from Anderson Labs offered me the old Civil Engineering welding table, which I salvaged the legs from.  Unfortunately they were quite rusty.
These legs will be used for the lowers of the table legs.

A rusty leg prior to being stripped with the Scotch-Brite Clean and Strip disc also pictured.

Rust free!  So far, the Scotch-Brite disc has been much faster and more importantly more durable than the flap discs at removing rust and mill scale.
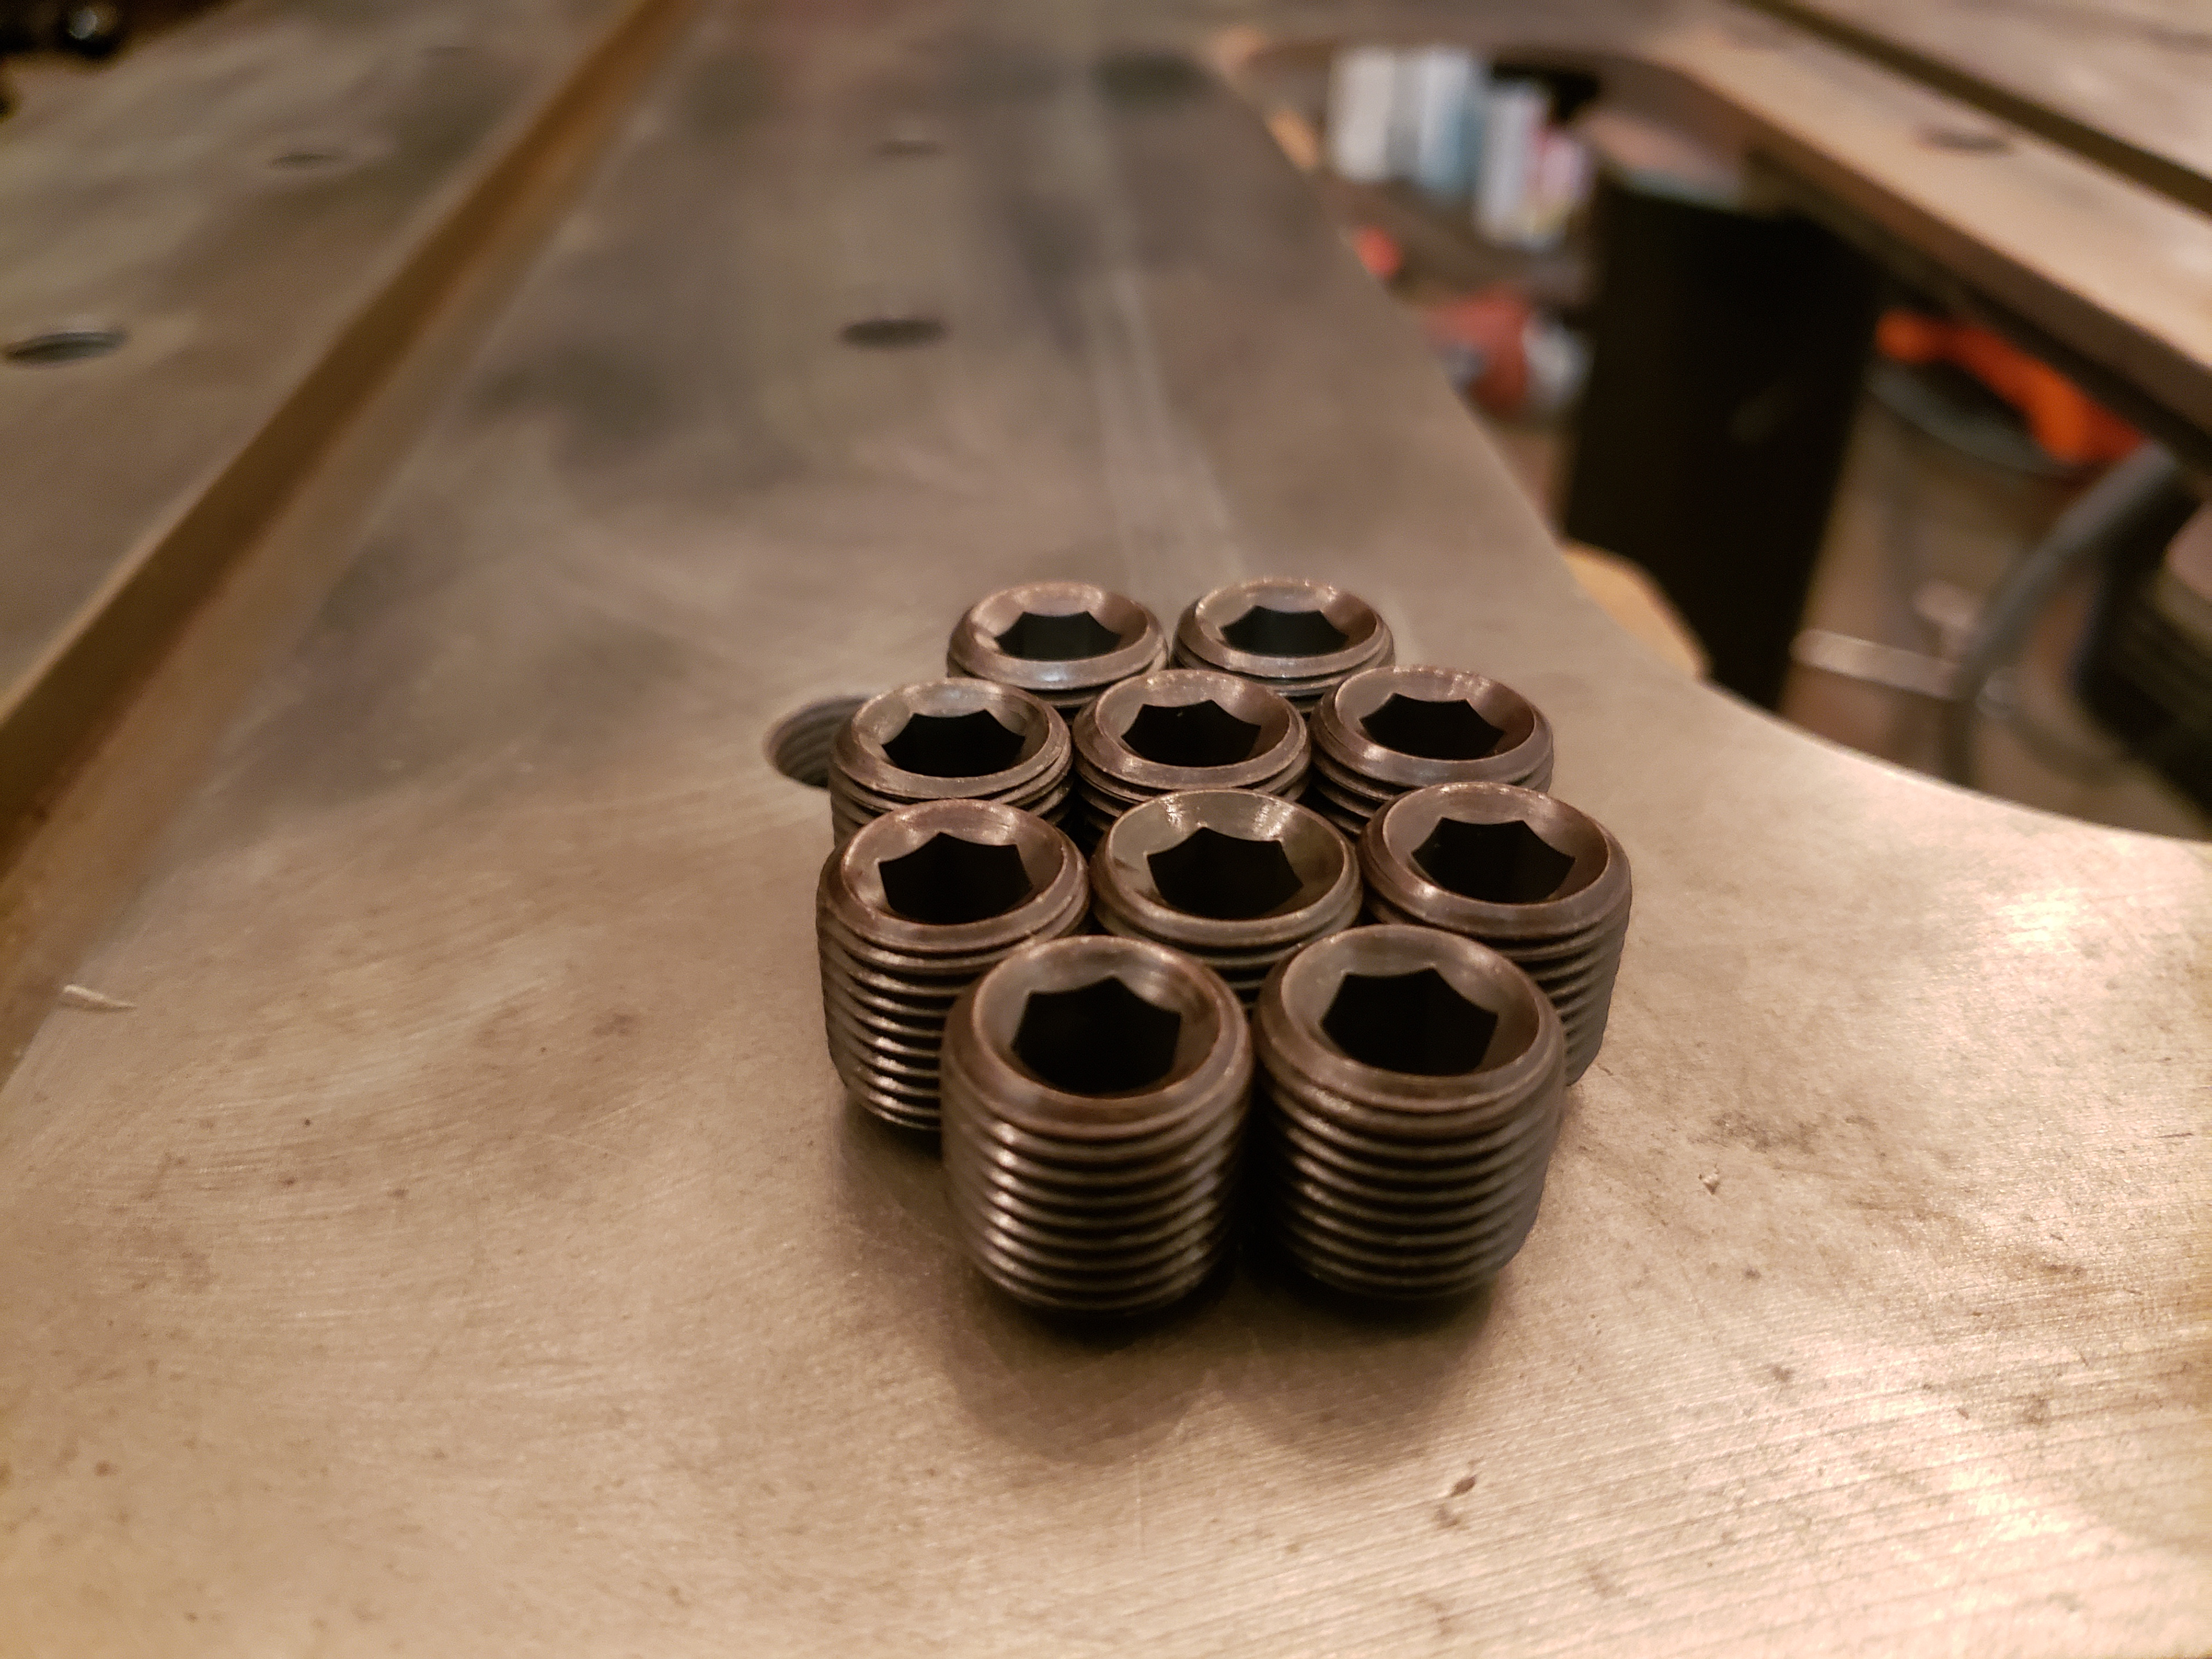
Set screws
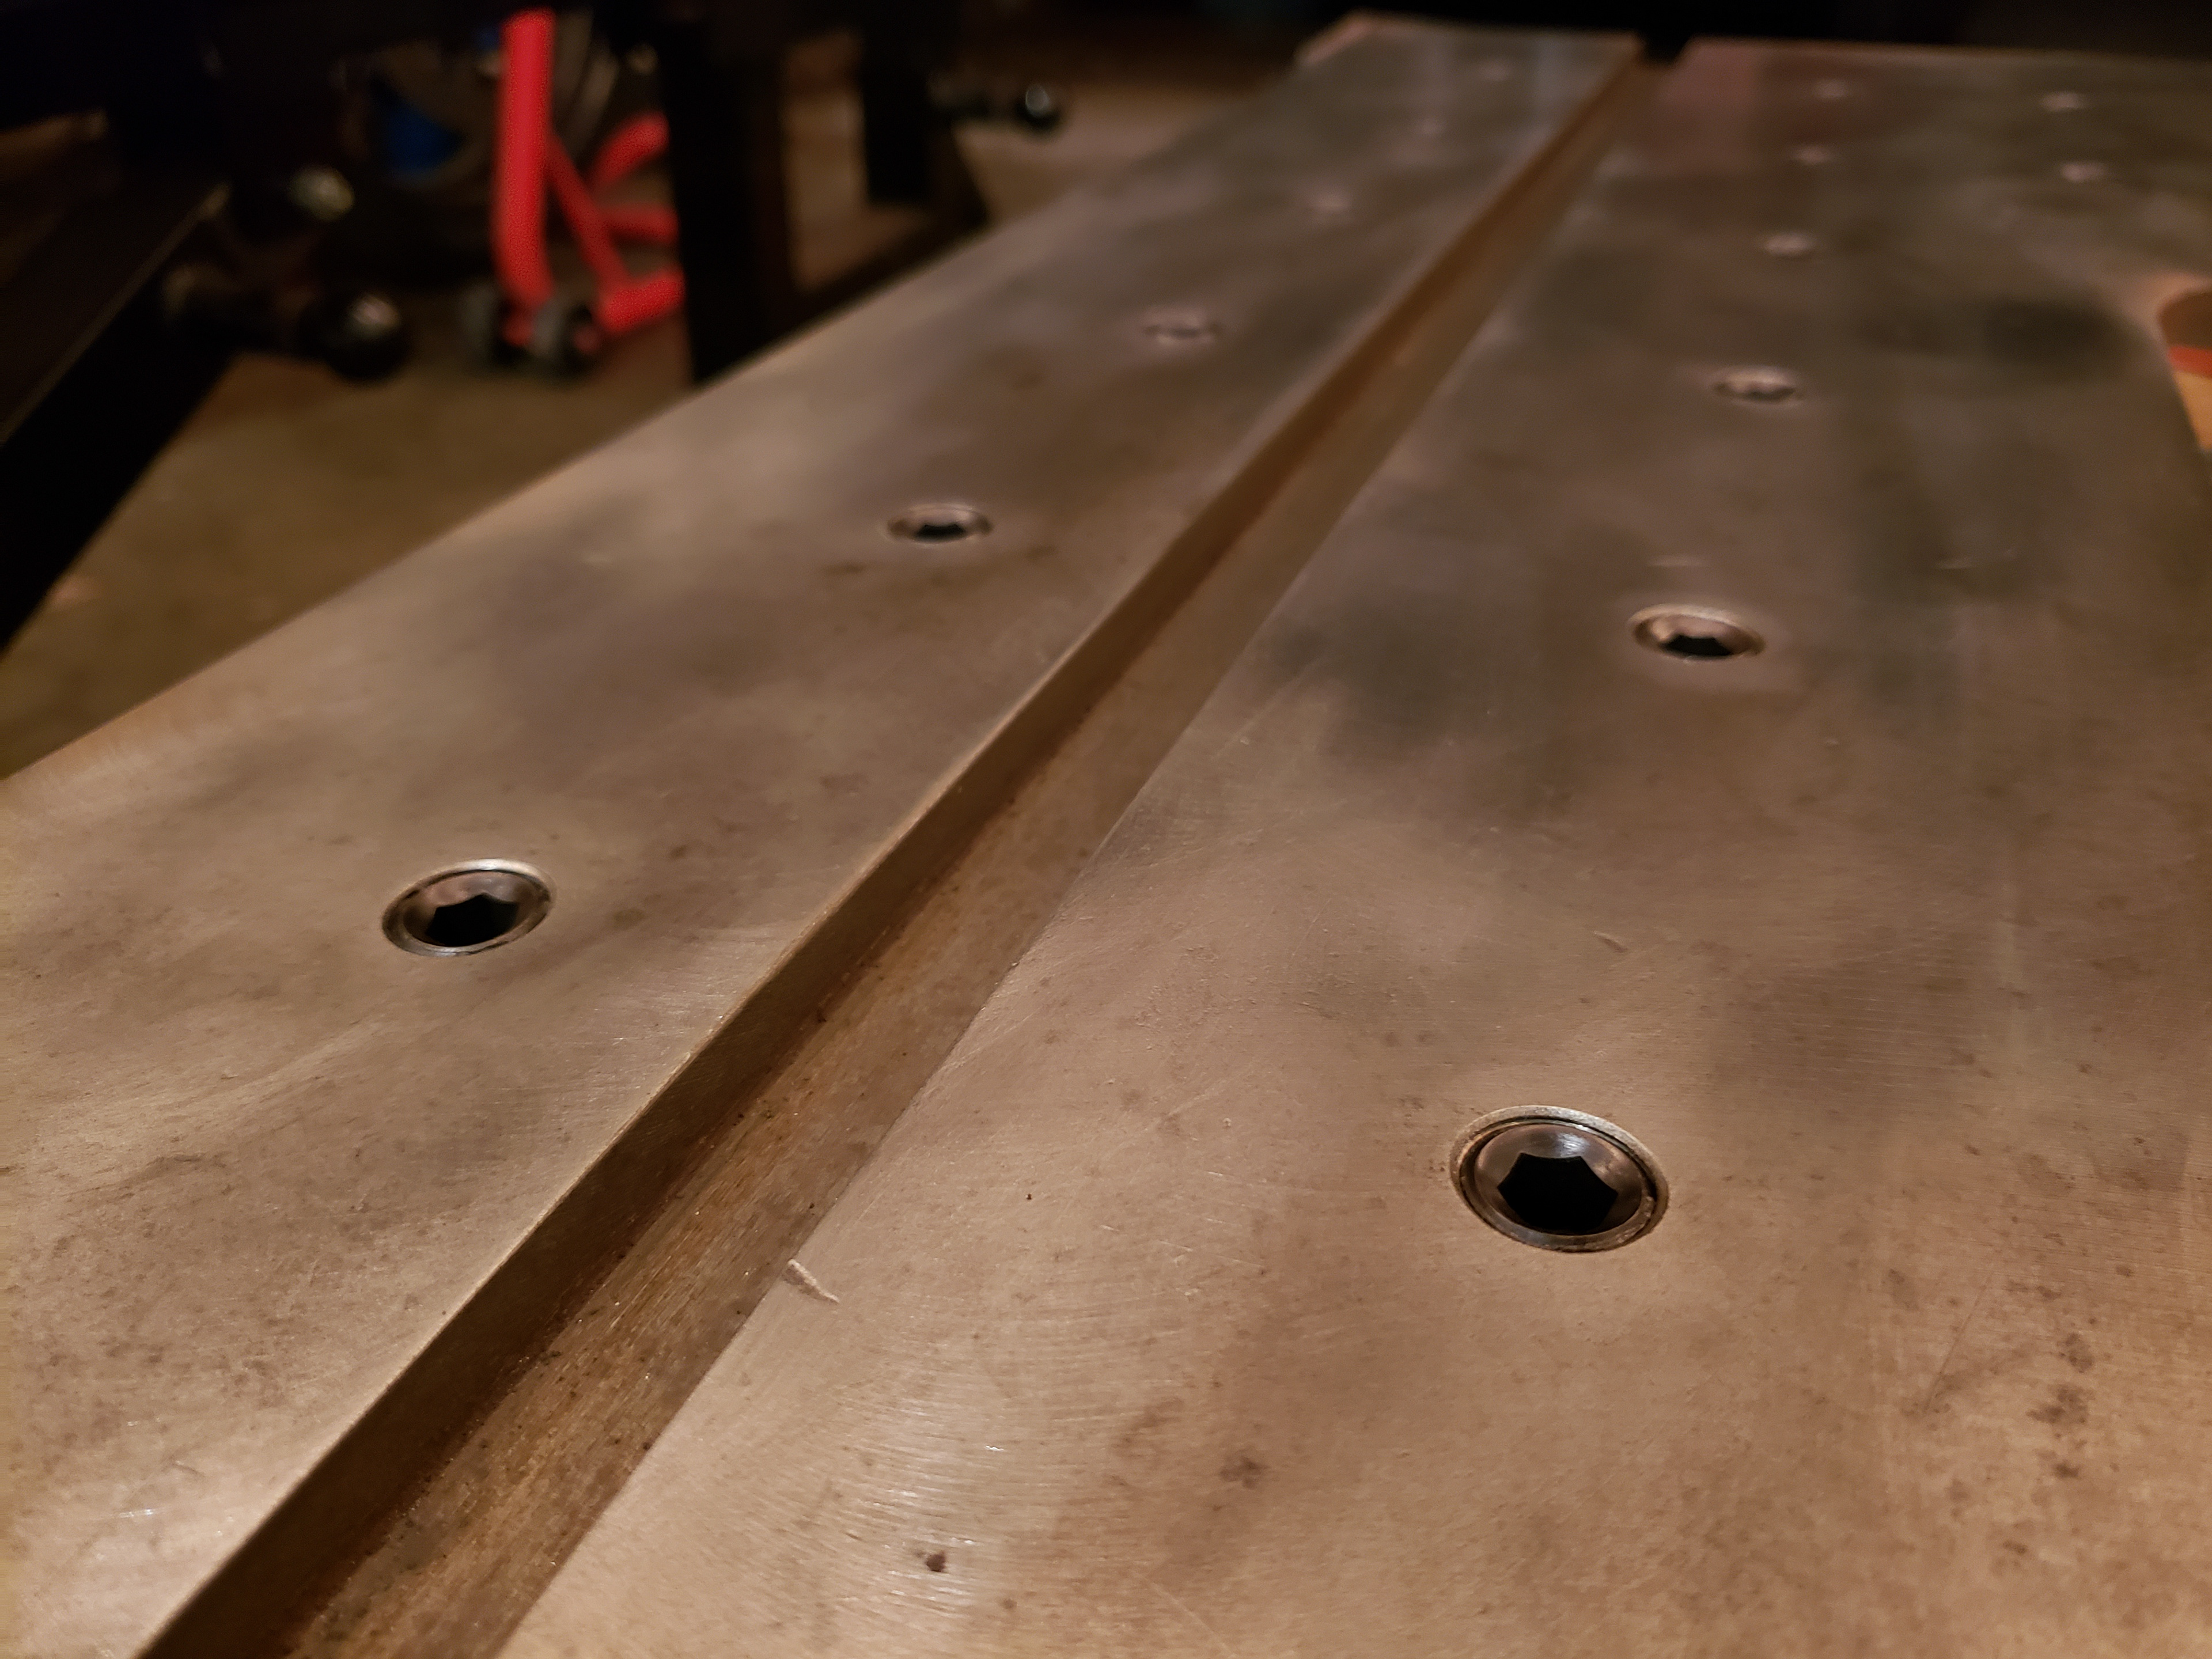
Set screws
Finally, the set screws arrived!  These set screws will prevent the fixture hole threads from becoming clogged with MIG welding spatter.

A milestone in the workbench's progress!
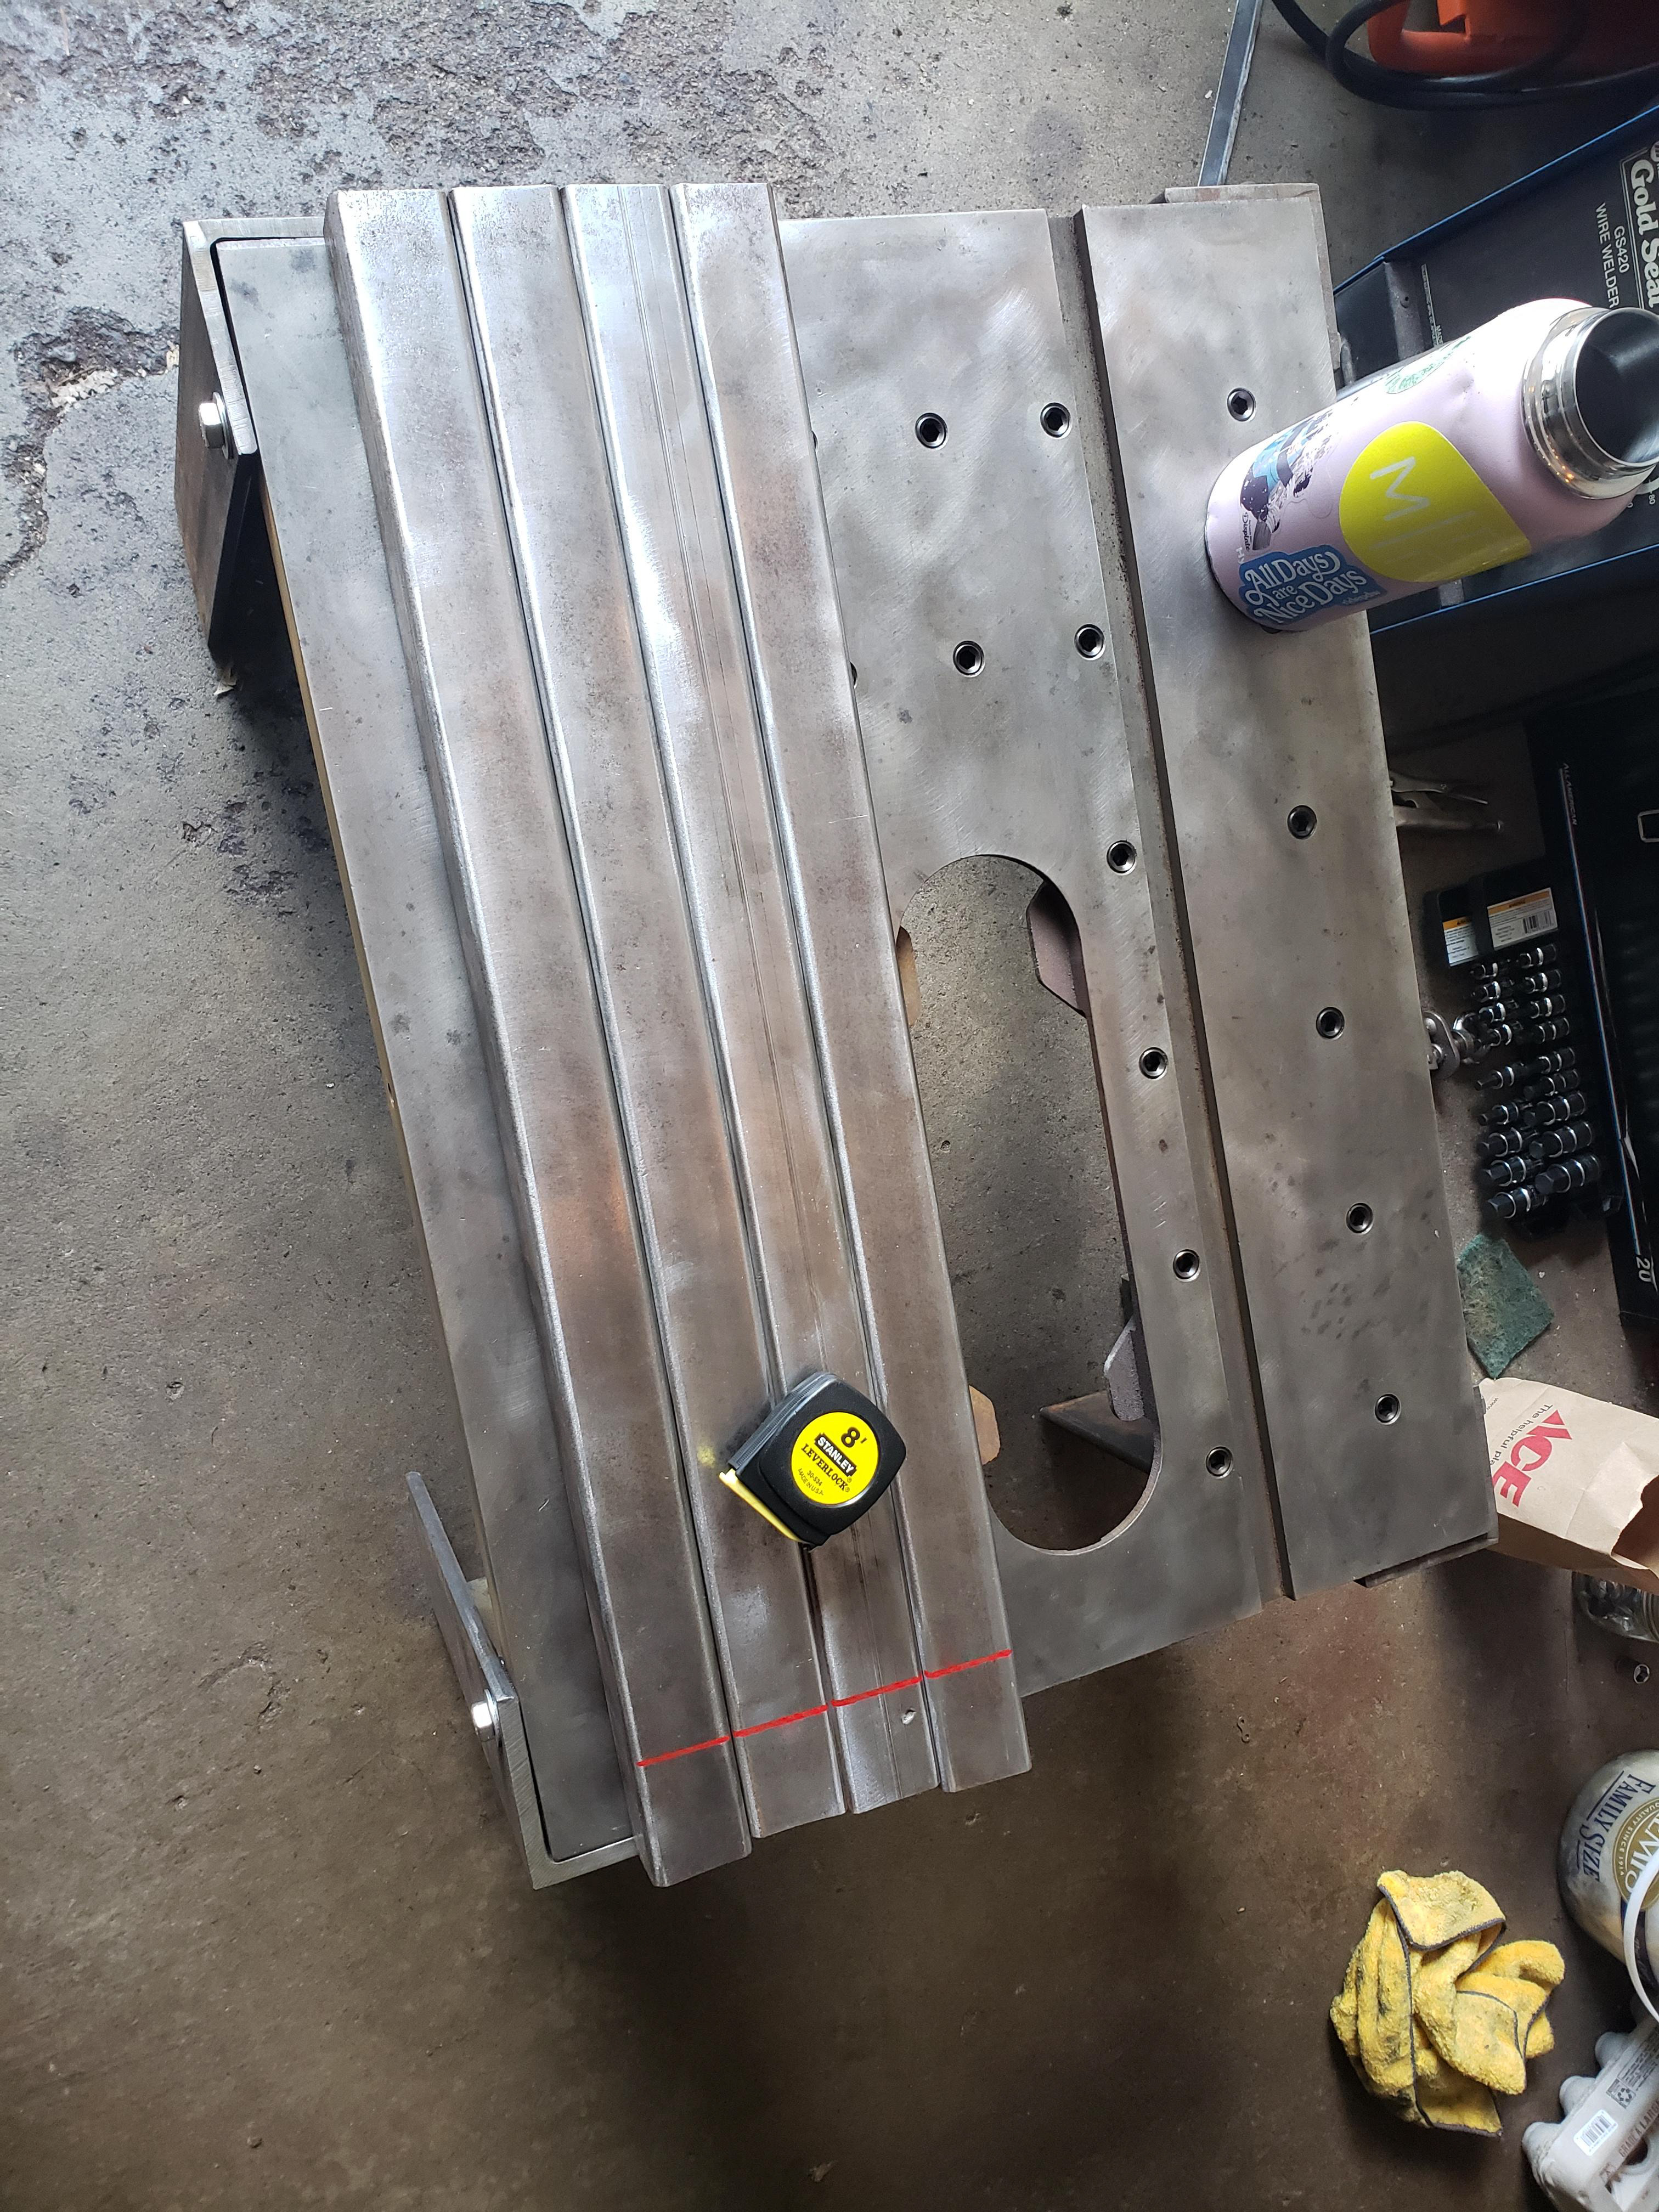
Completing the legs:
Cutting the leg lowers.
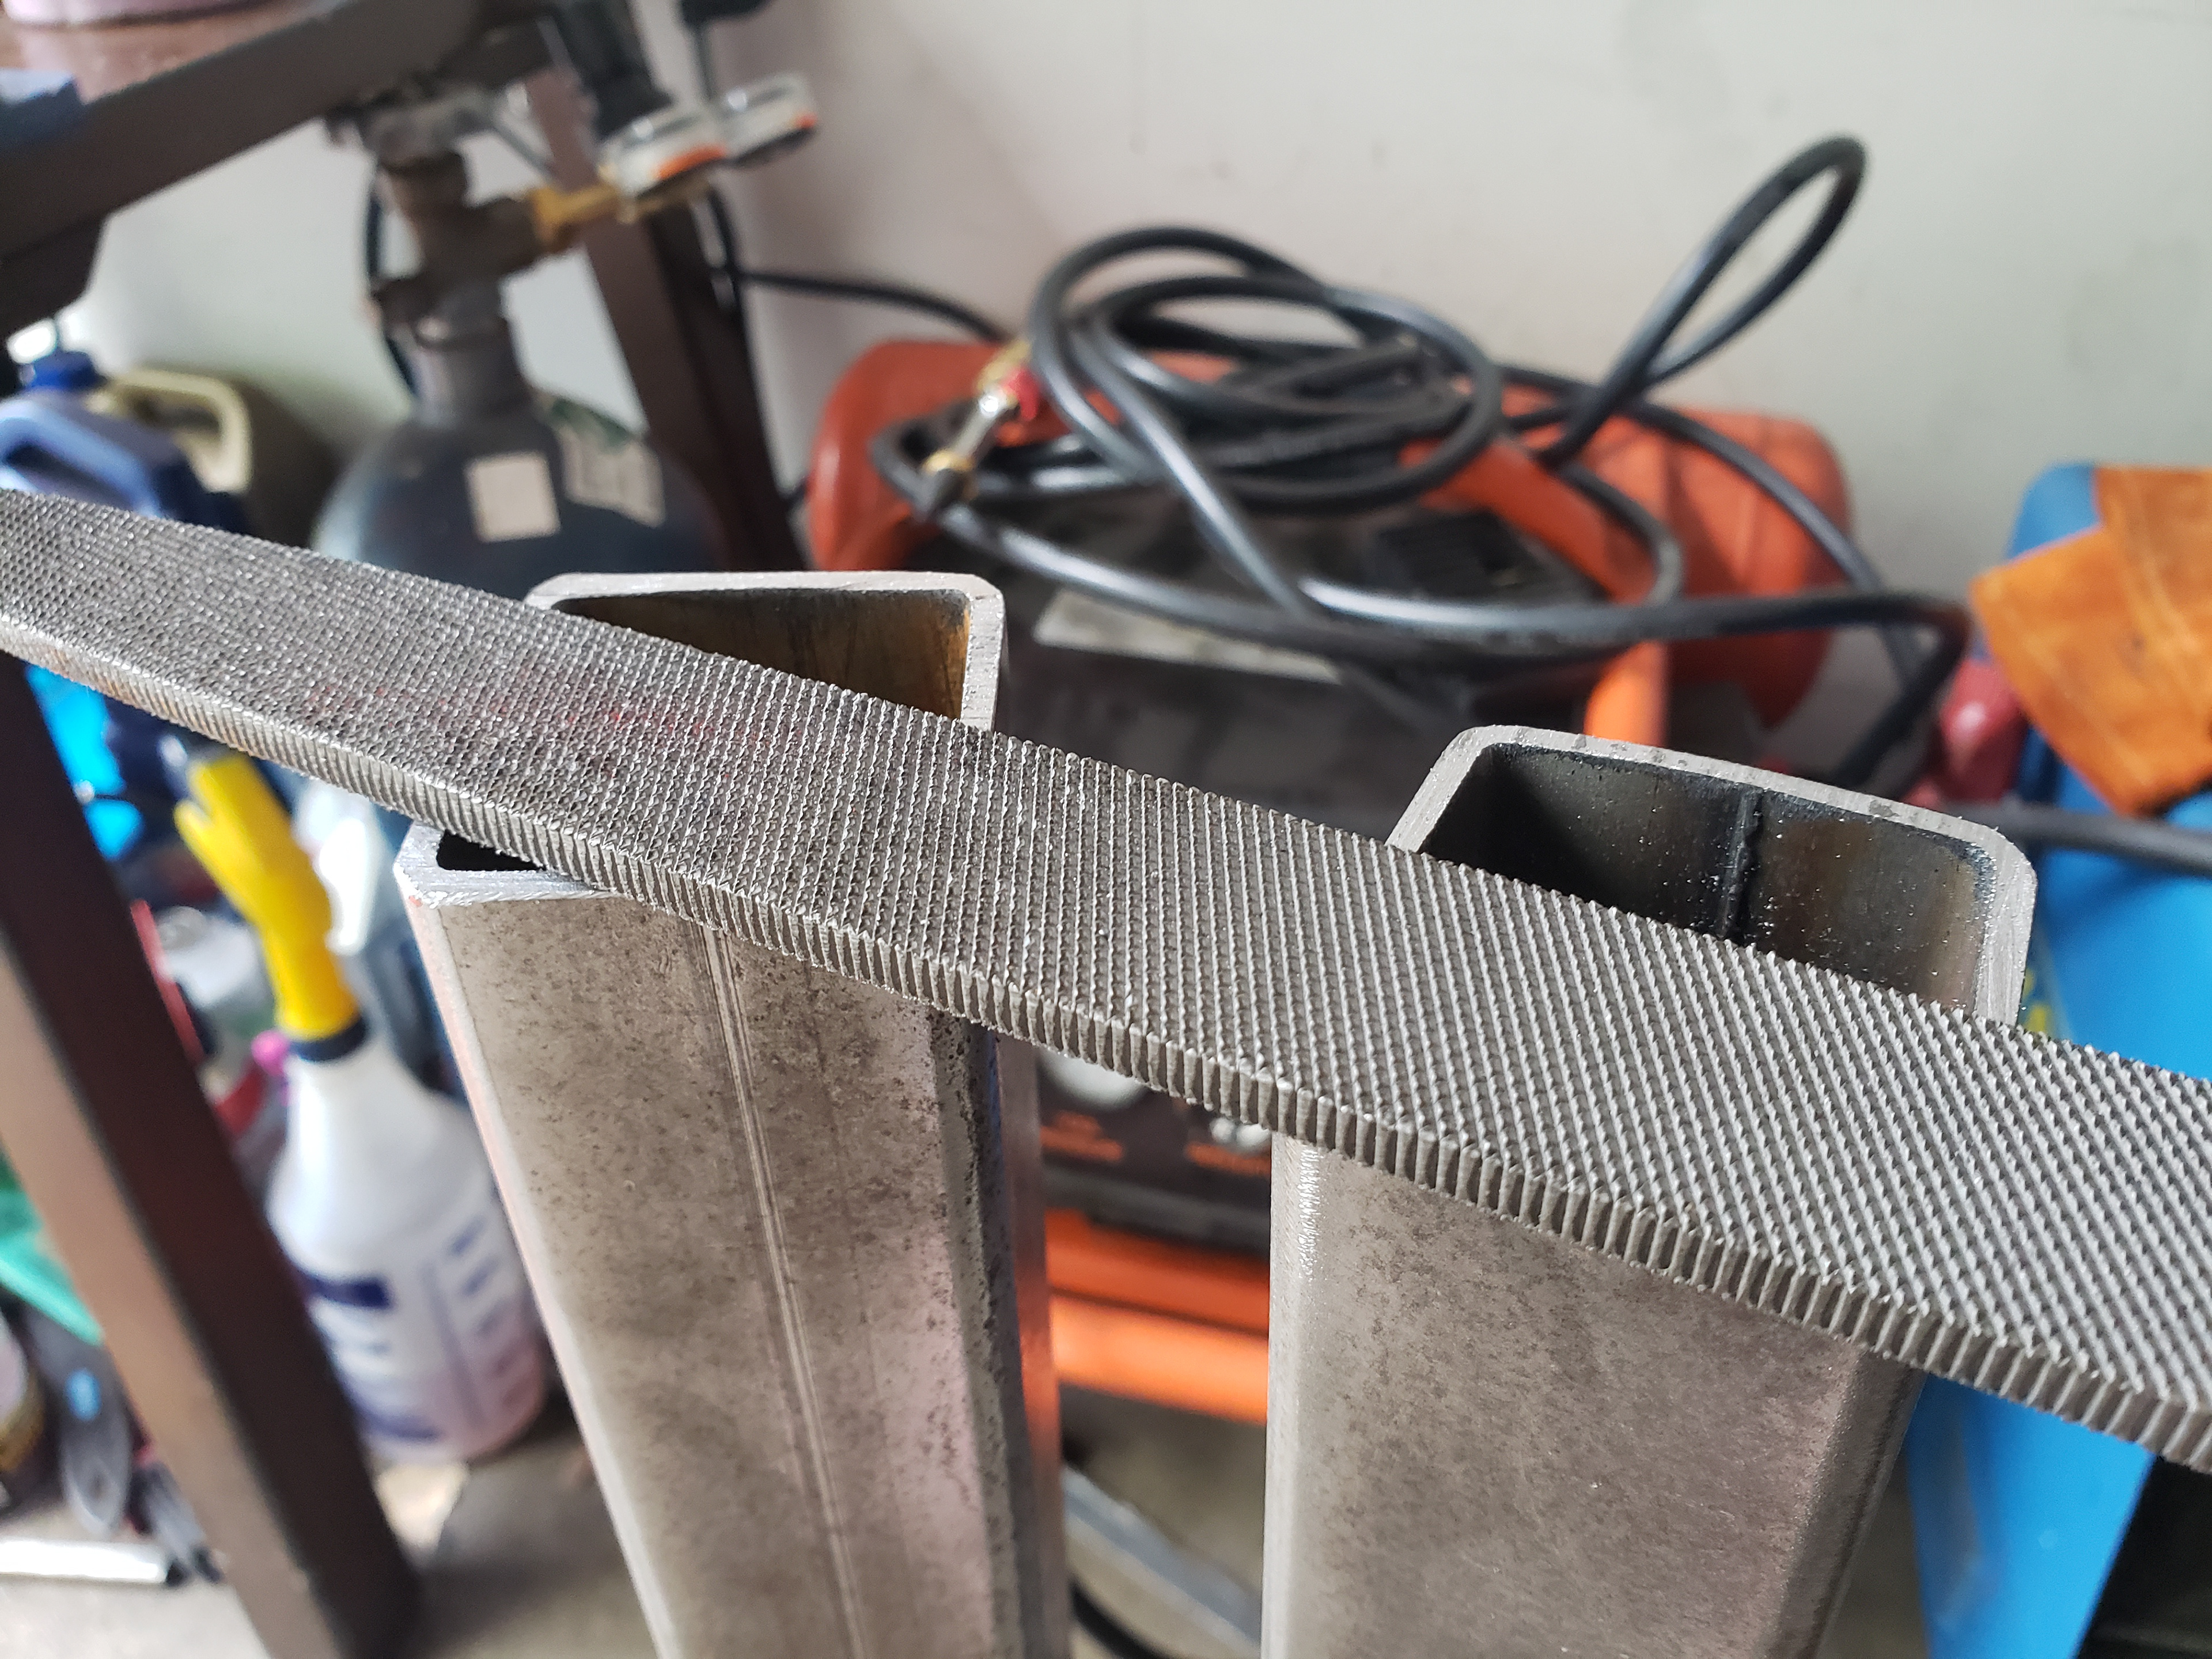
Filing the cuts smooth!
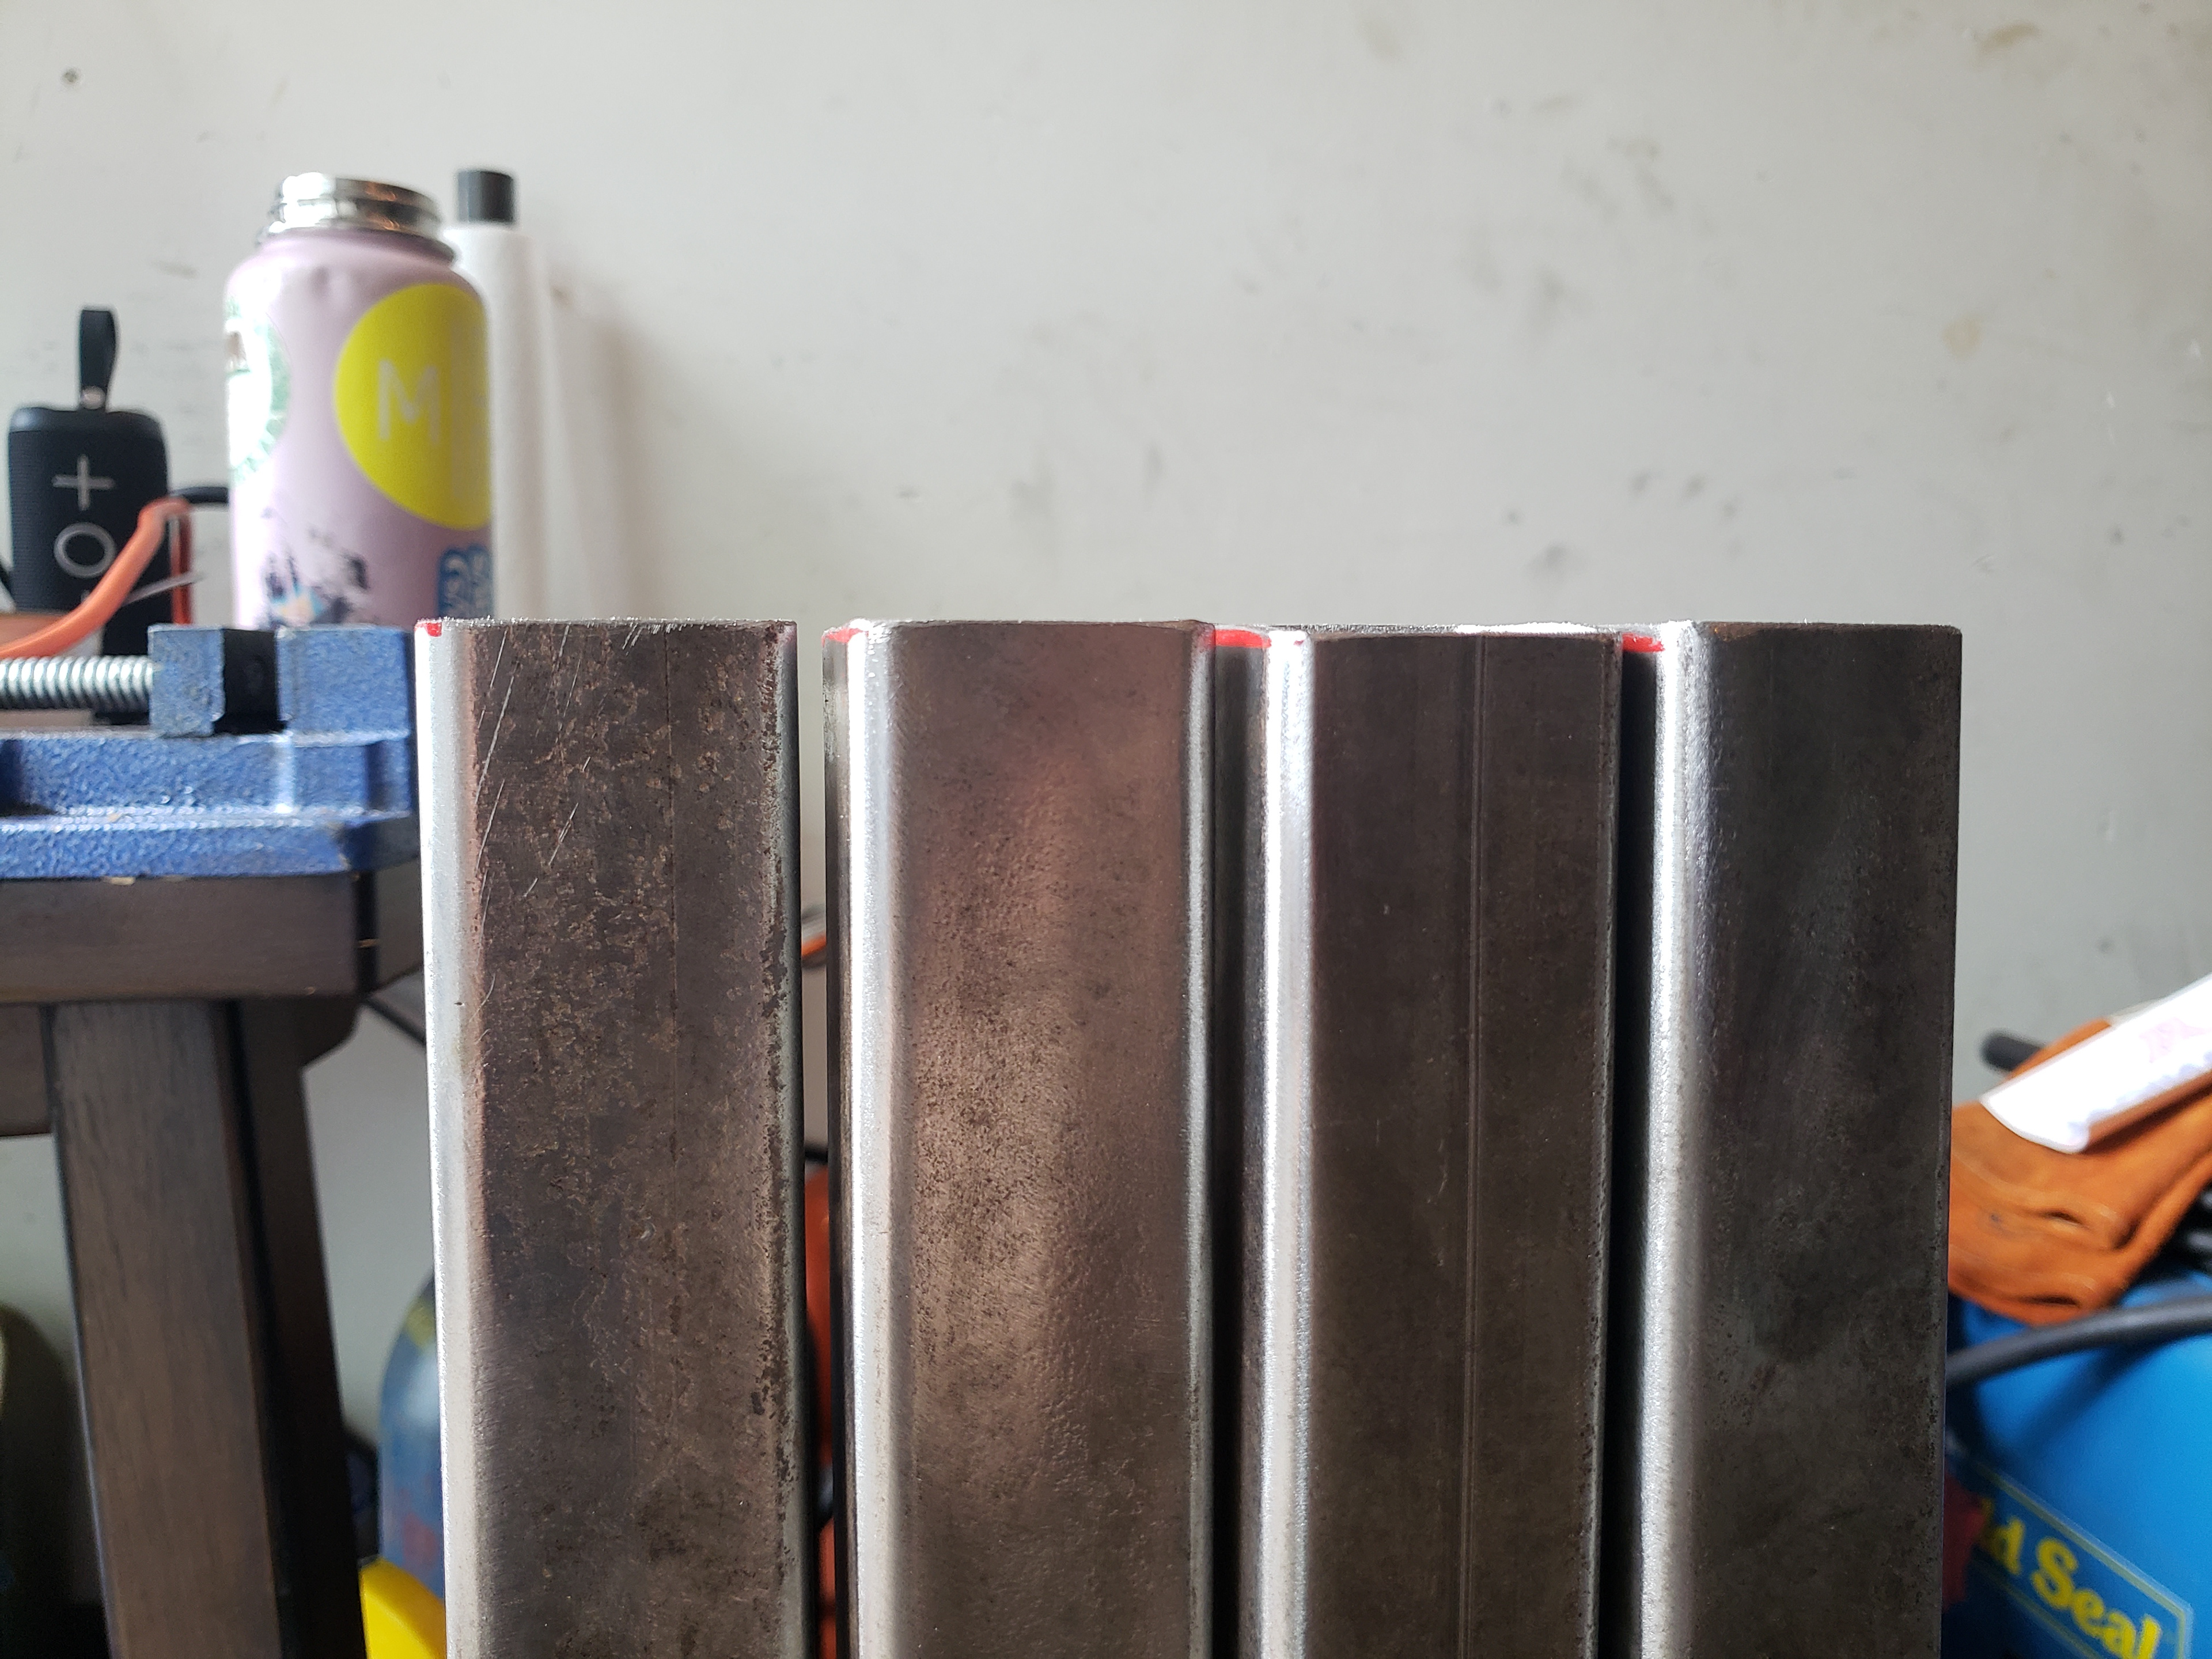
Nice and even.
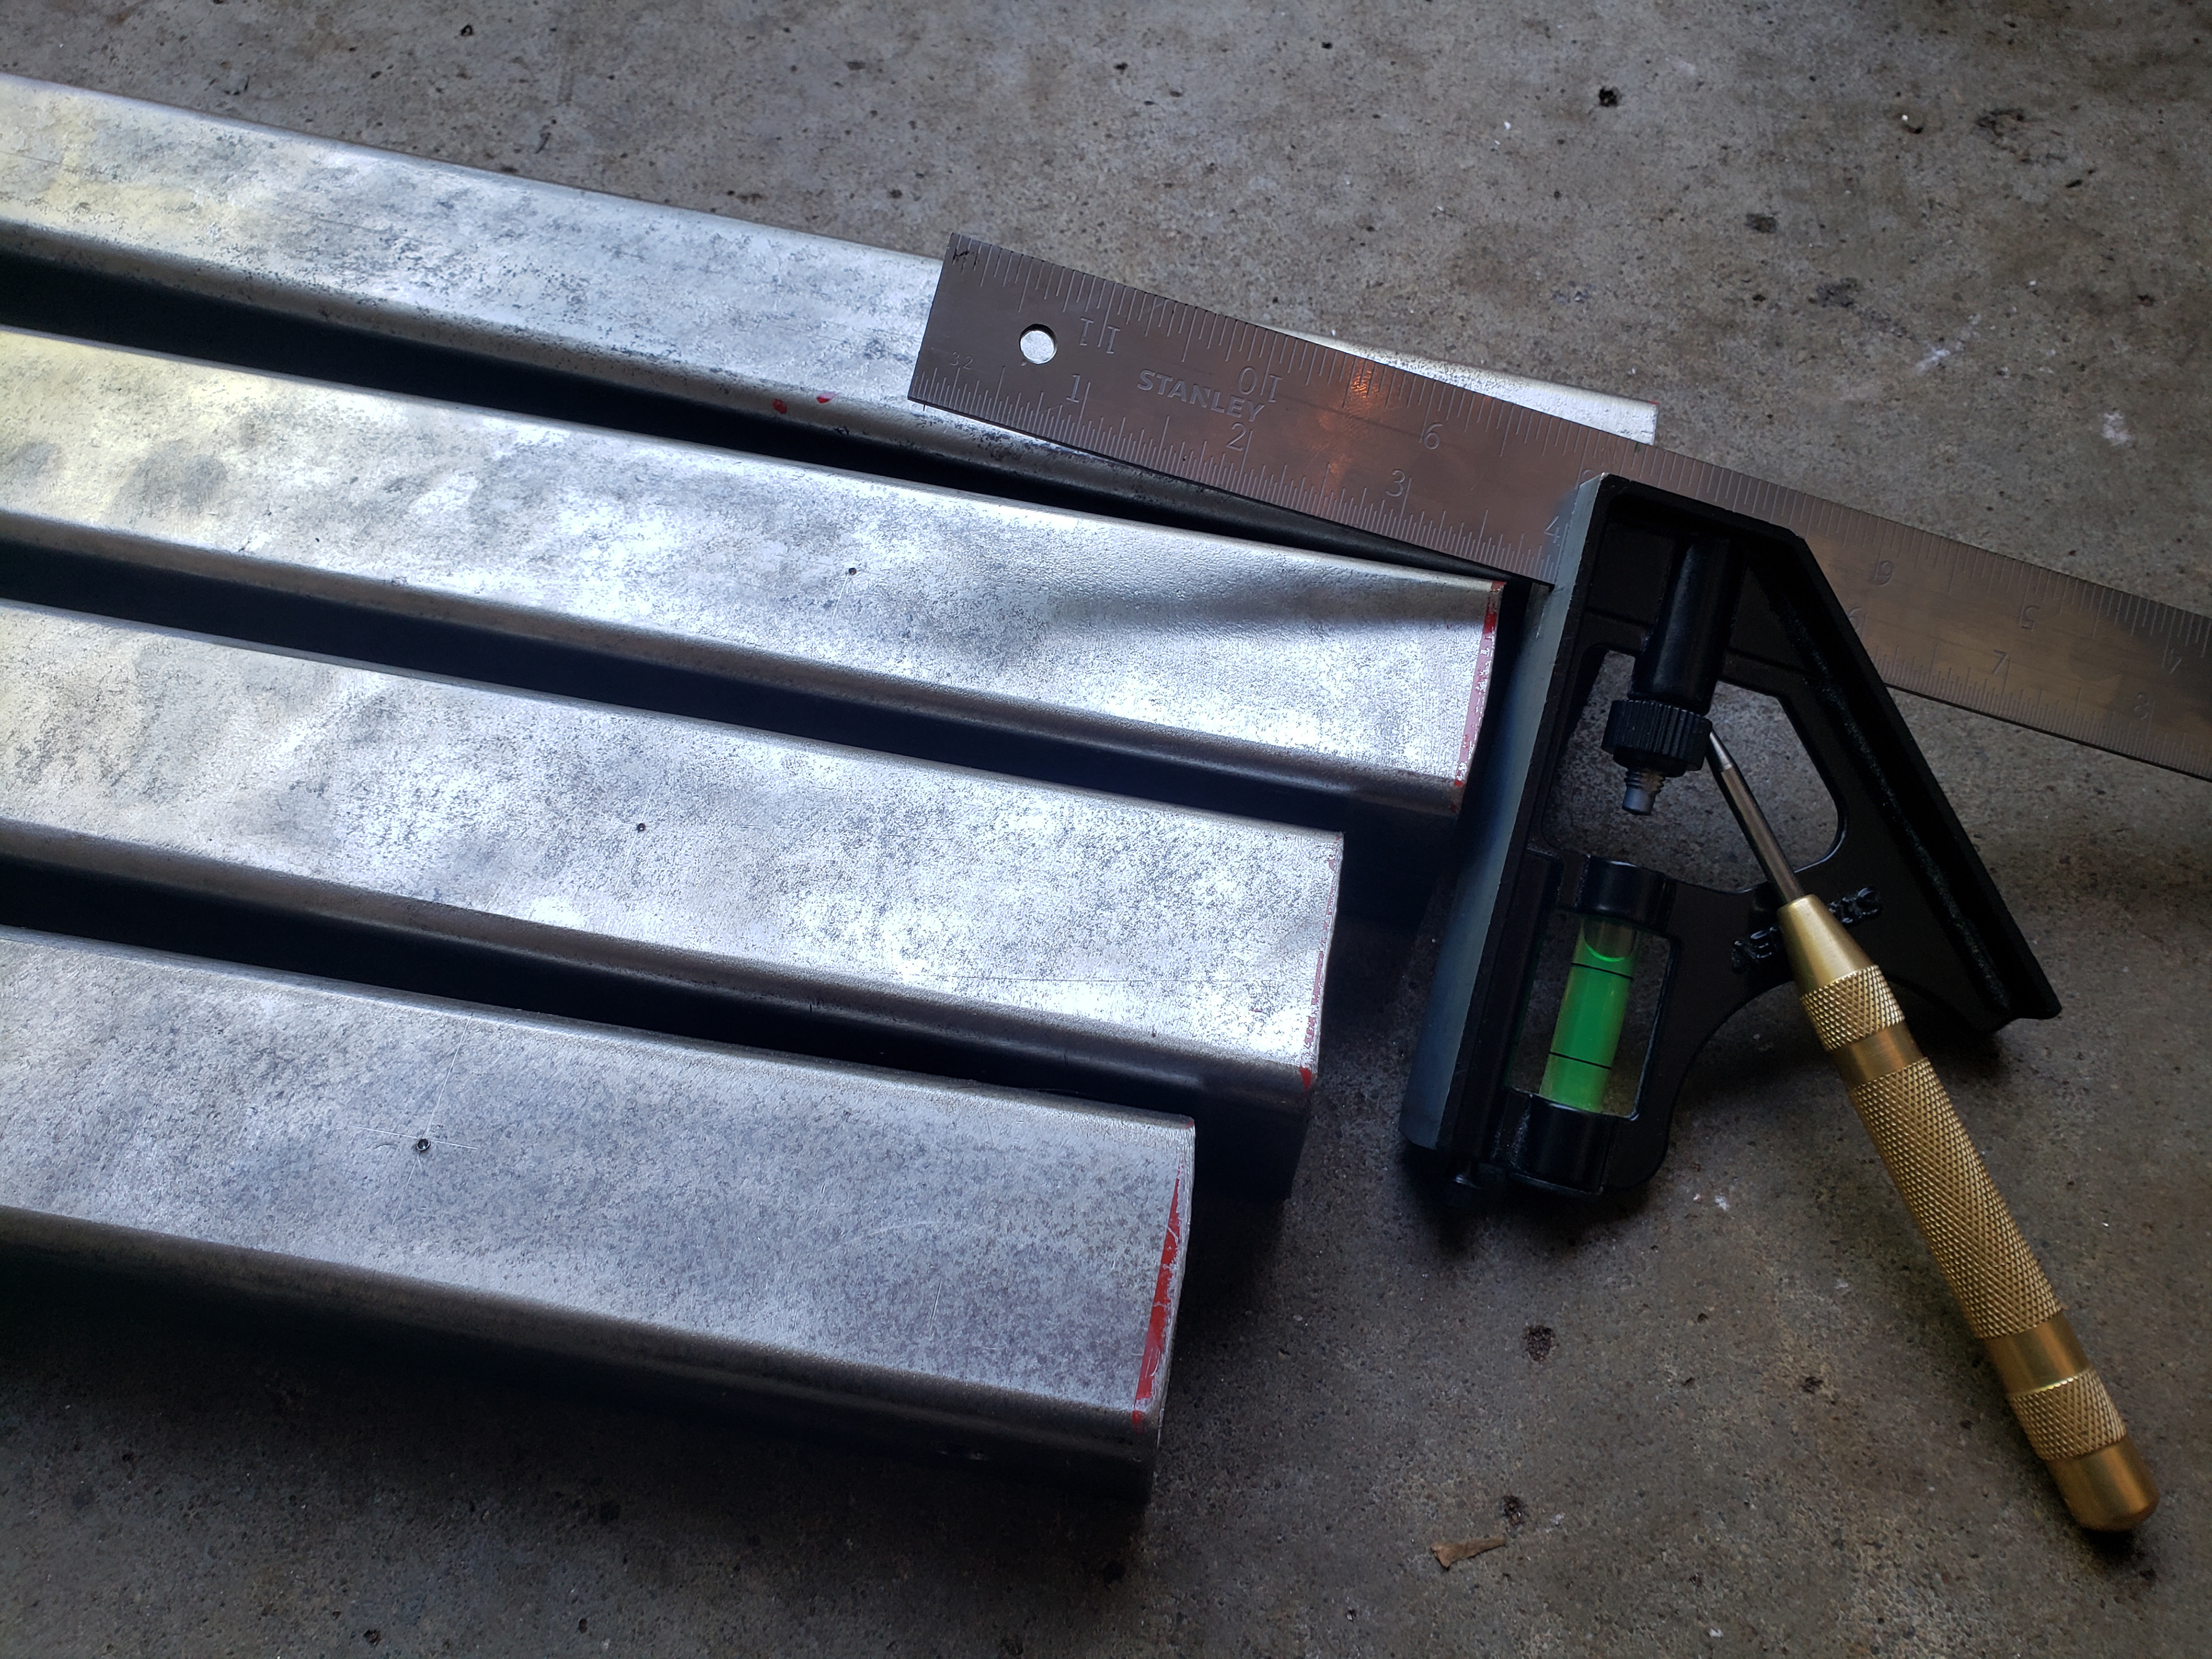
Nice and even.
Making sure the holes align perfectly with the uppers.
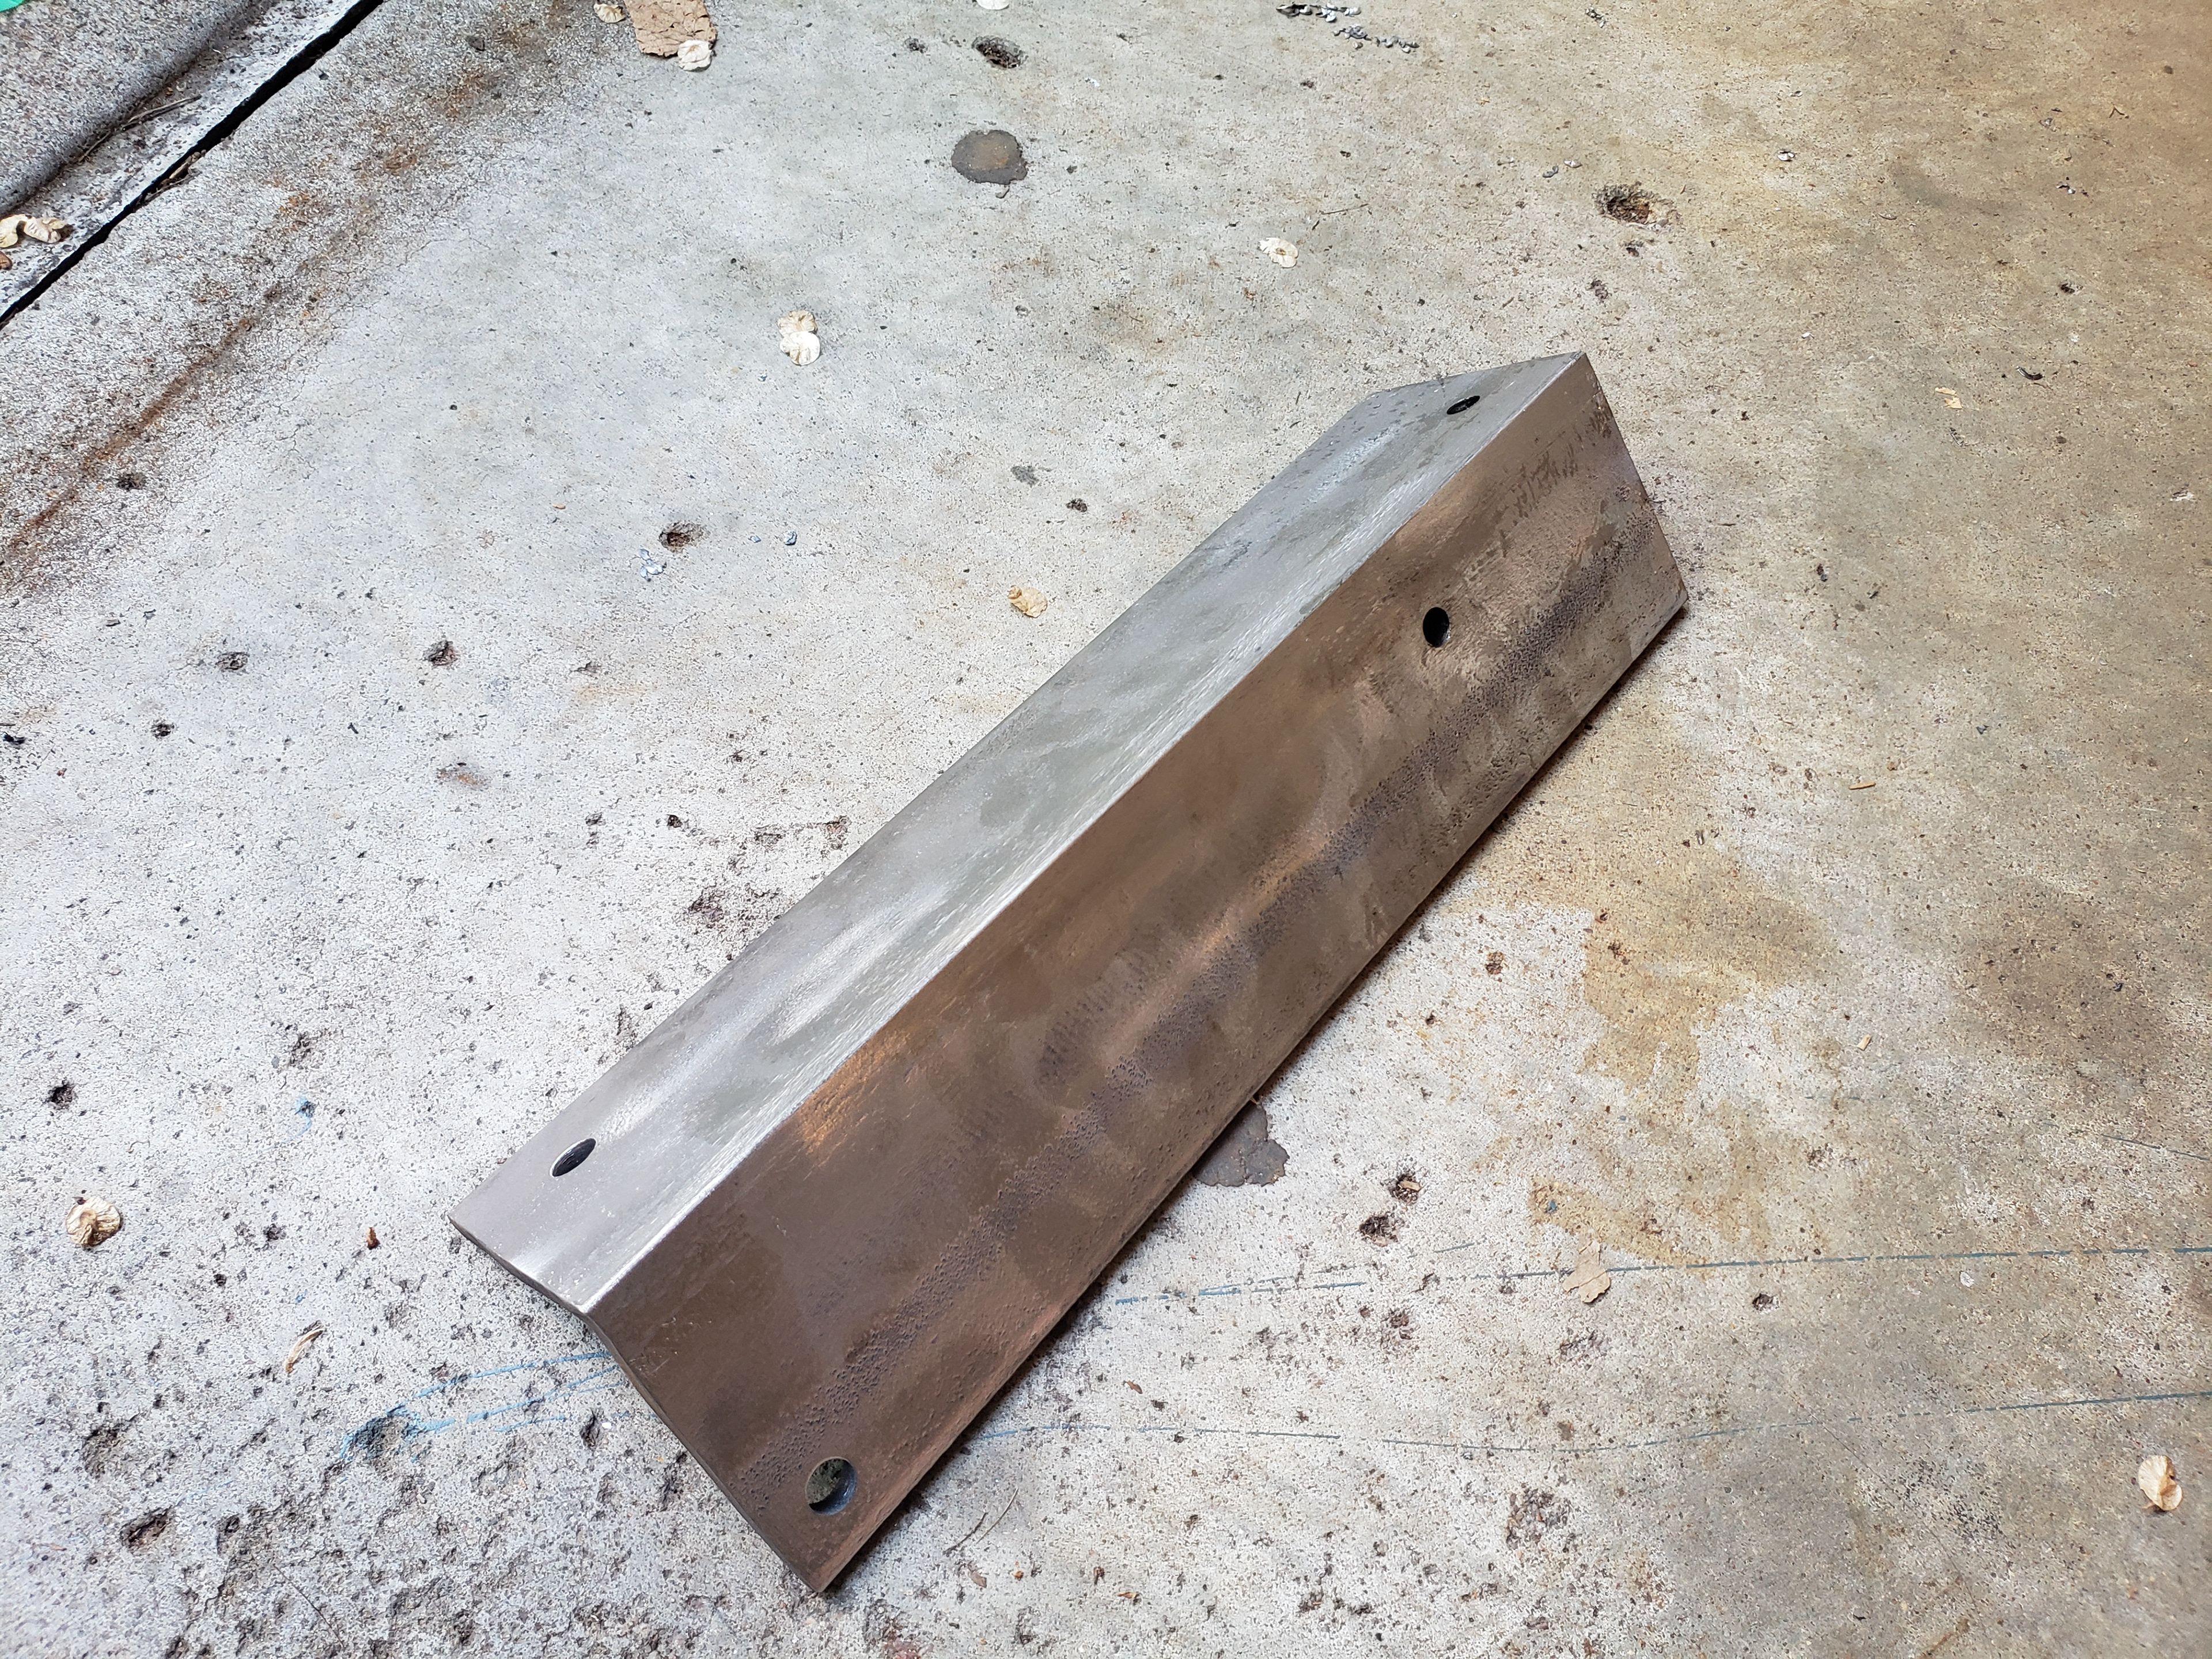
Holes drilled in upper.
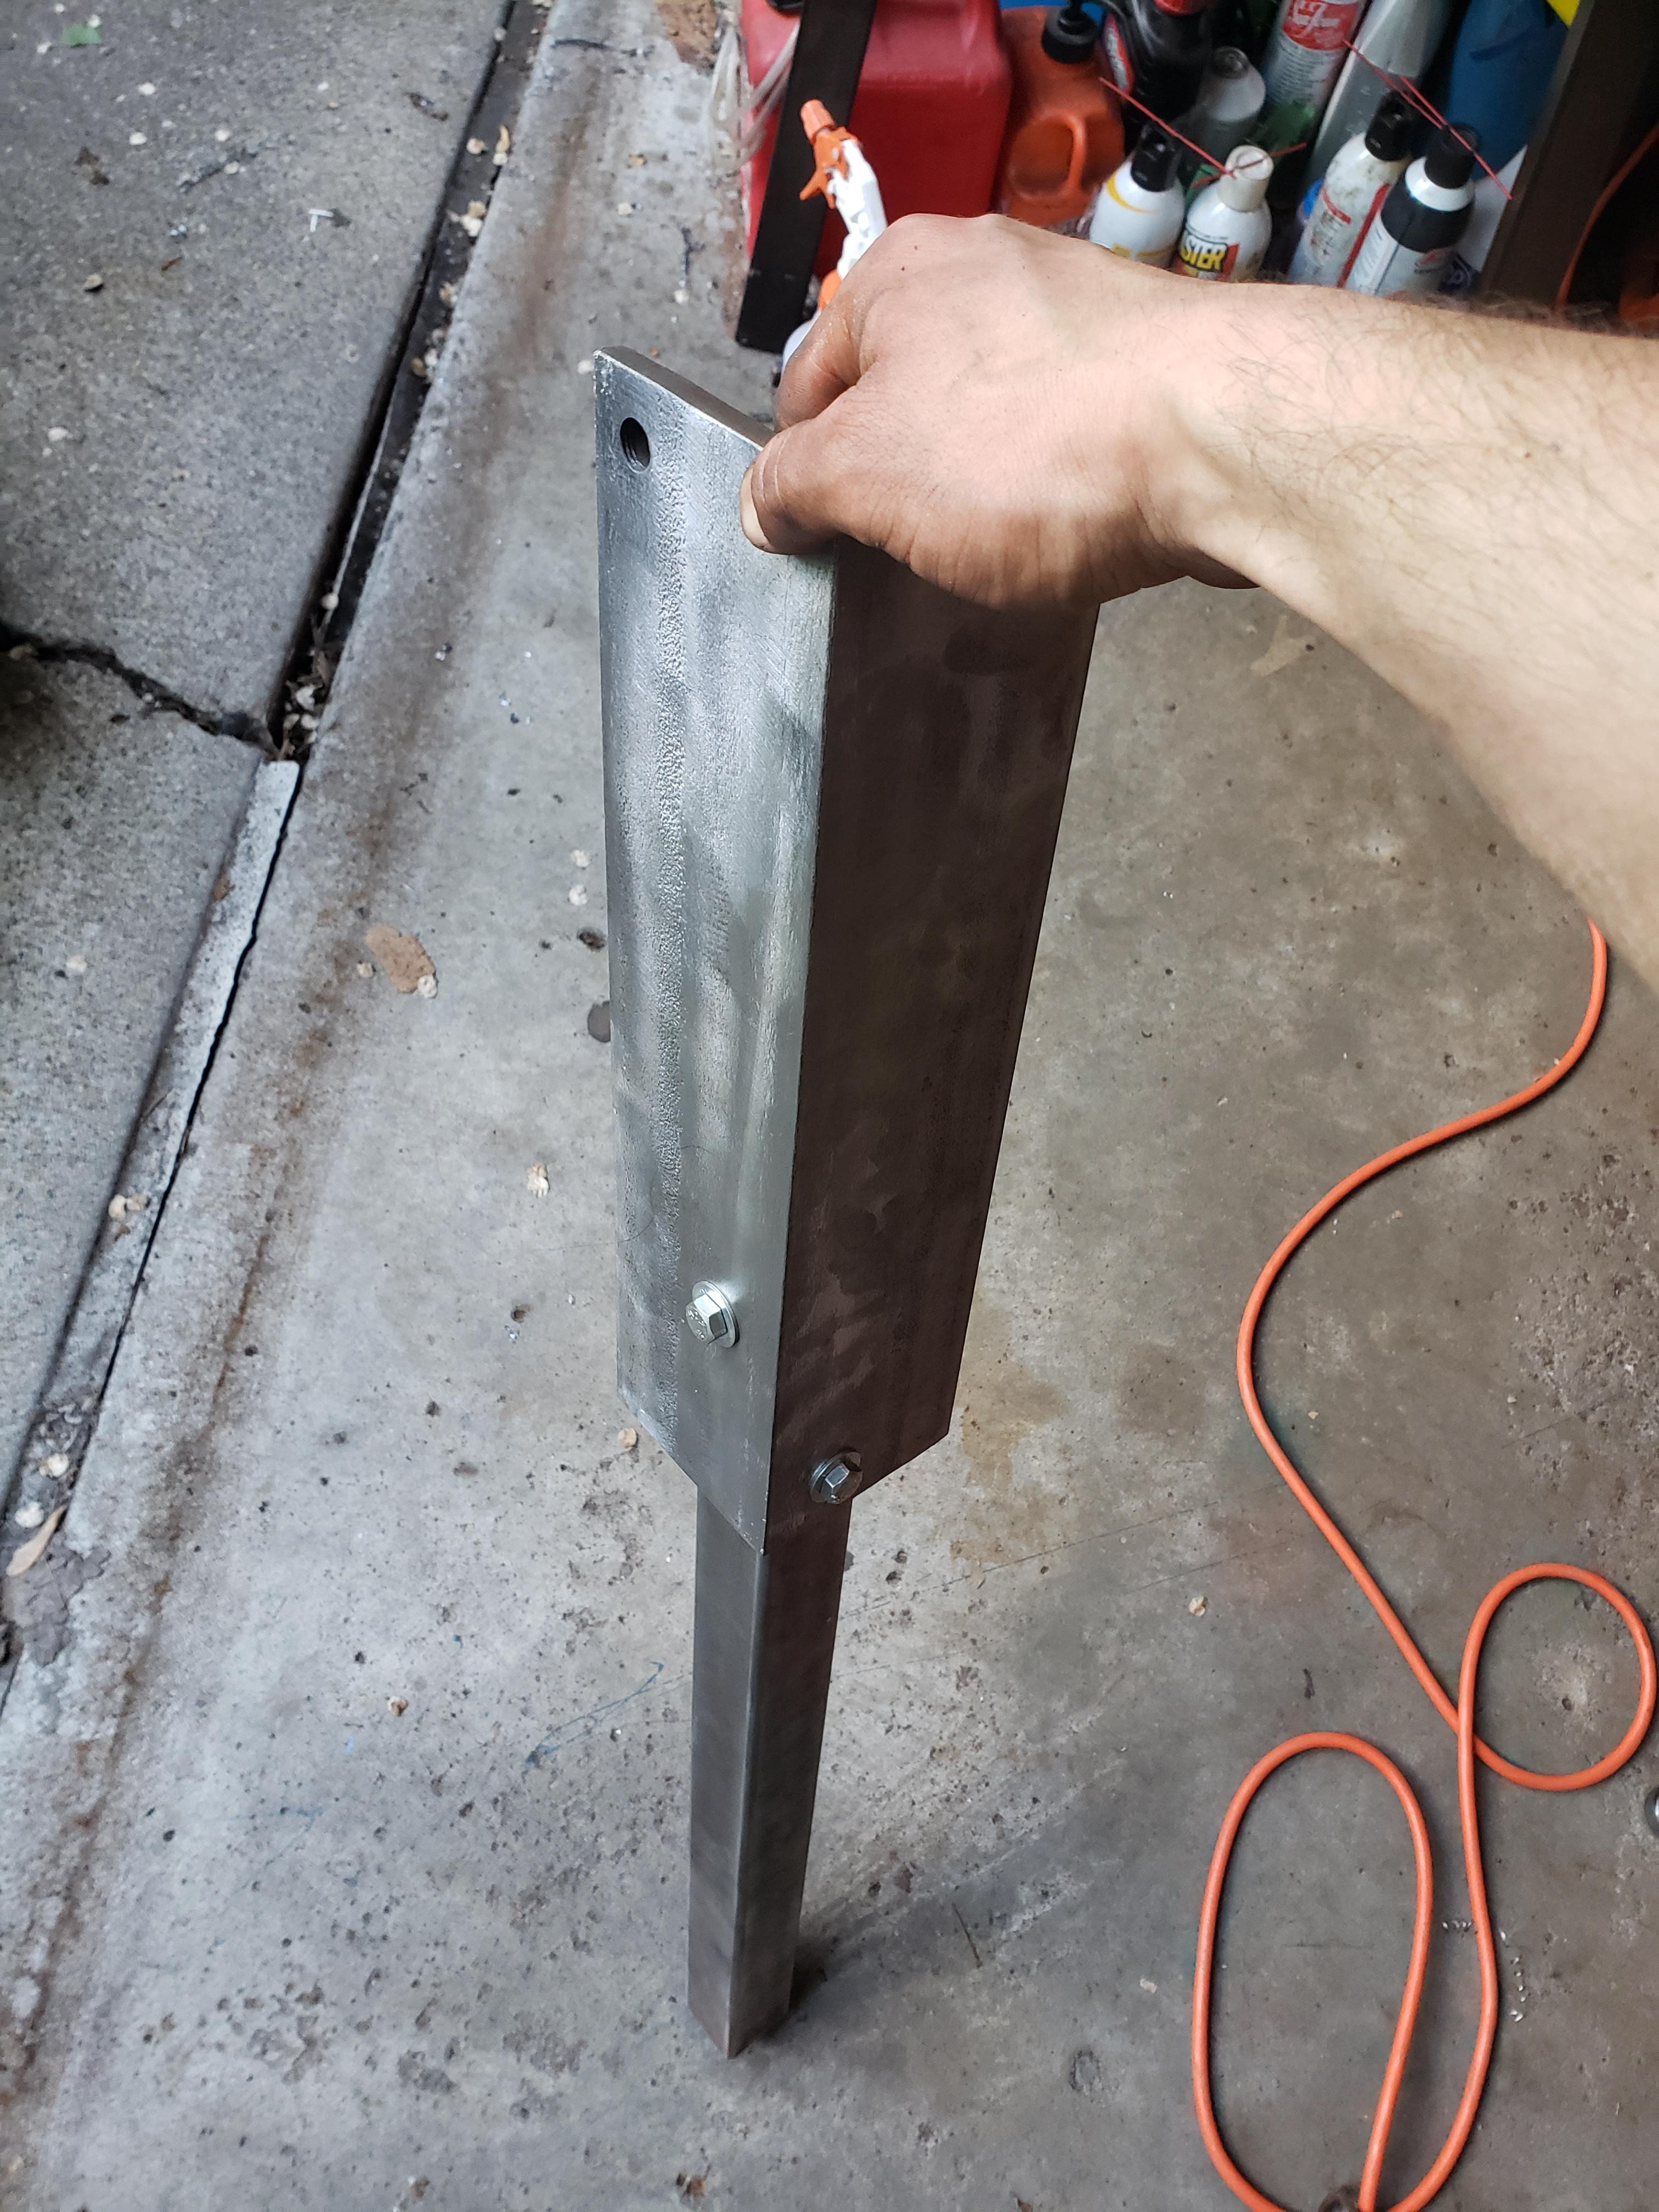
One leg down!
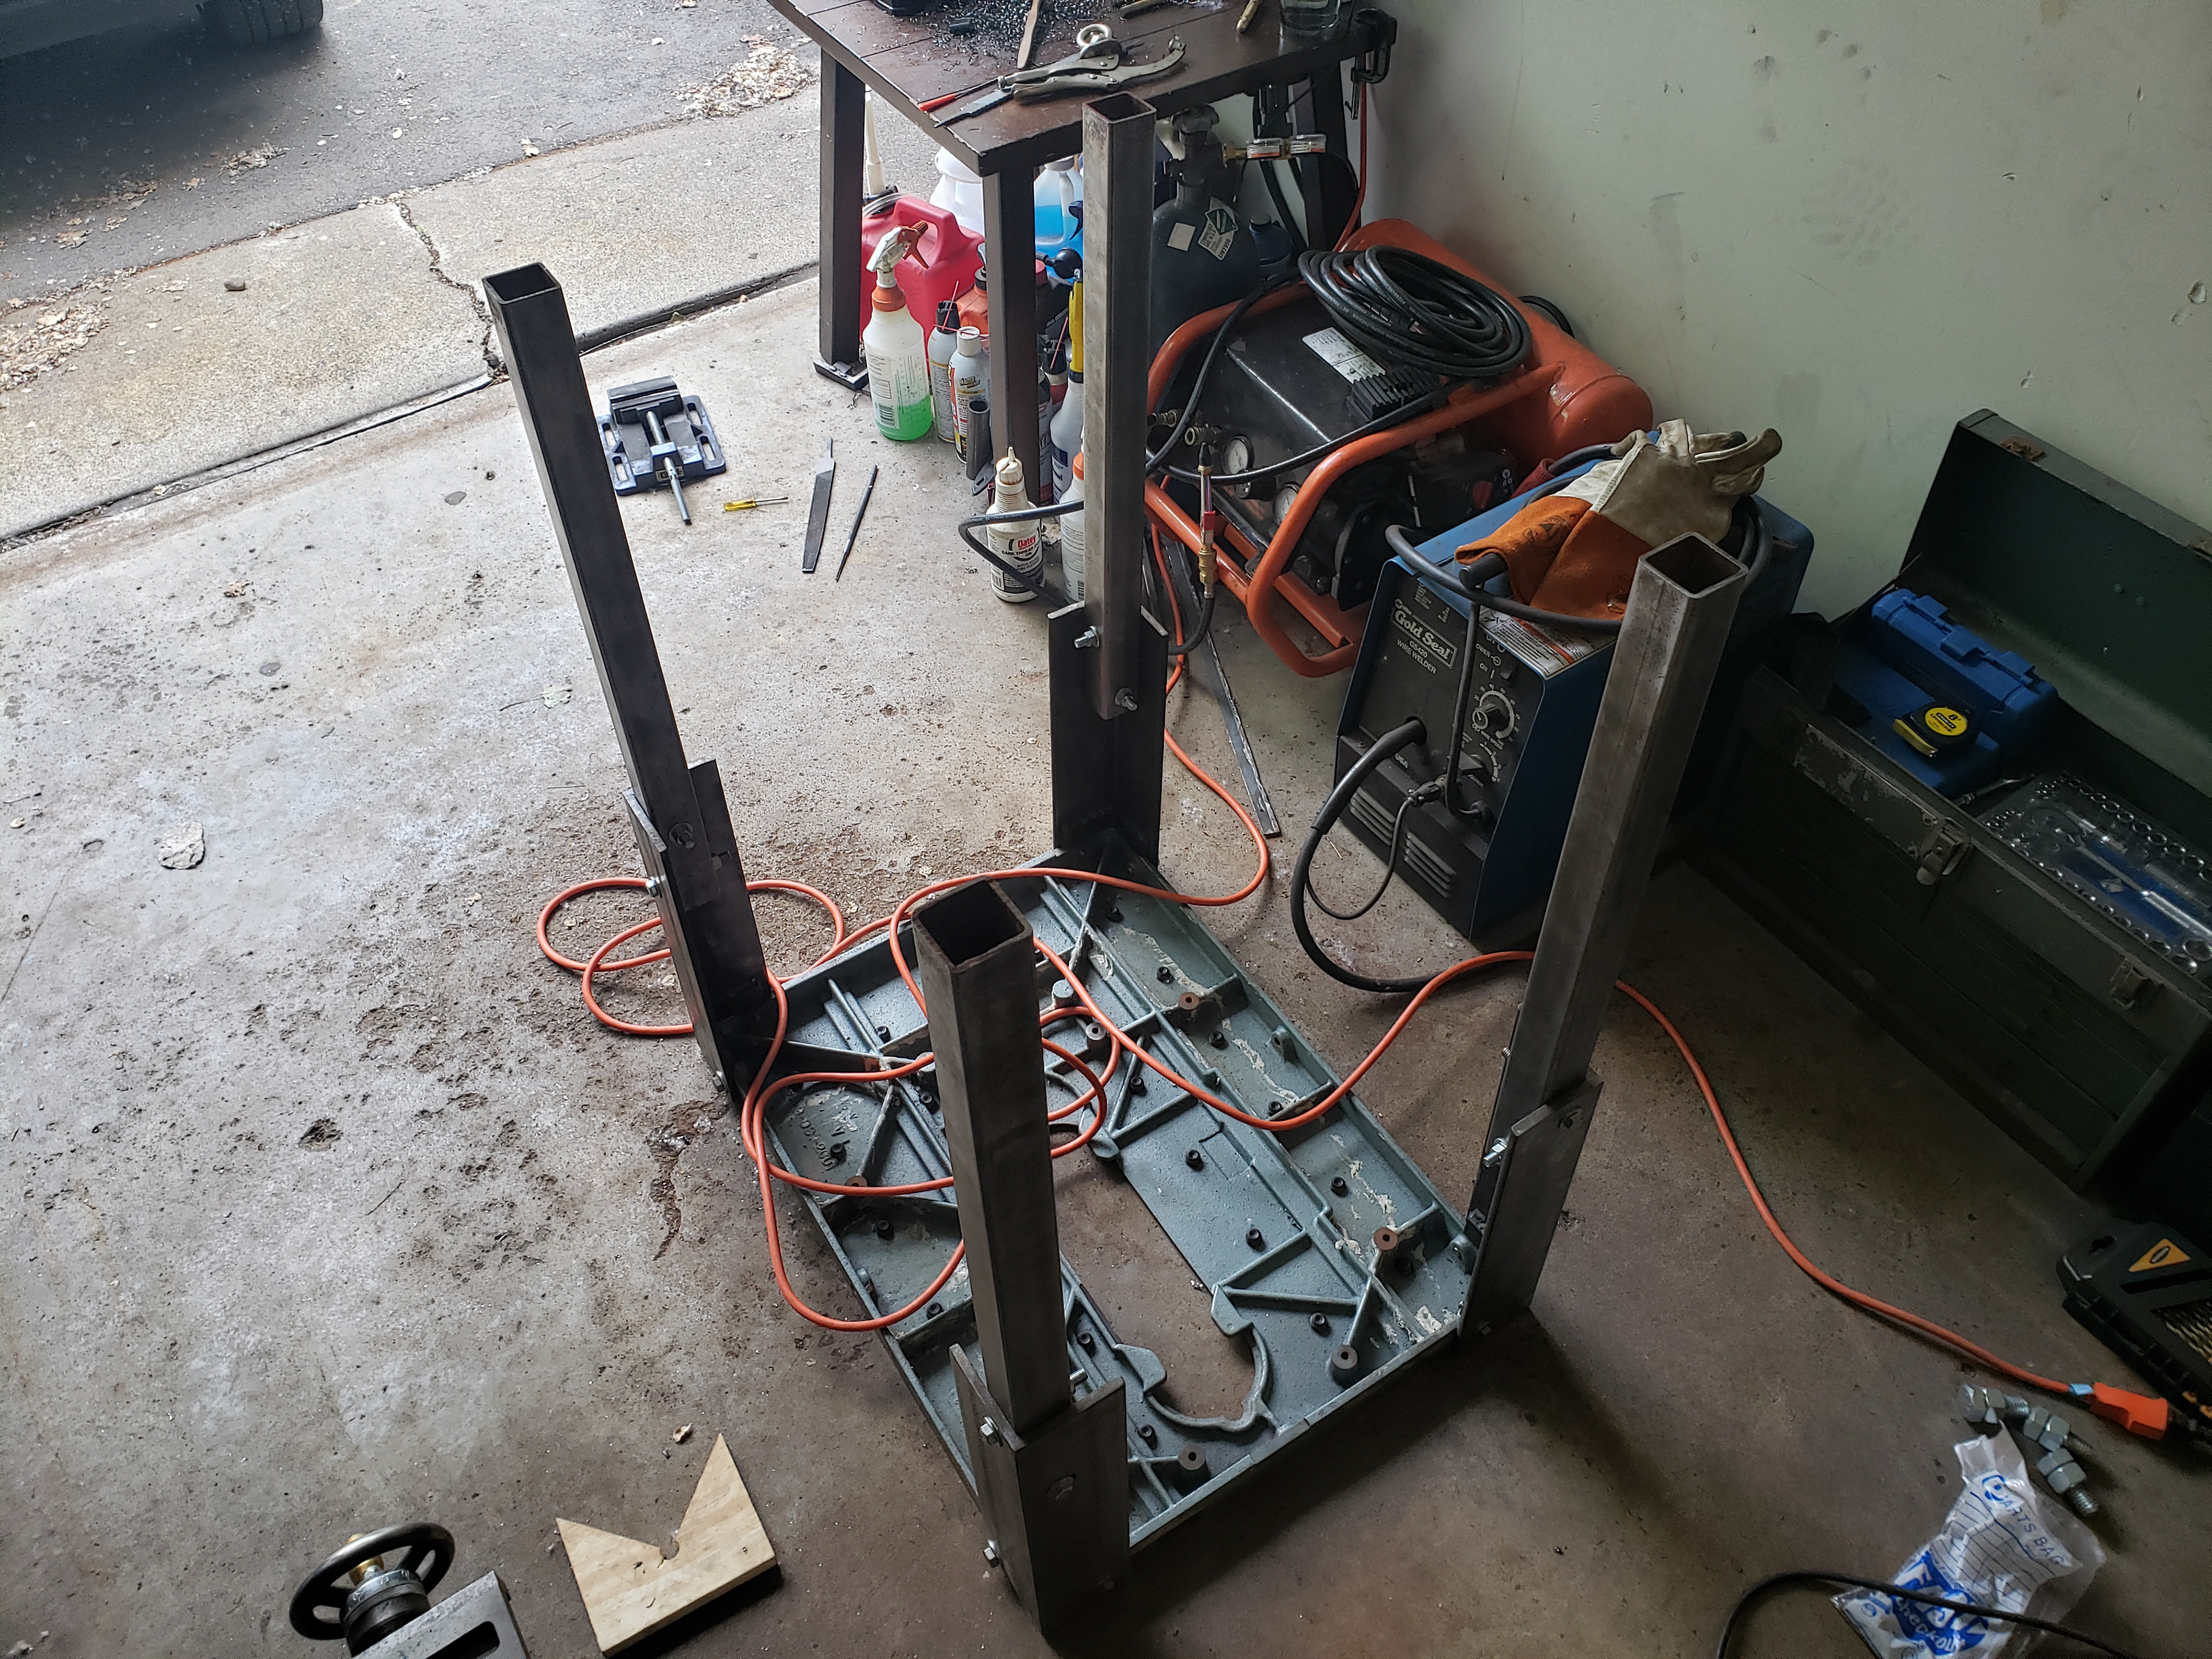
One leg down!
4 legs done and attached!
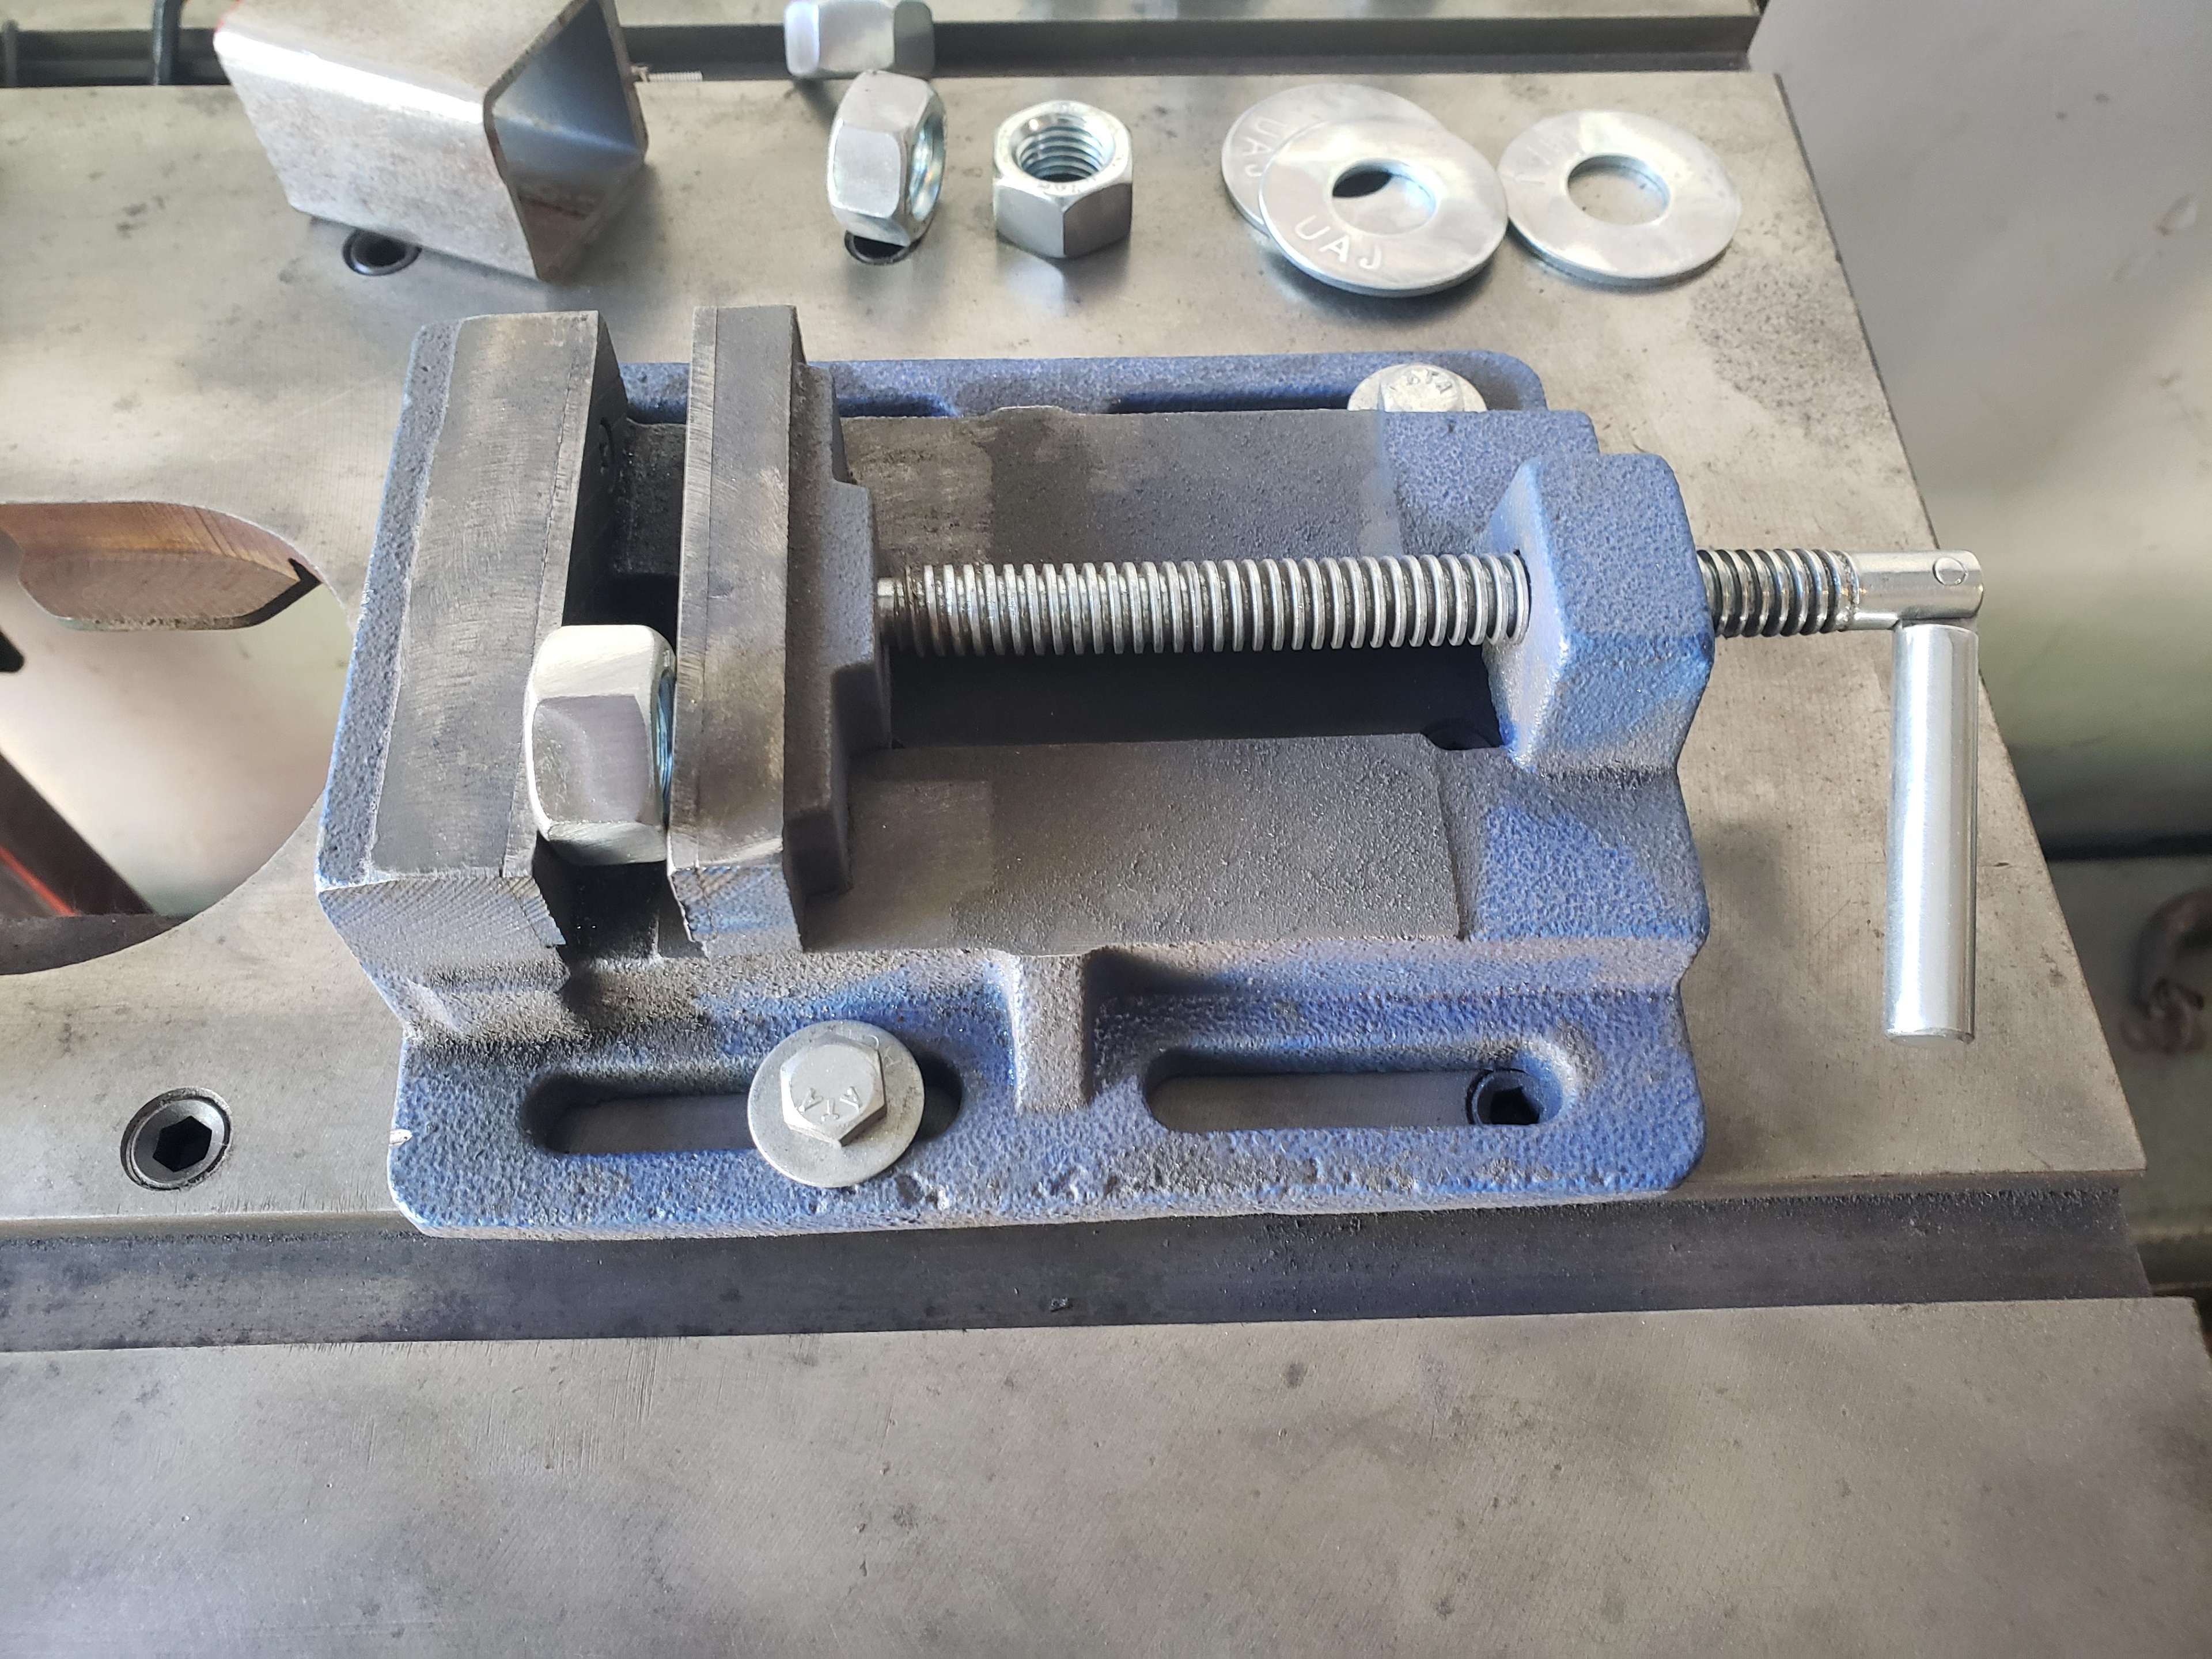
Freestanding workbench!  It was a bit wobbly, so it was time to make the leveling adjustable feet.
Adding adjustable feet:
The hardware is Zinc coated so it was important to grind them prior to welding to reduce fumes (I wear a respirator anyways though).
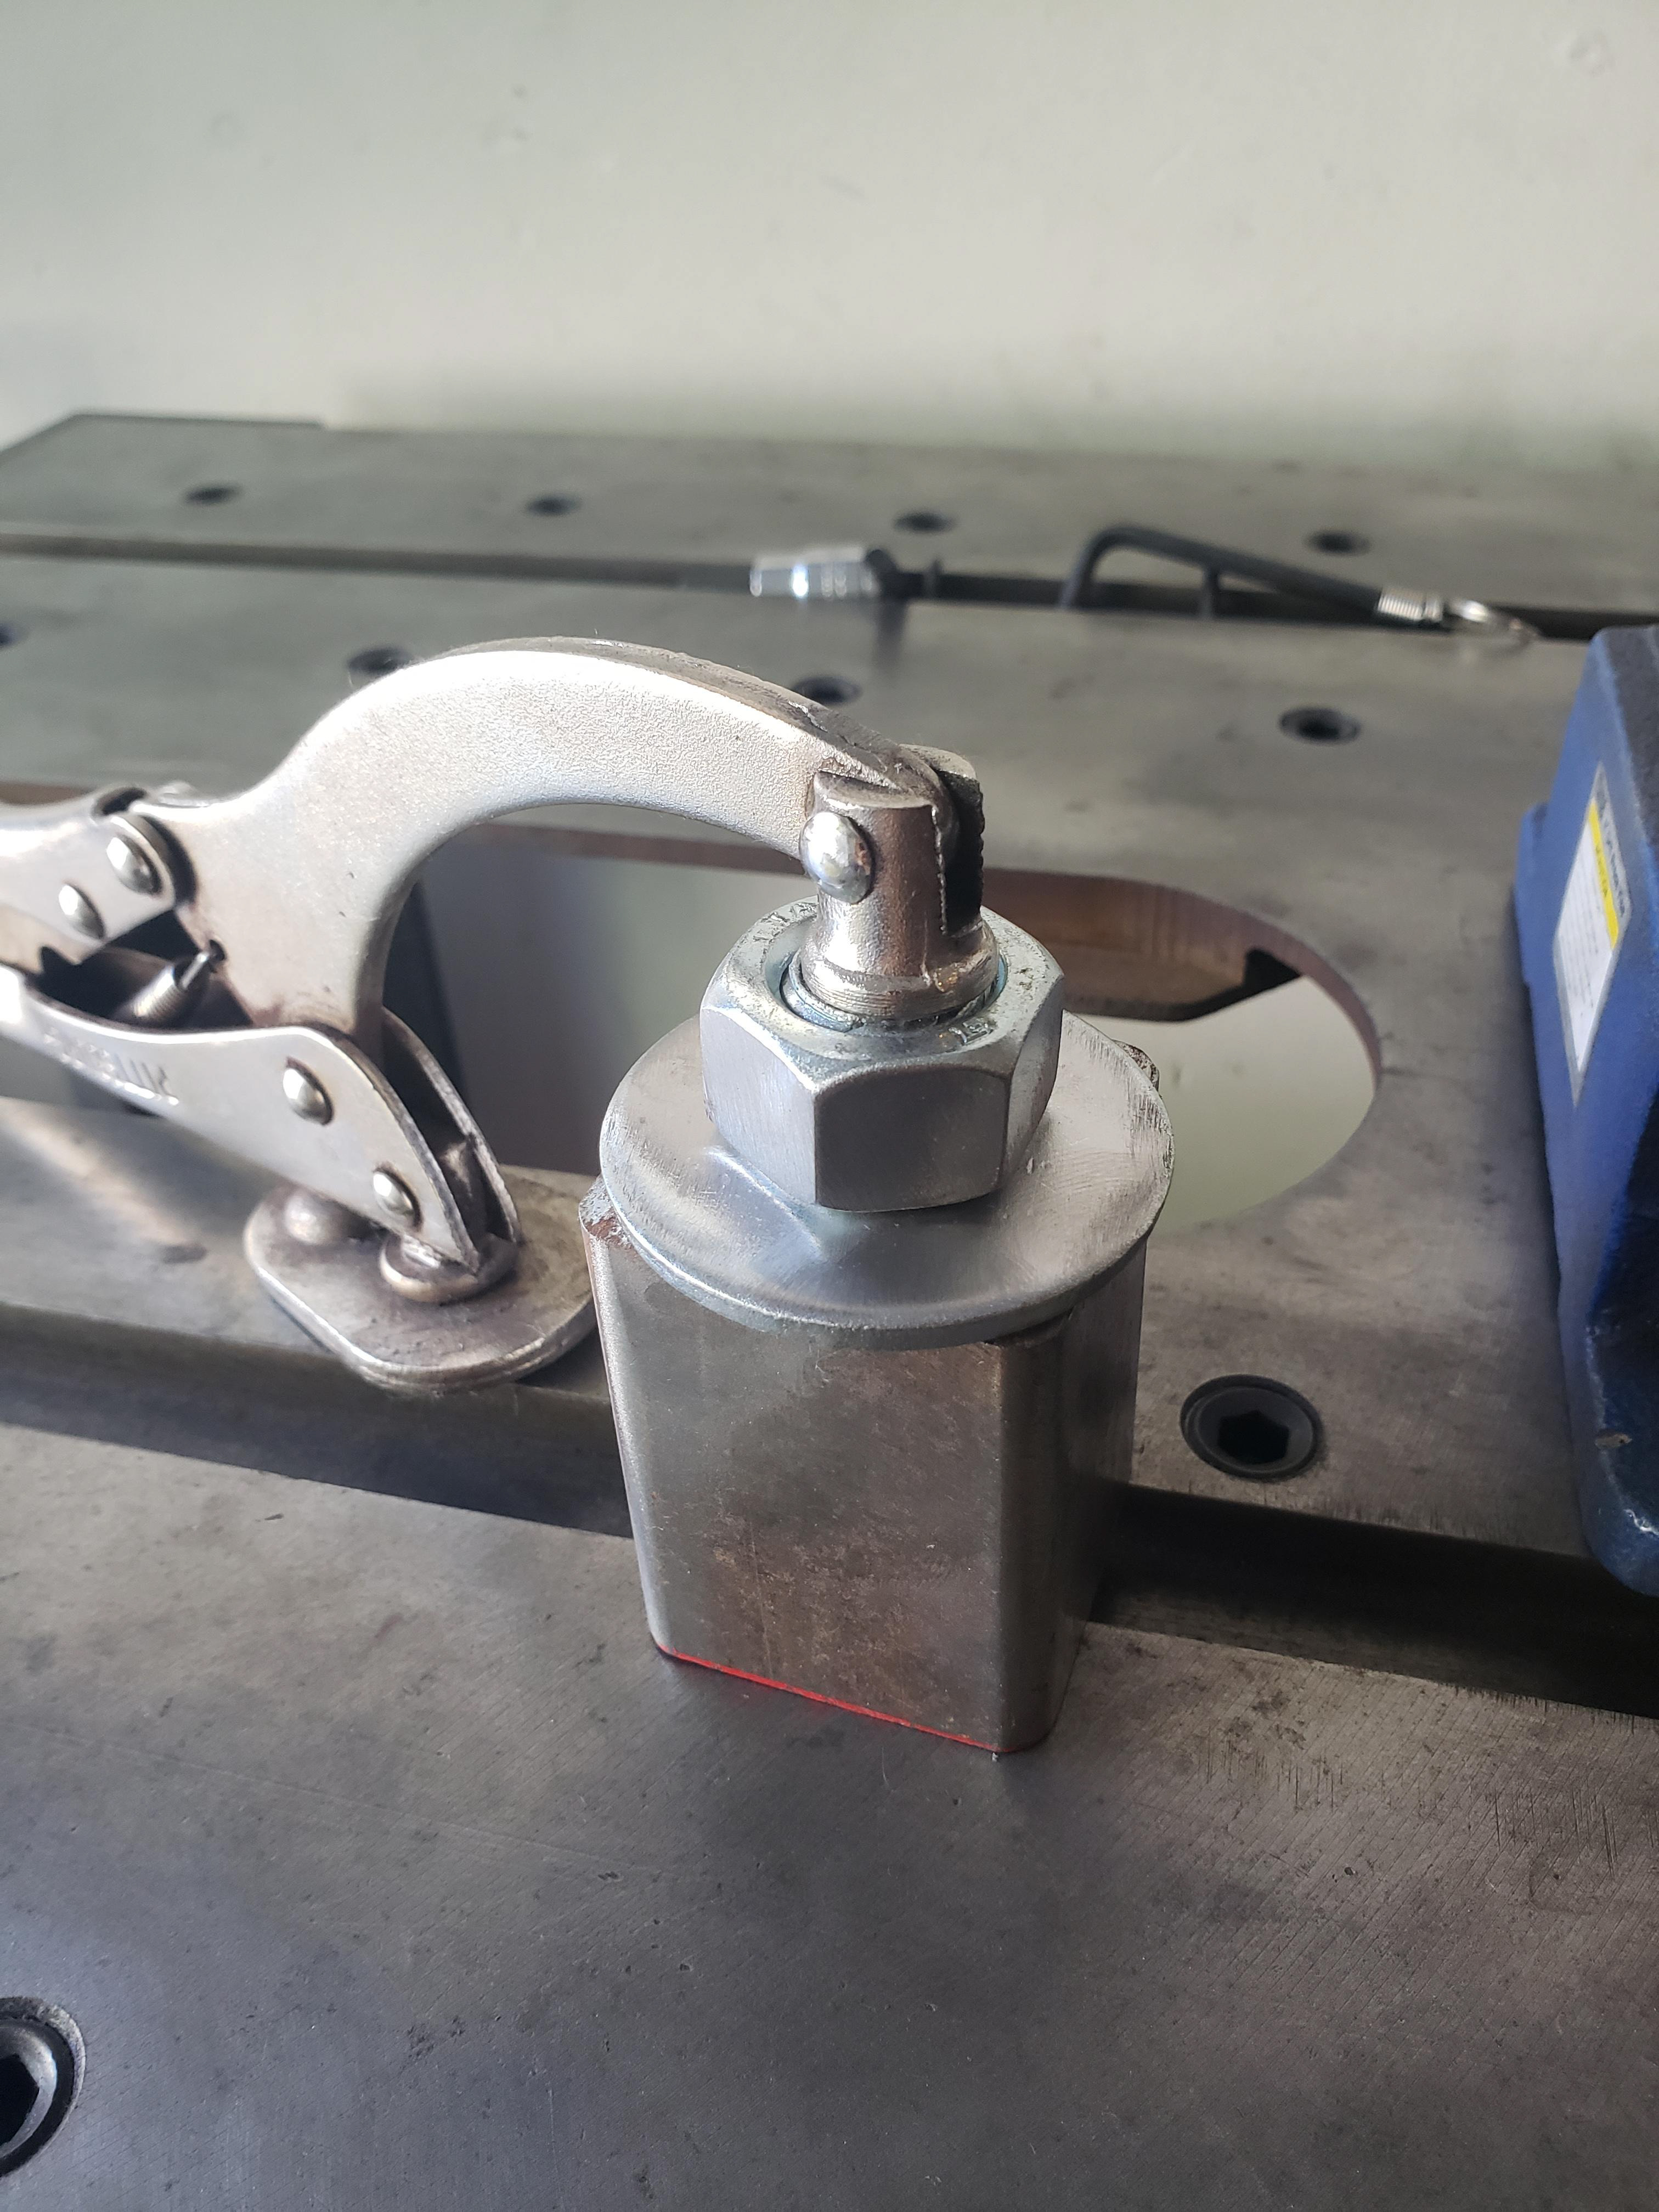
Ready for welding.
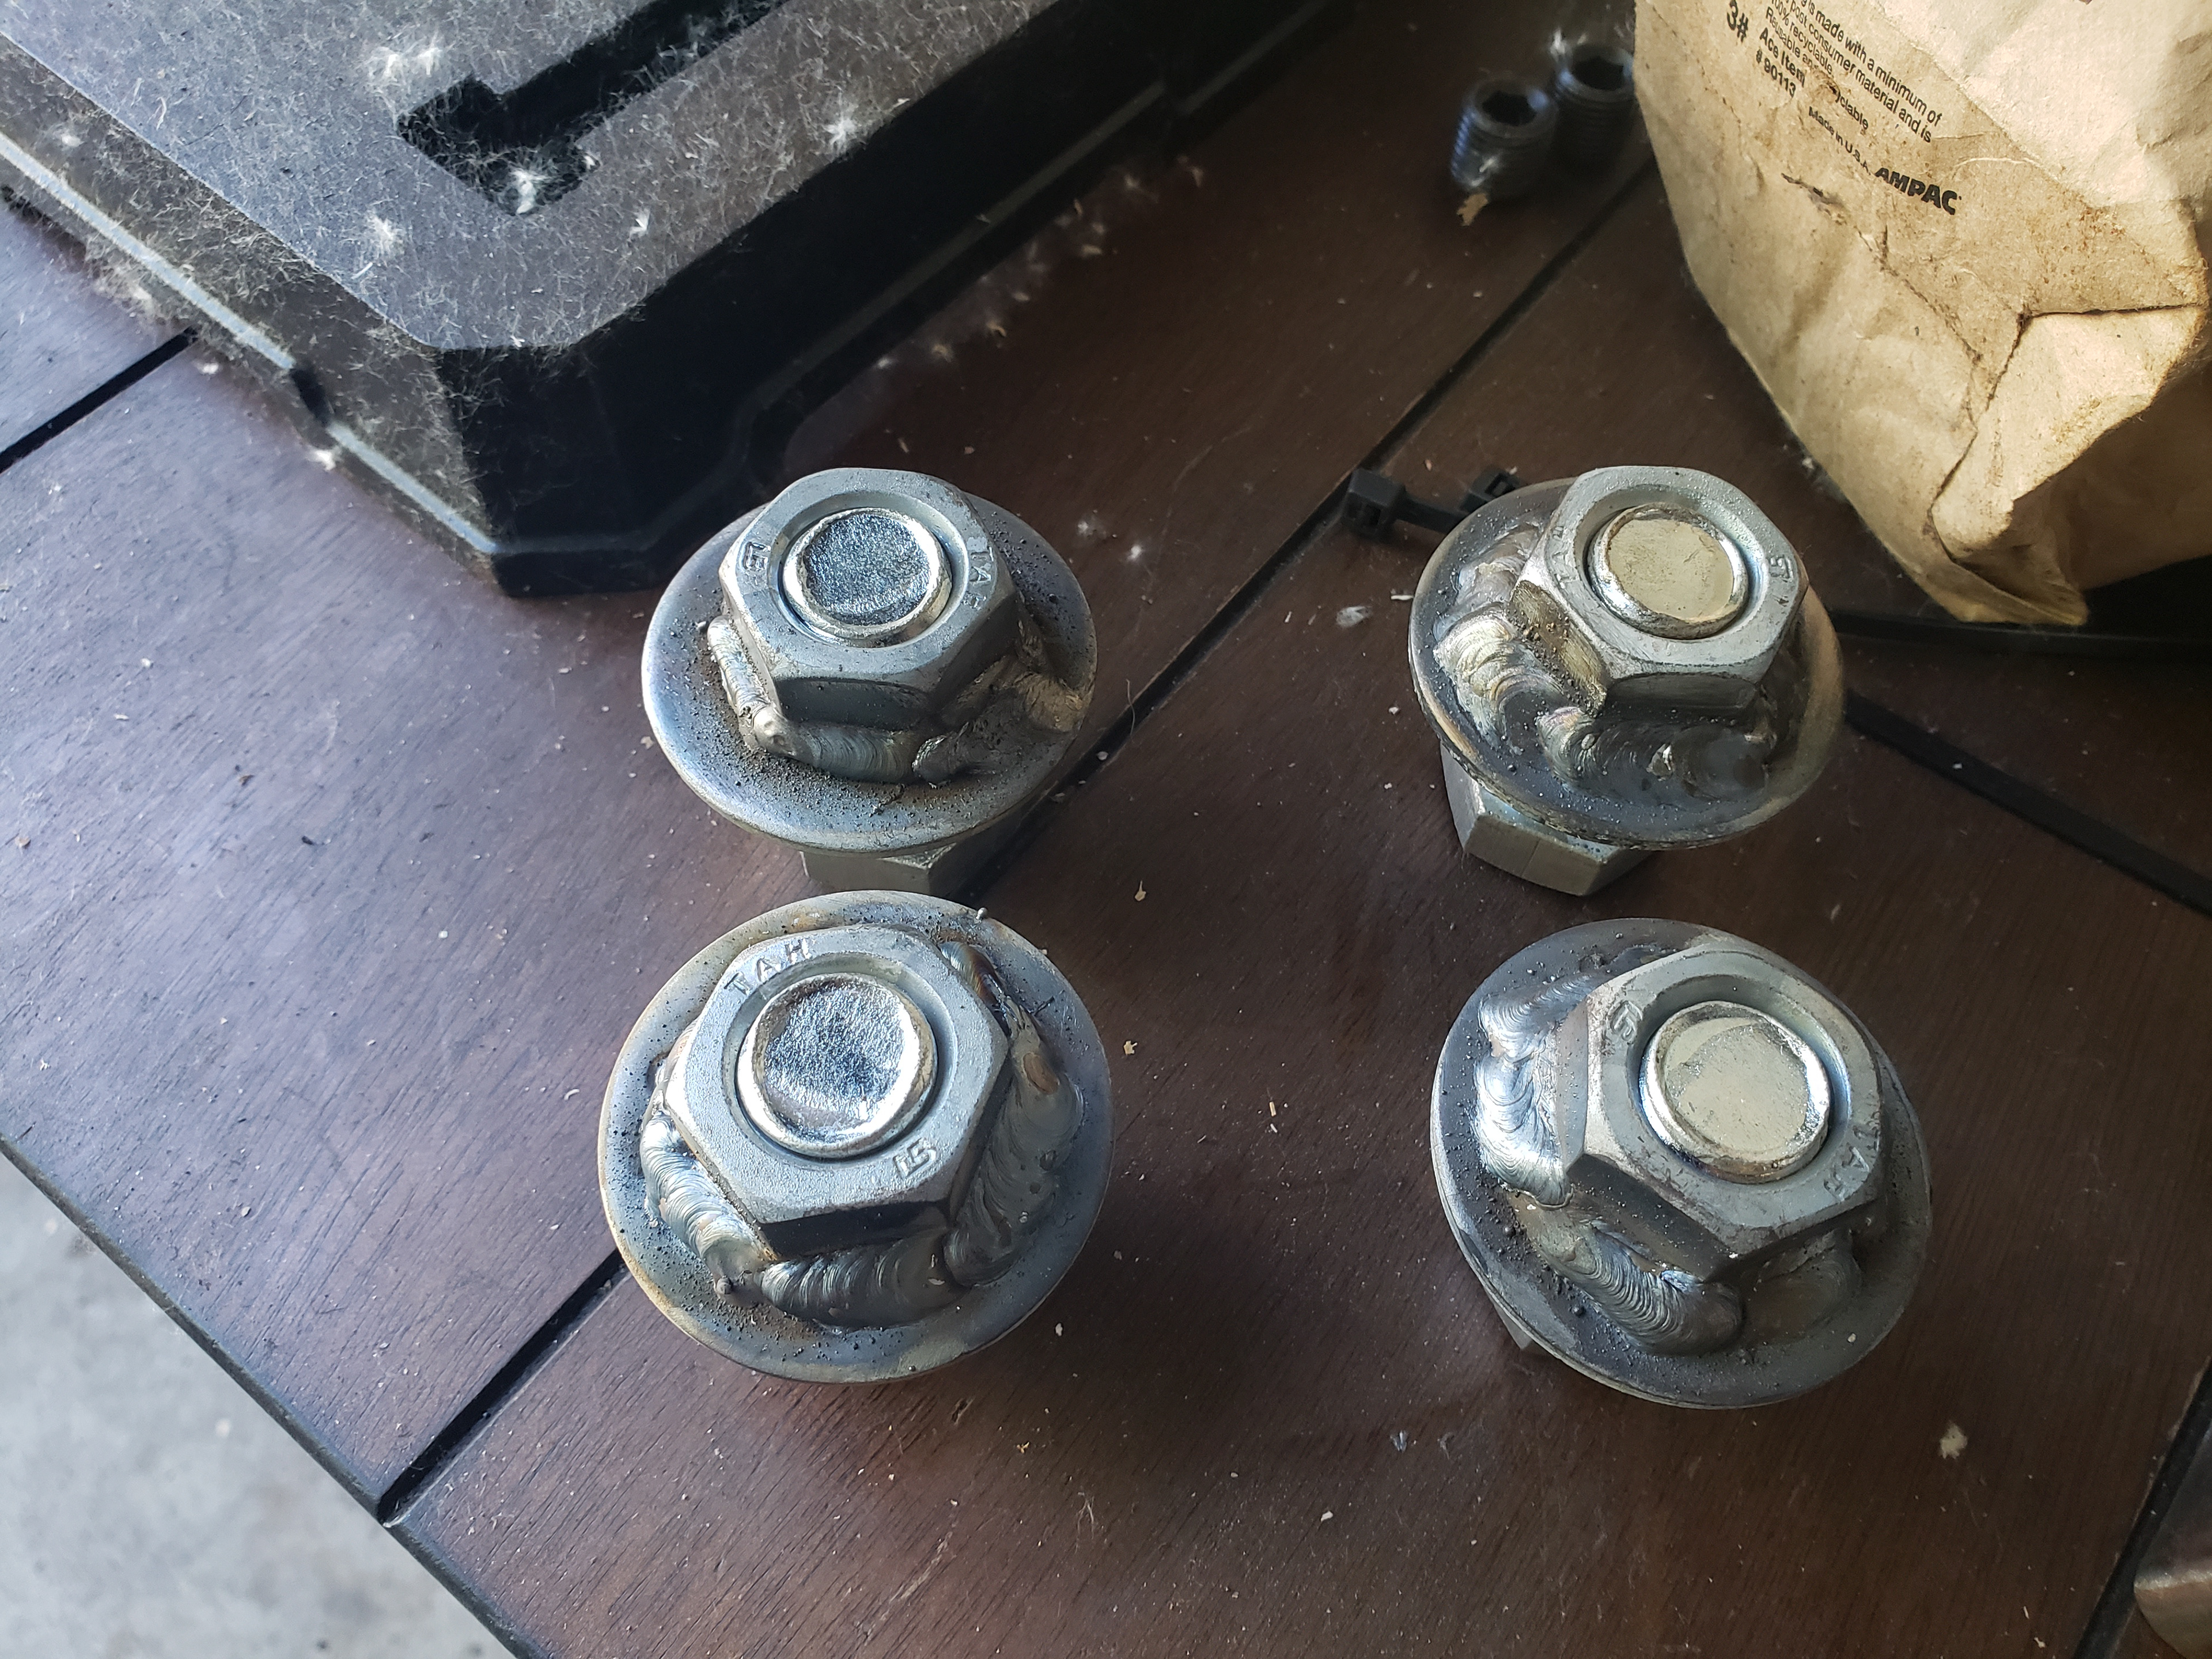
Ready for welding.
4 feet, ready to be welded to the legs.
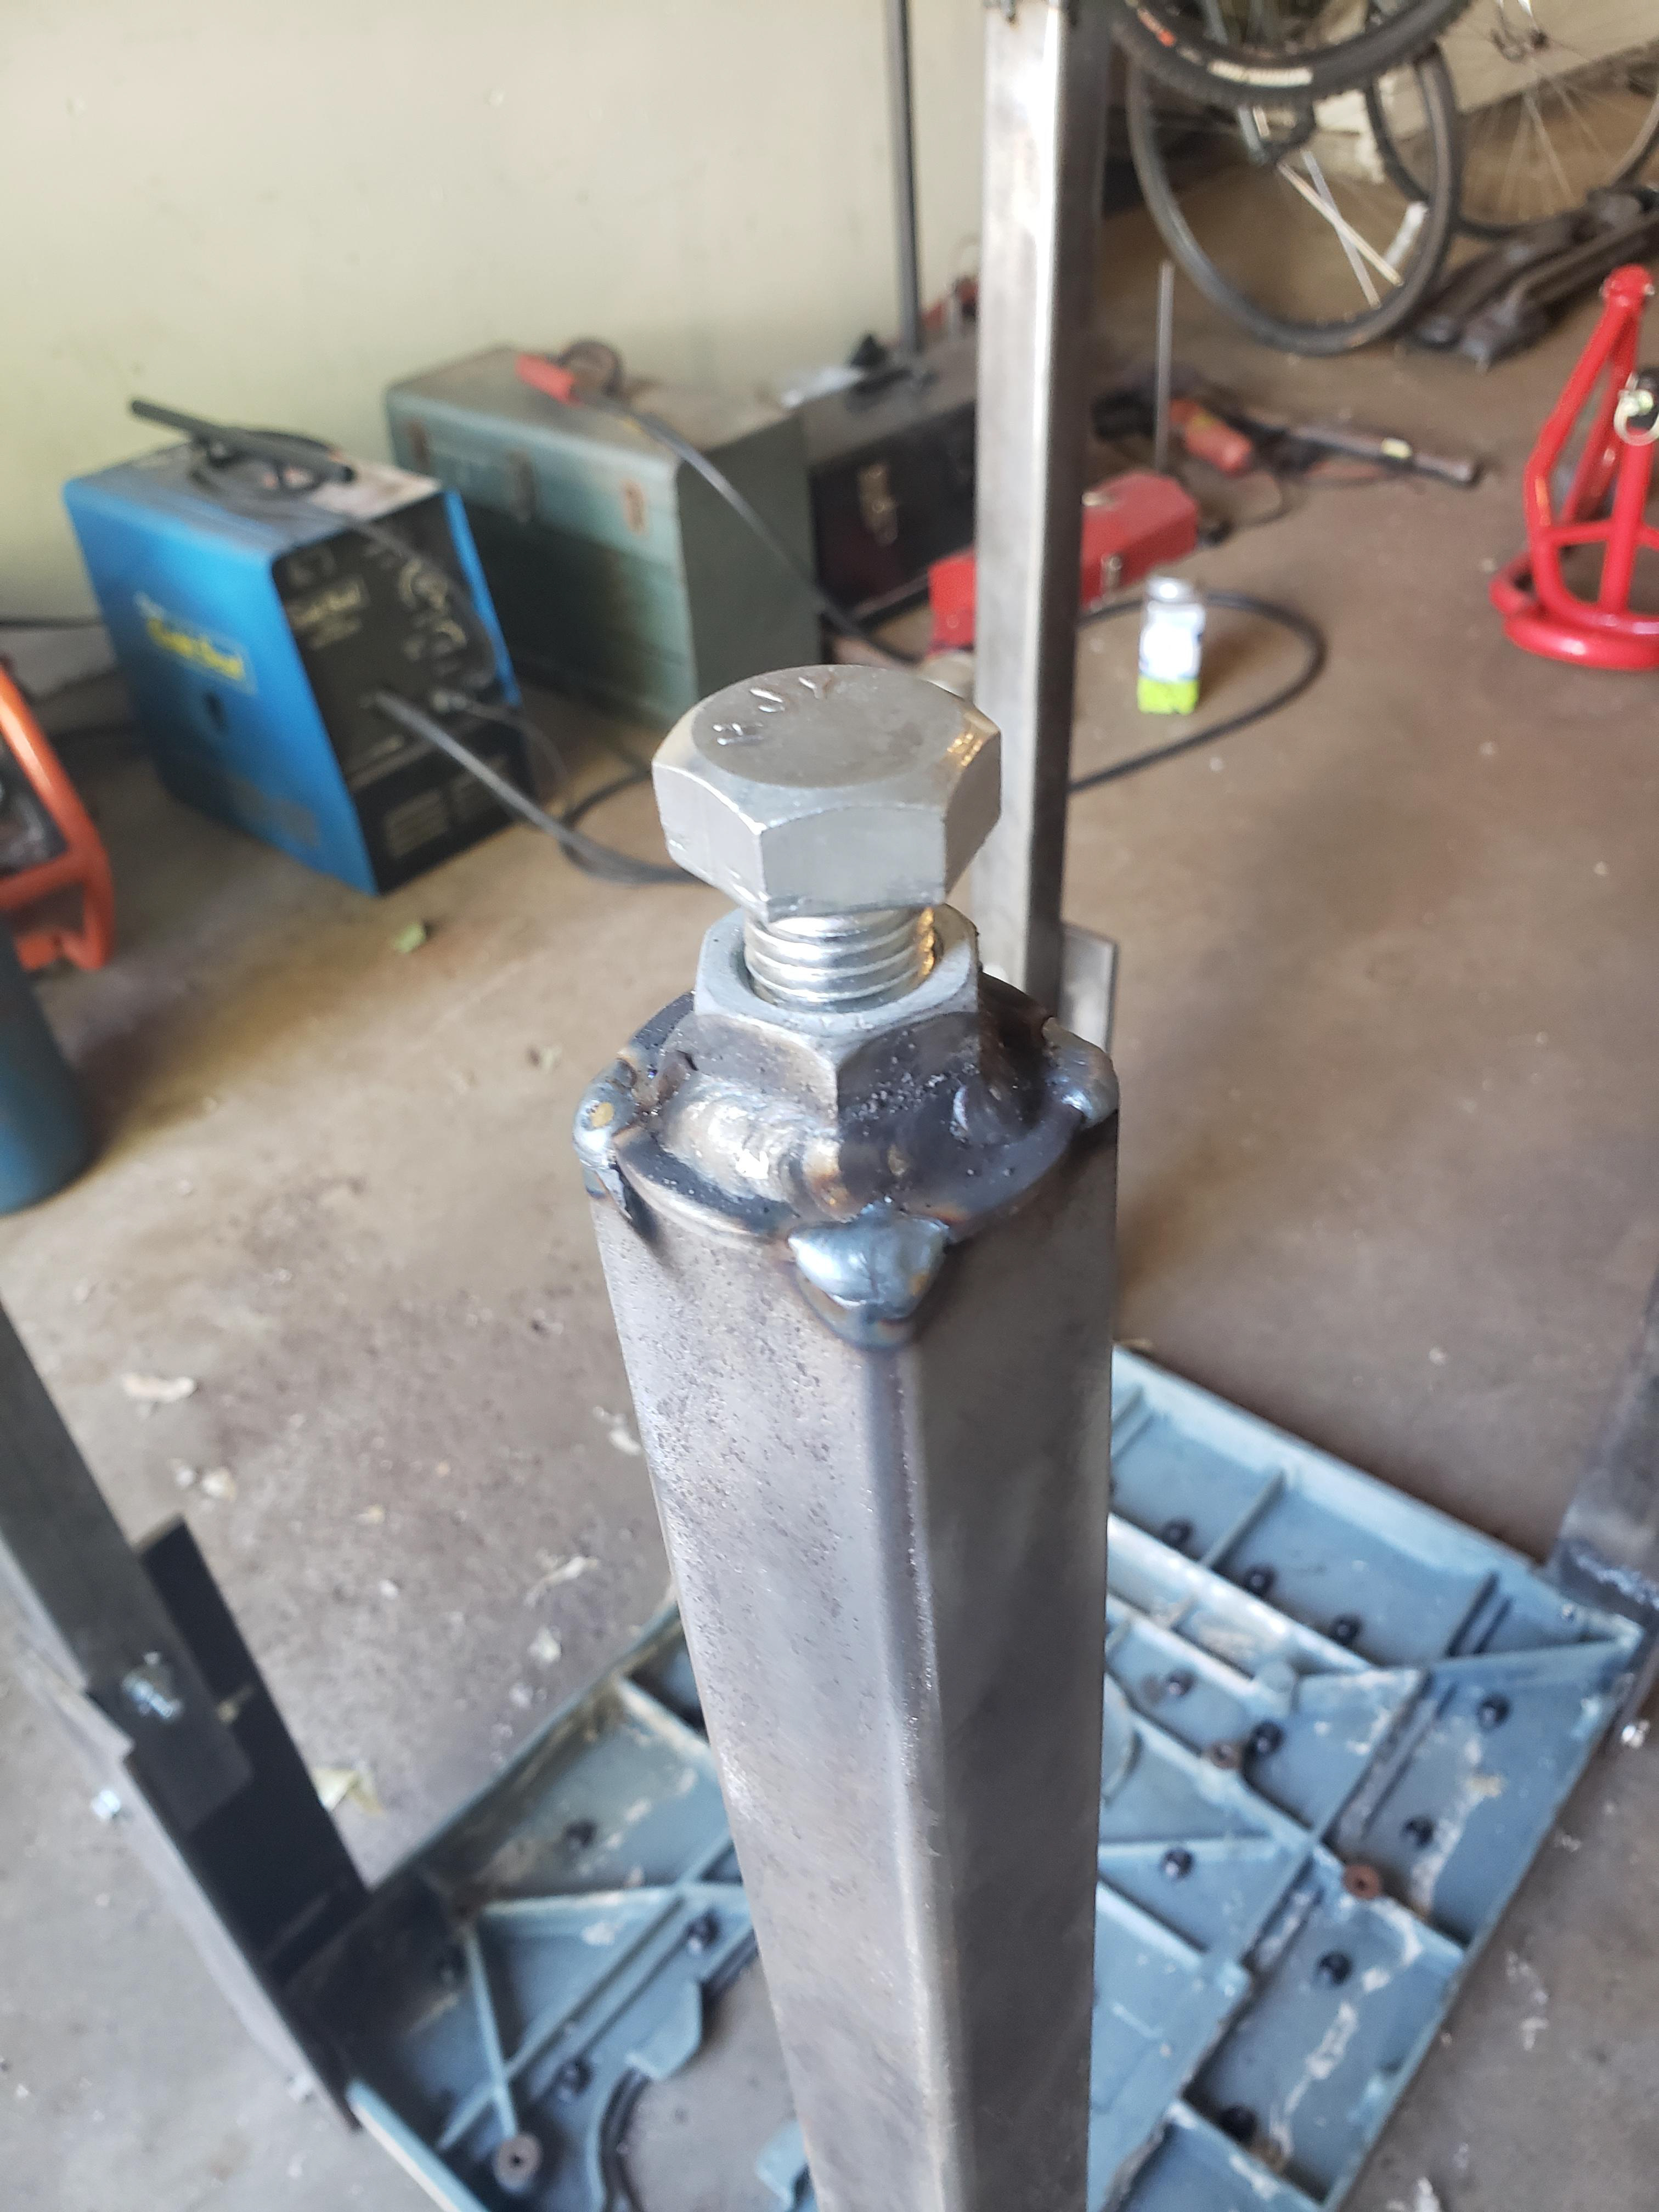
Closeup.
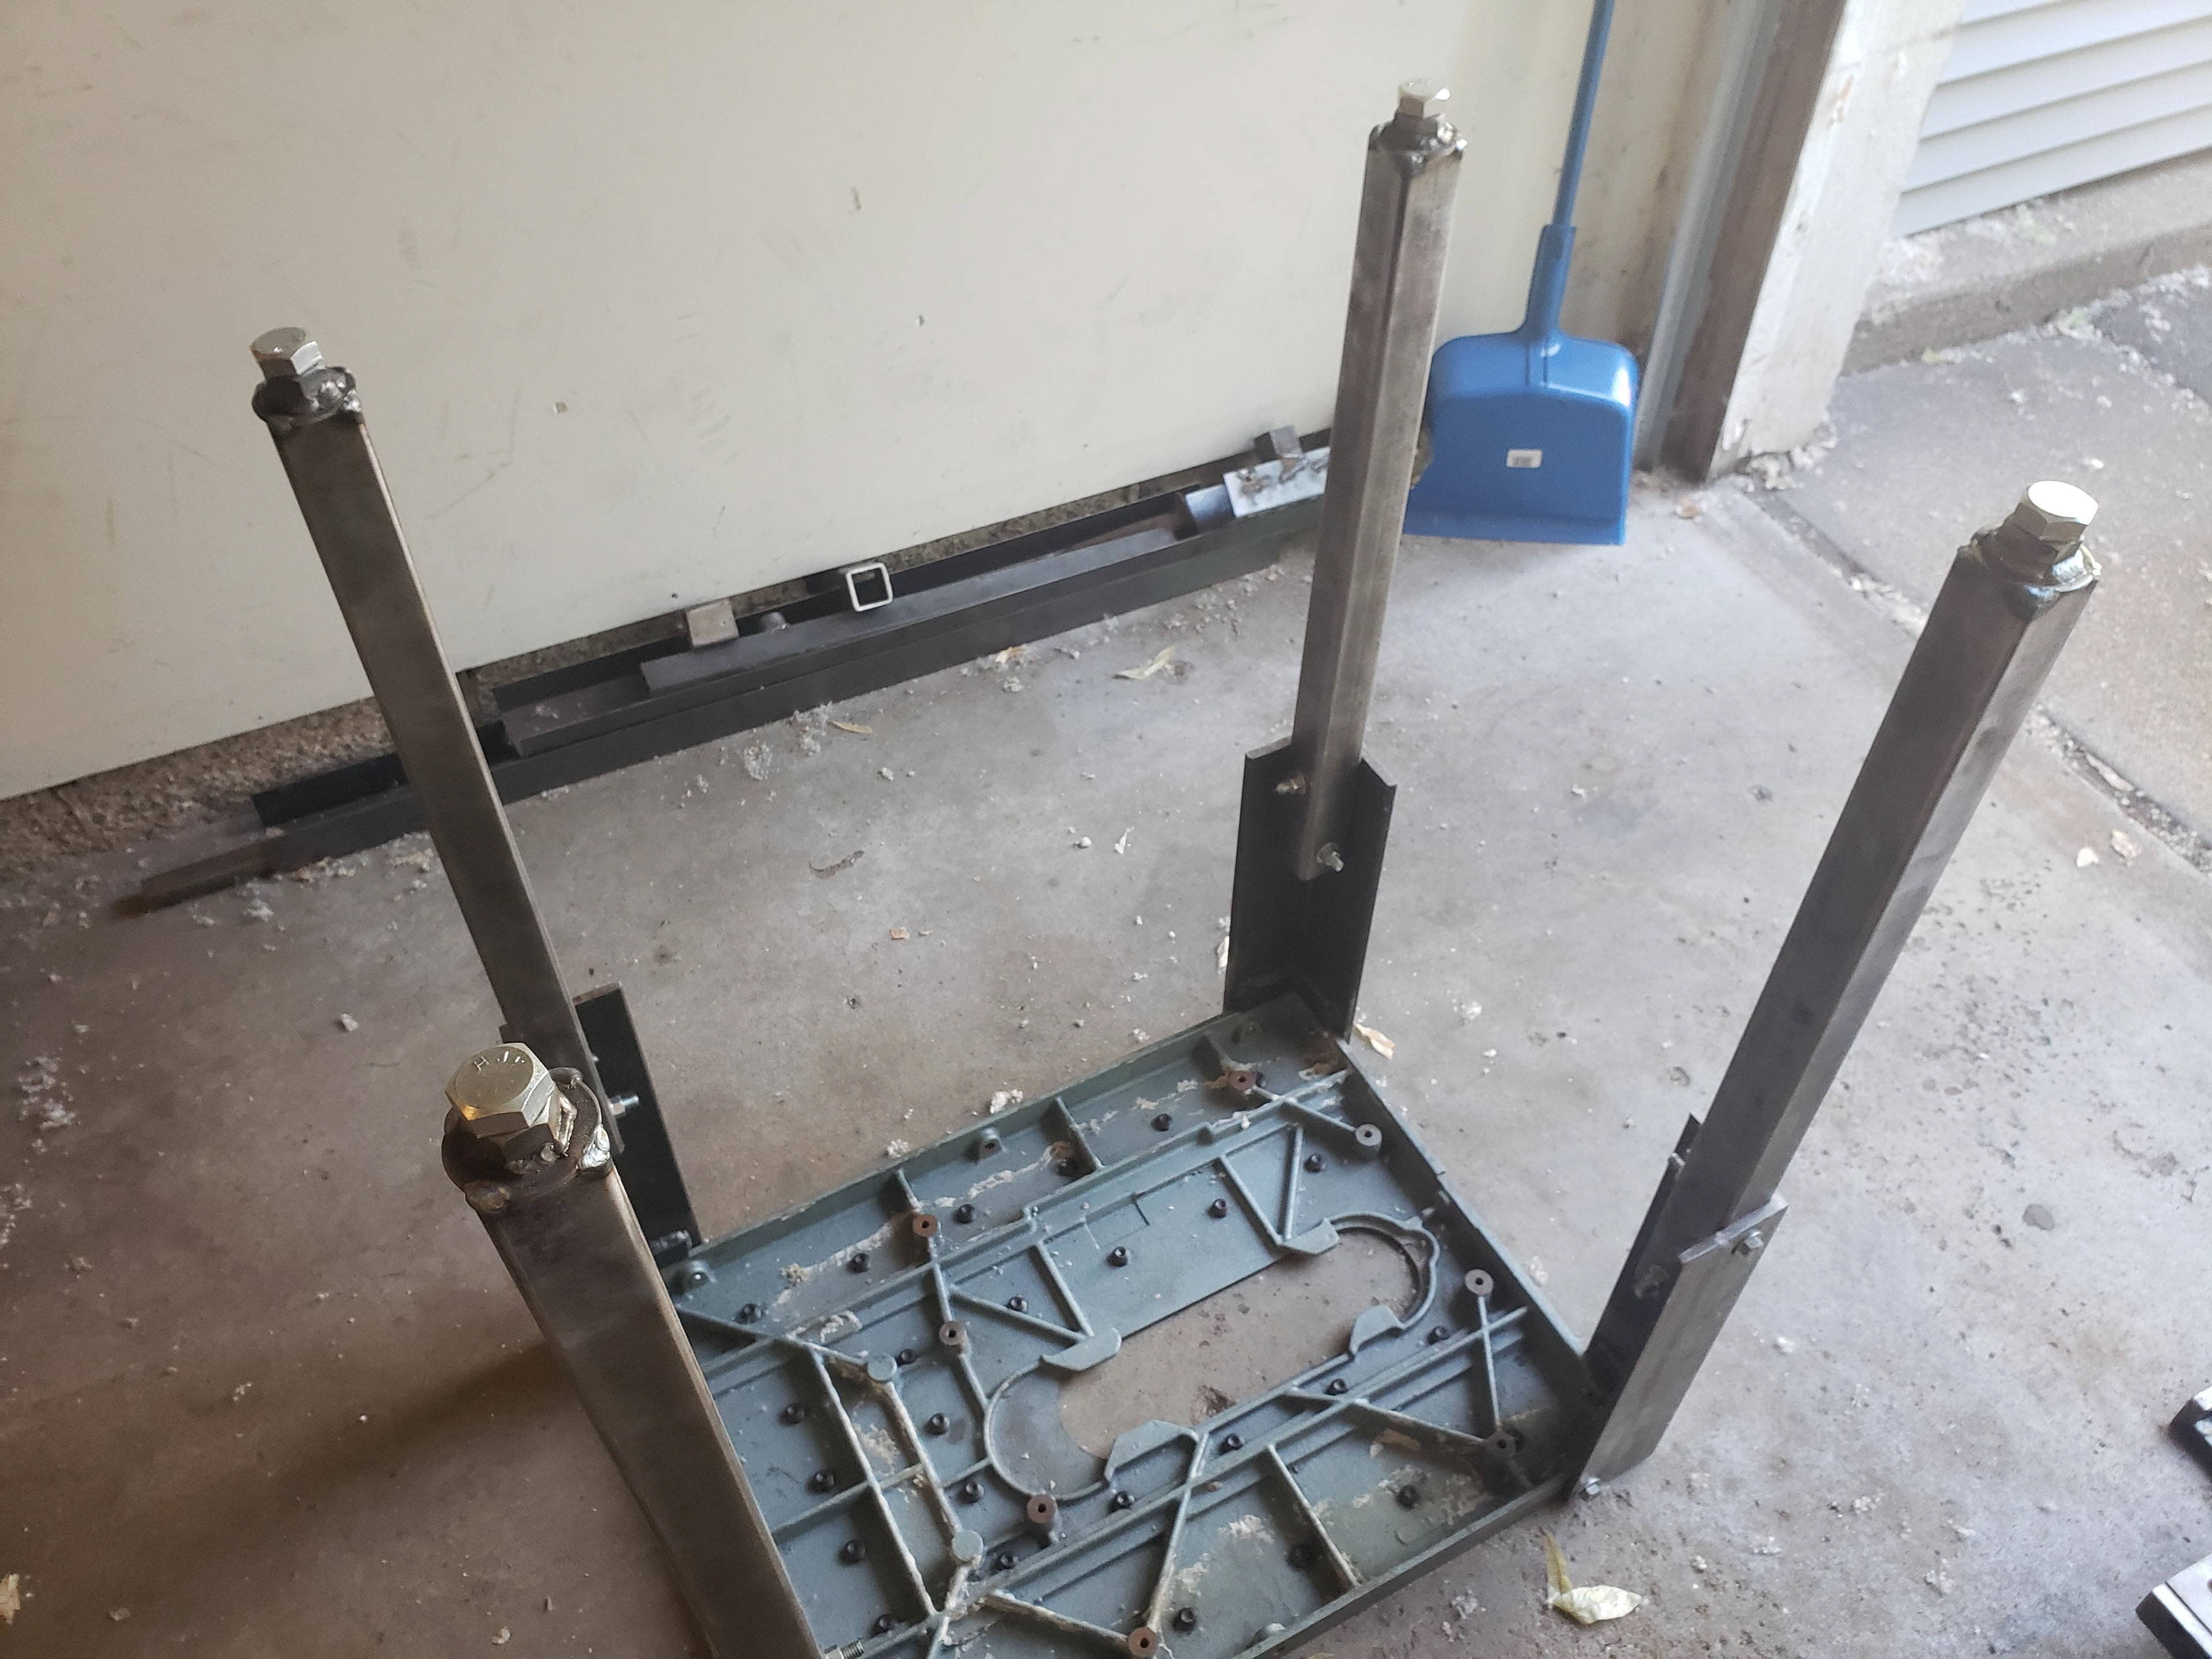
Closeup.
4 feet done.
4 feet done.
The fruit of my labor, a beautifully wobble-free workbench.  Now all that's left is to add the shelf to store the welder which will also serve as bracing for the legs. 
Creating the shelf:
I am repurposing the table top from the welding table to create the shelf.
The welding table has a larger footprint than my workbench, so I'll remove the grate table-top and cut down the I-beams and grate to size separately.

Cutting the grate free from the I-beam frame.
You may also like

Back to Top