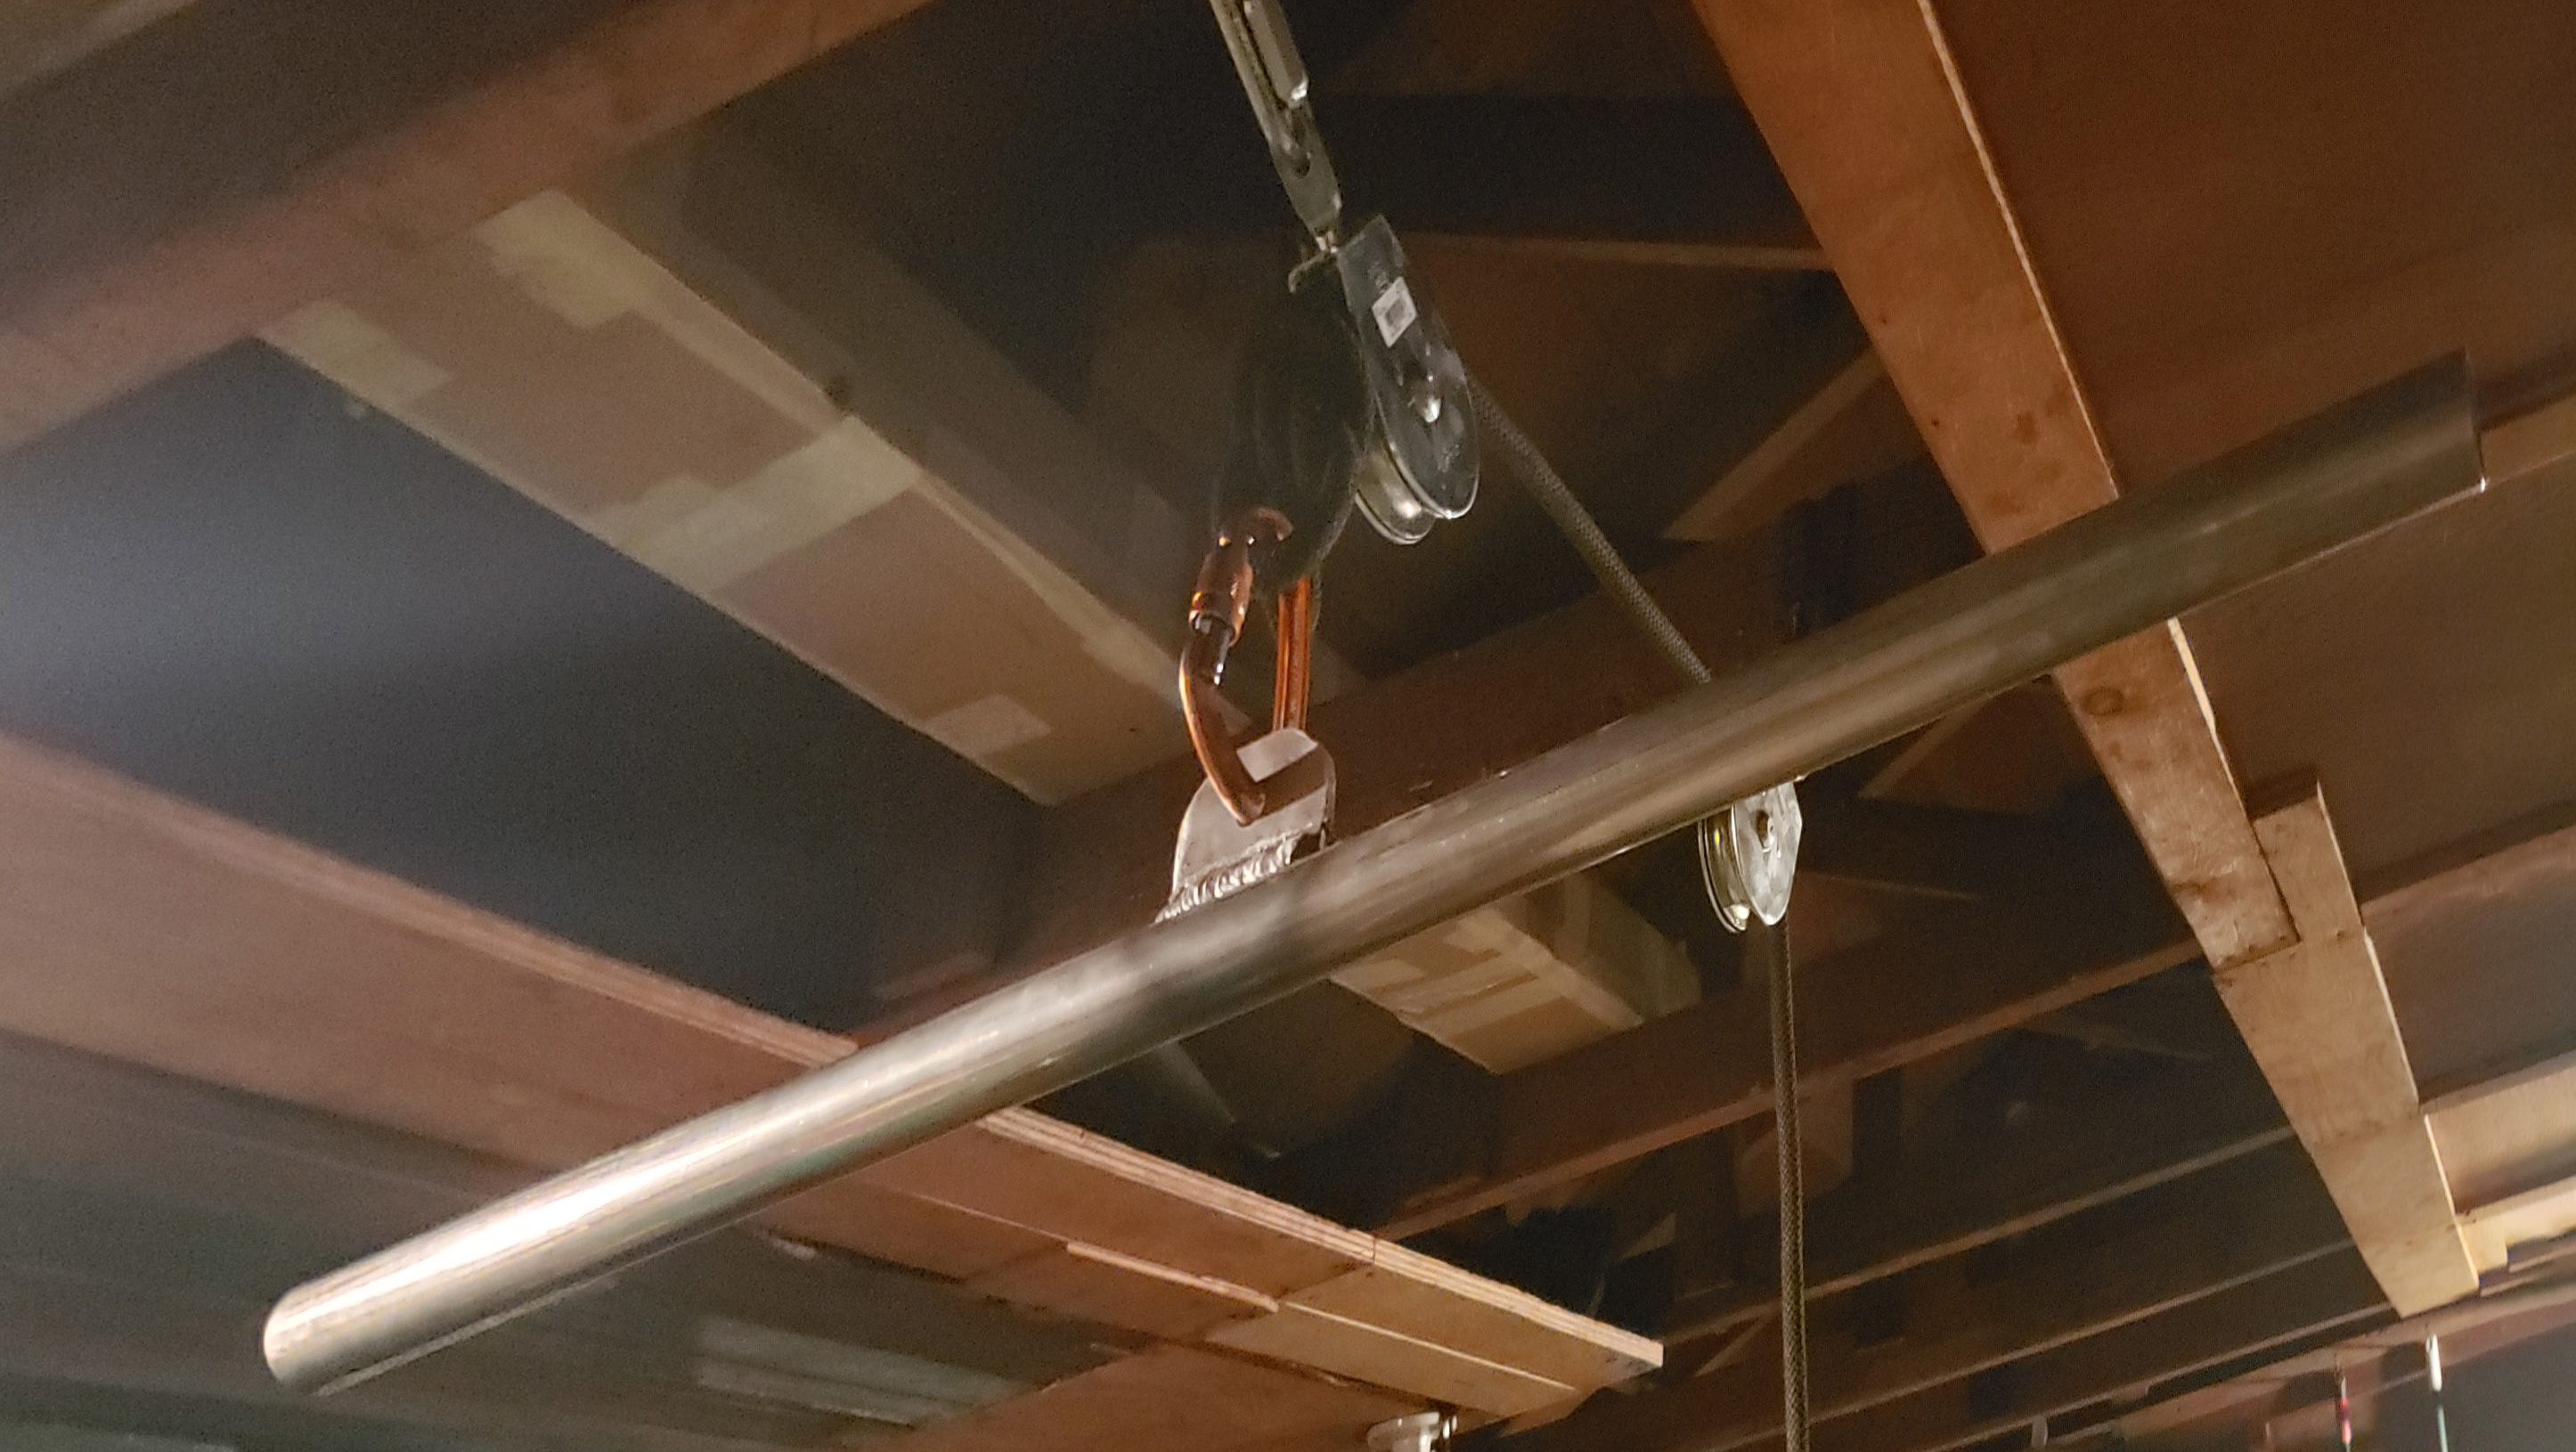
The first step was blocking the cam mechanism which normally holds the curtains in place once you pull them up. Instead, I wanted the motor to have full control over both raising and lowering the curtains.
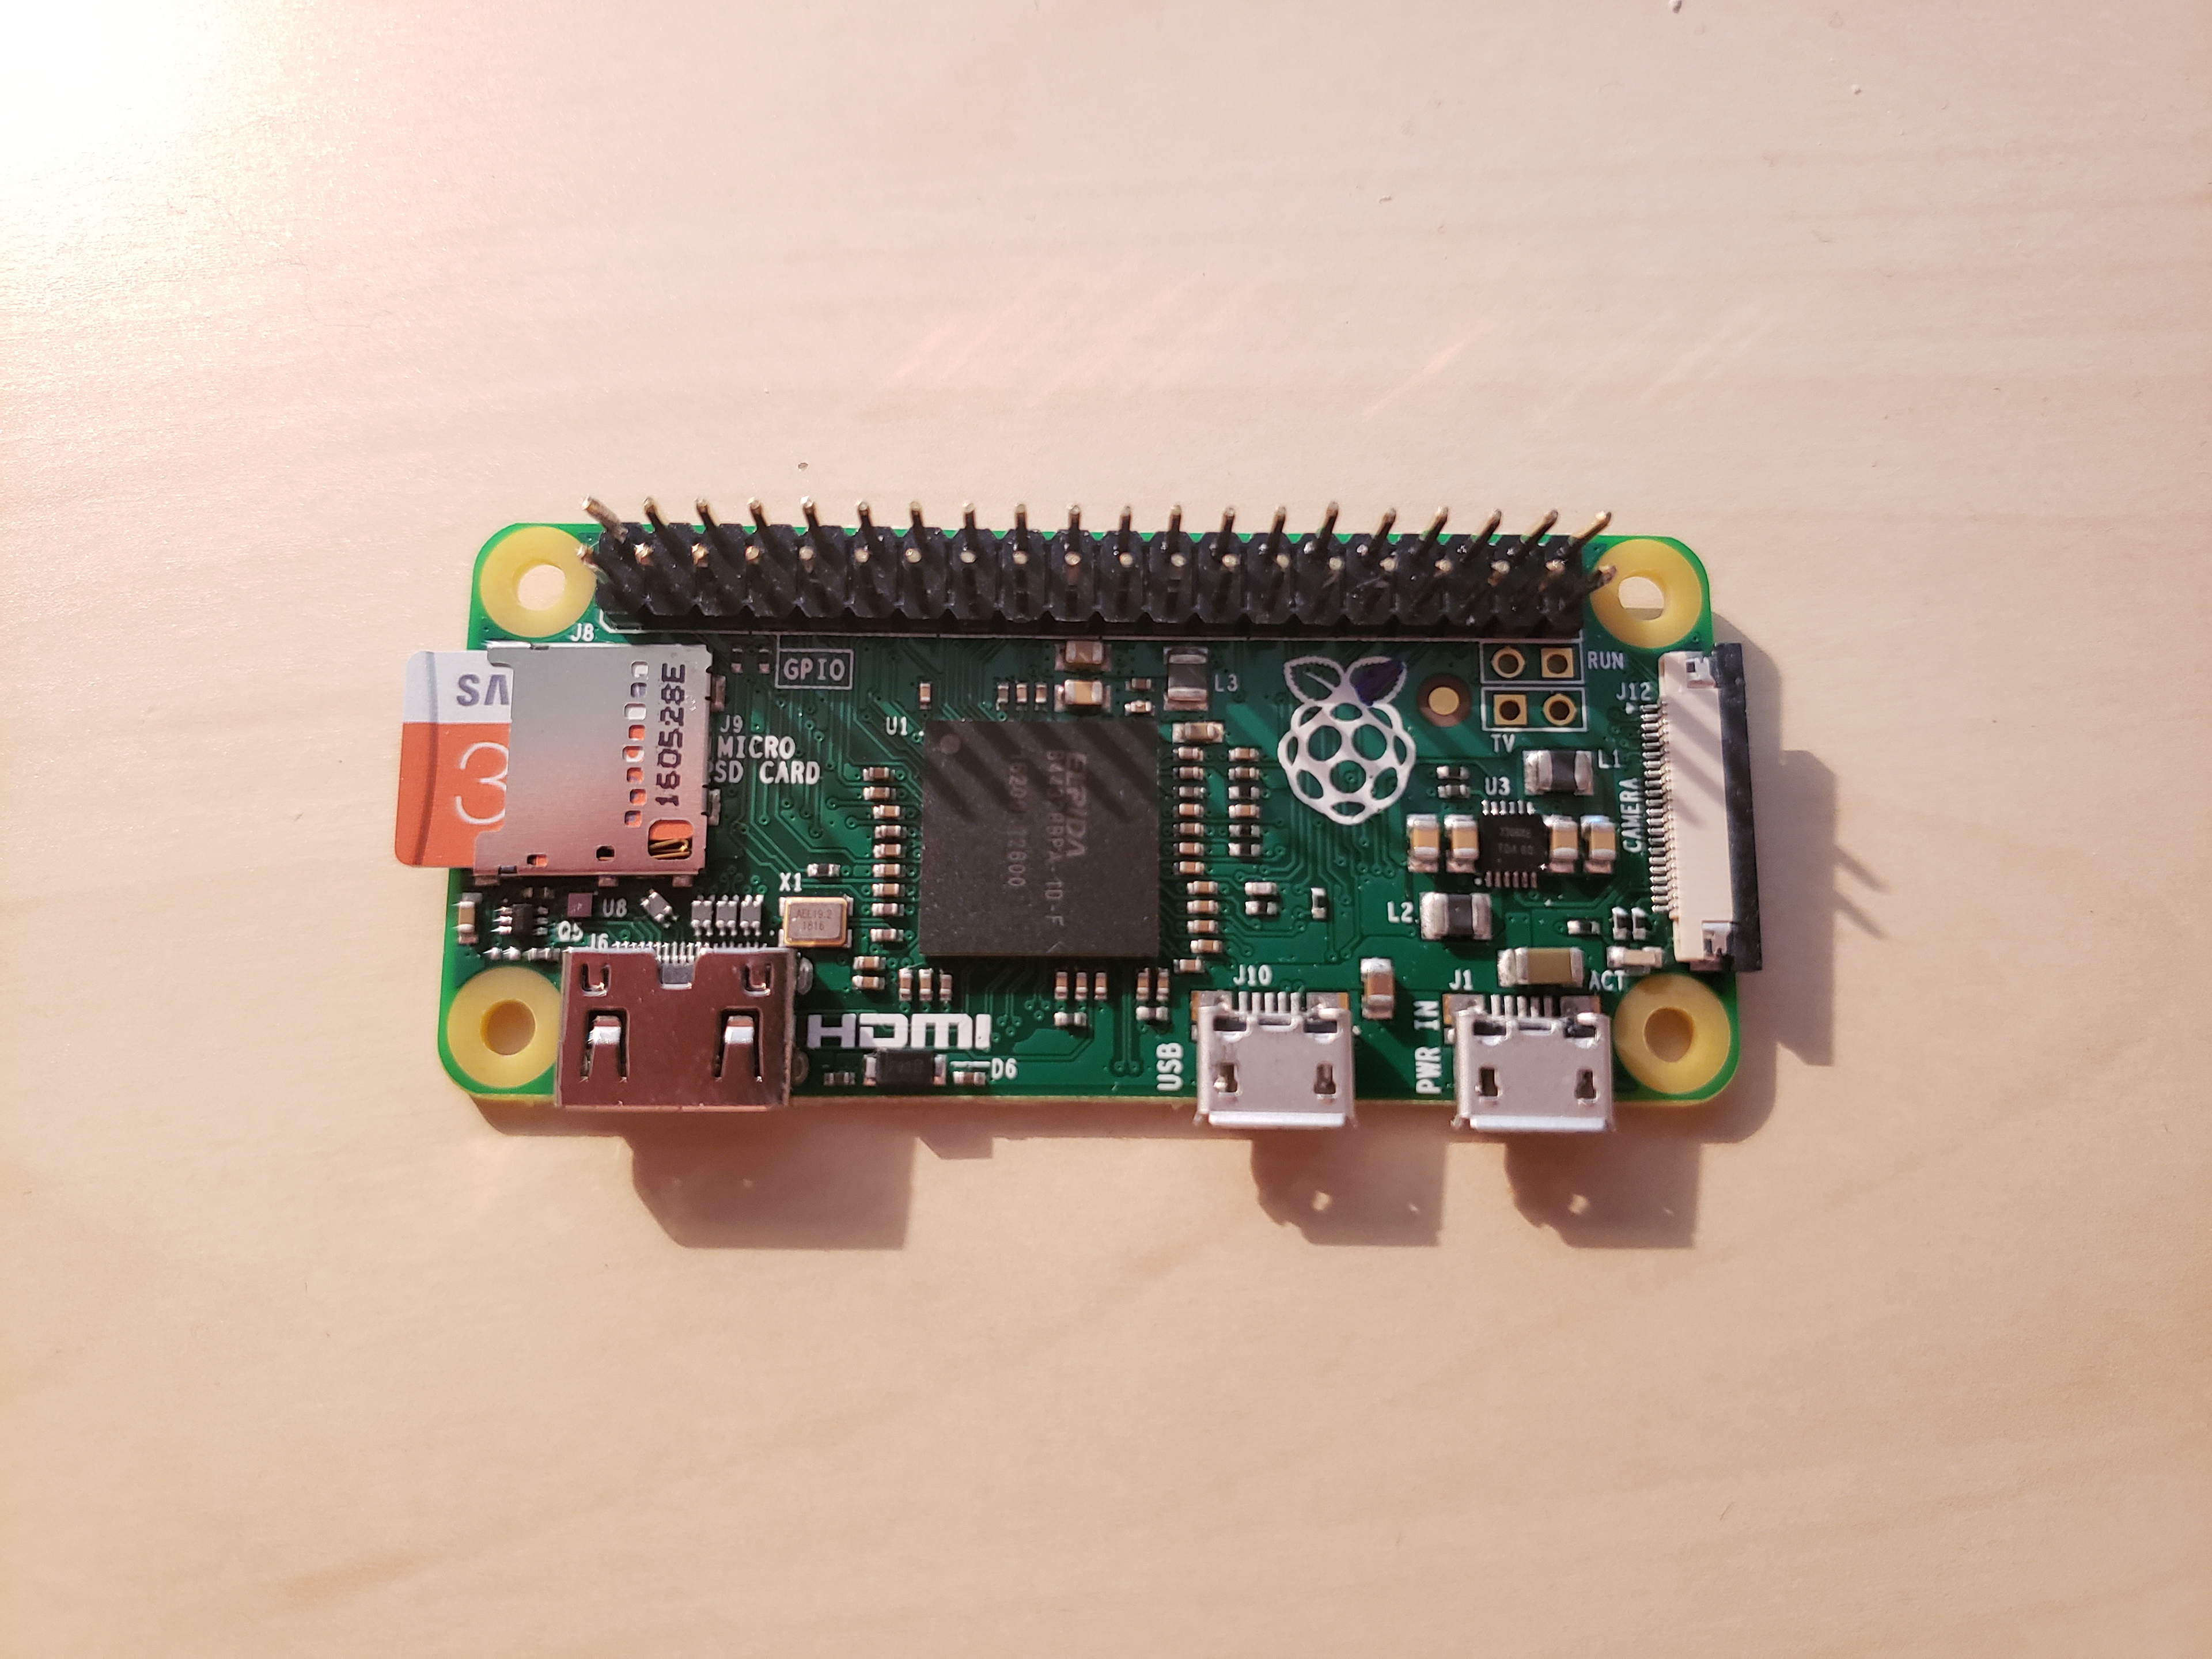
The Raspberry Pi Zero
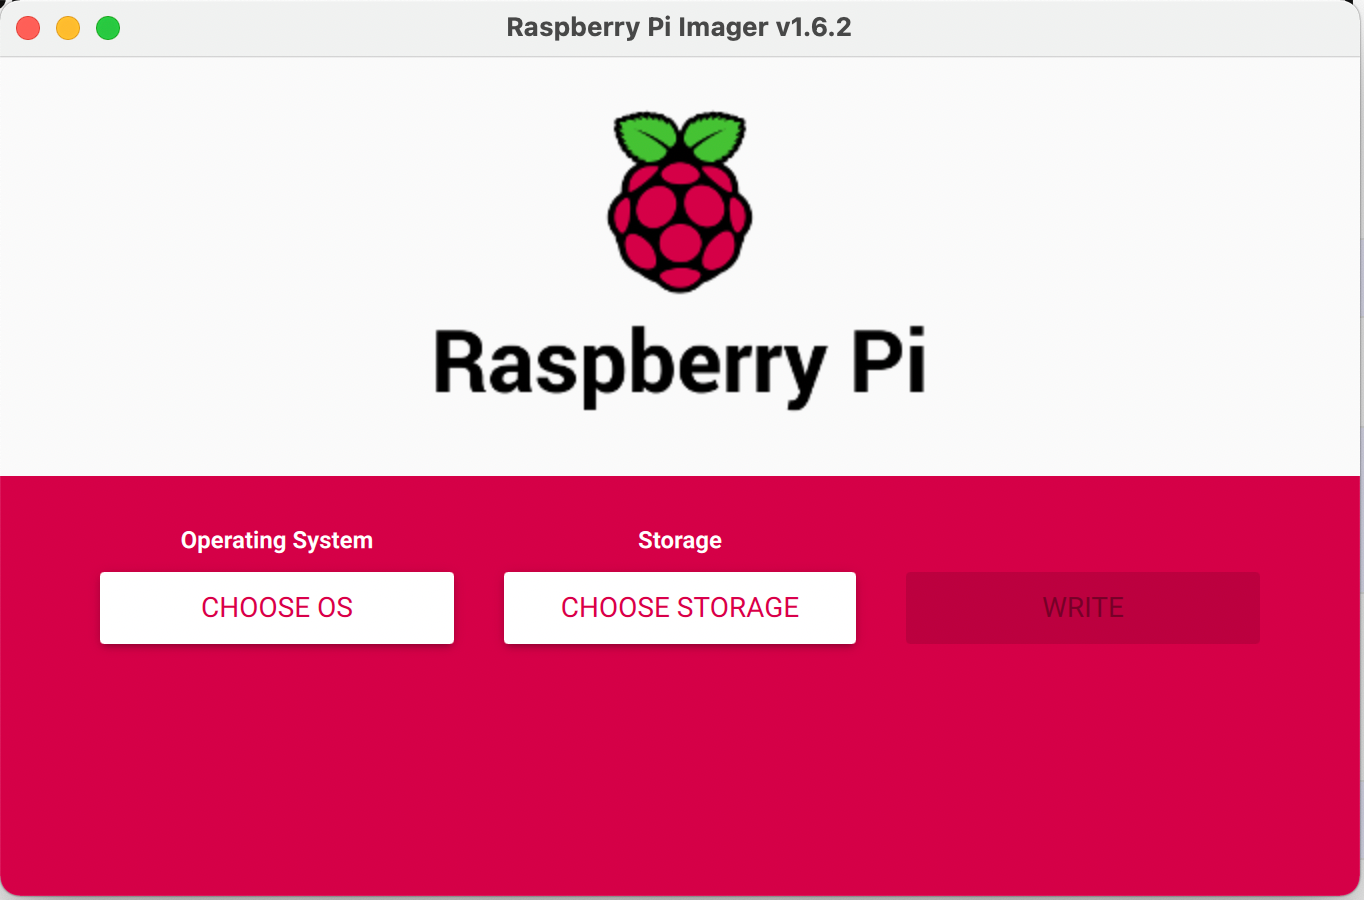
Installing the OS on a MicroSD
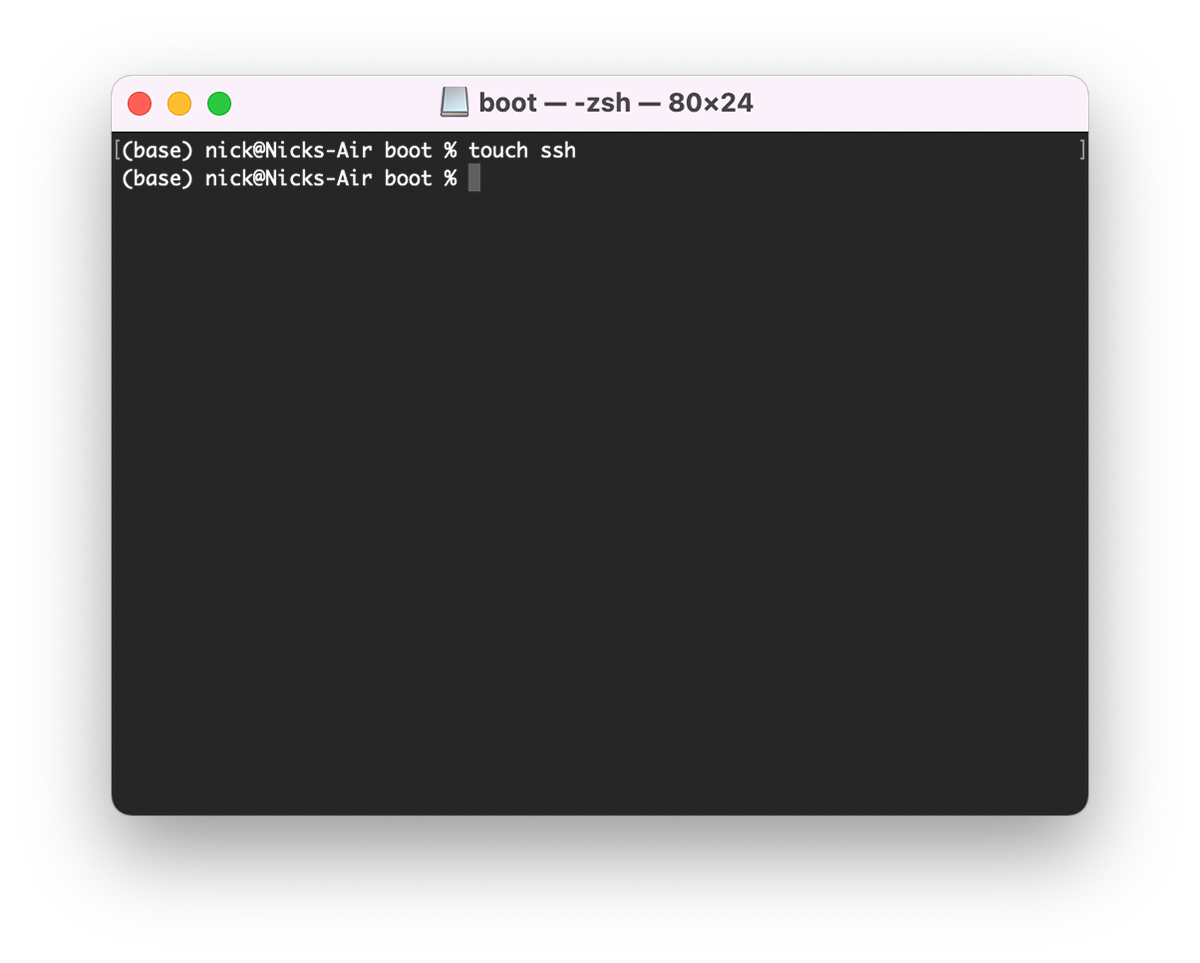
Enabling SSH
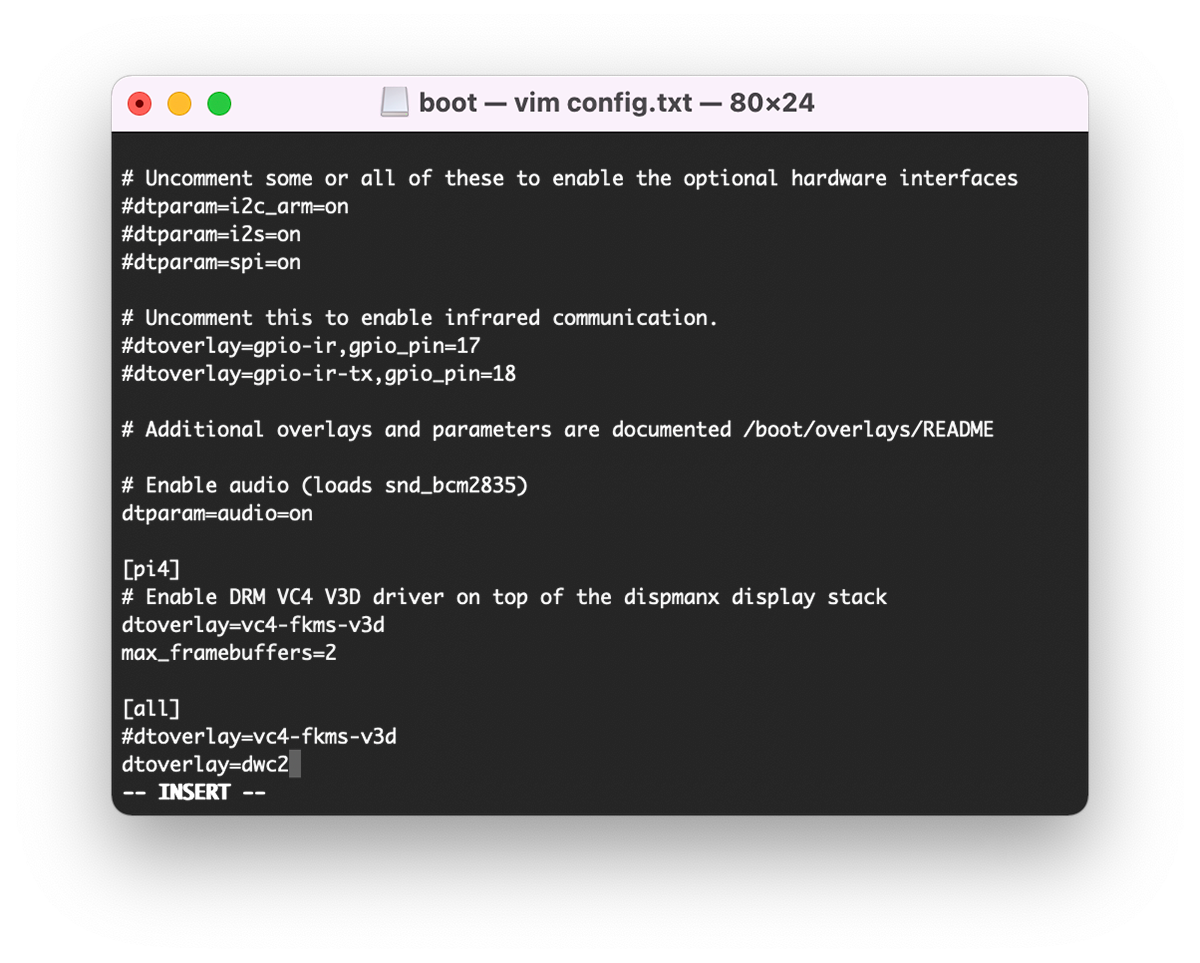
Enabling gadget mode
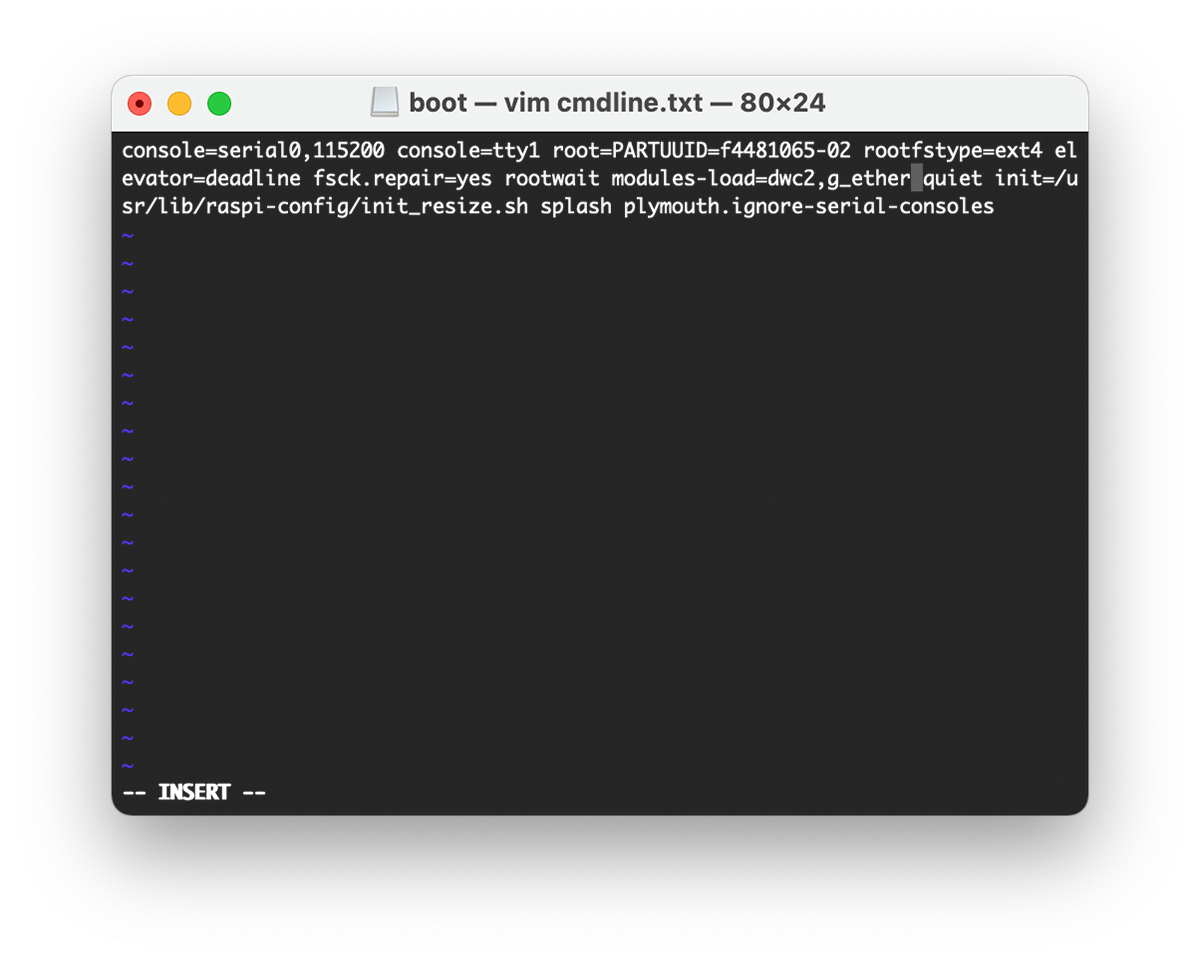
Enabling gadget mode over ethernet
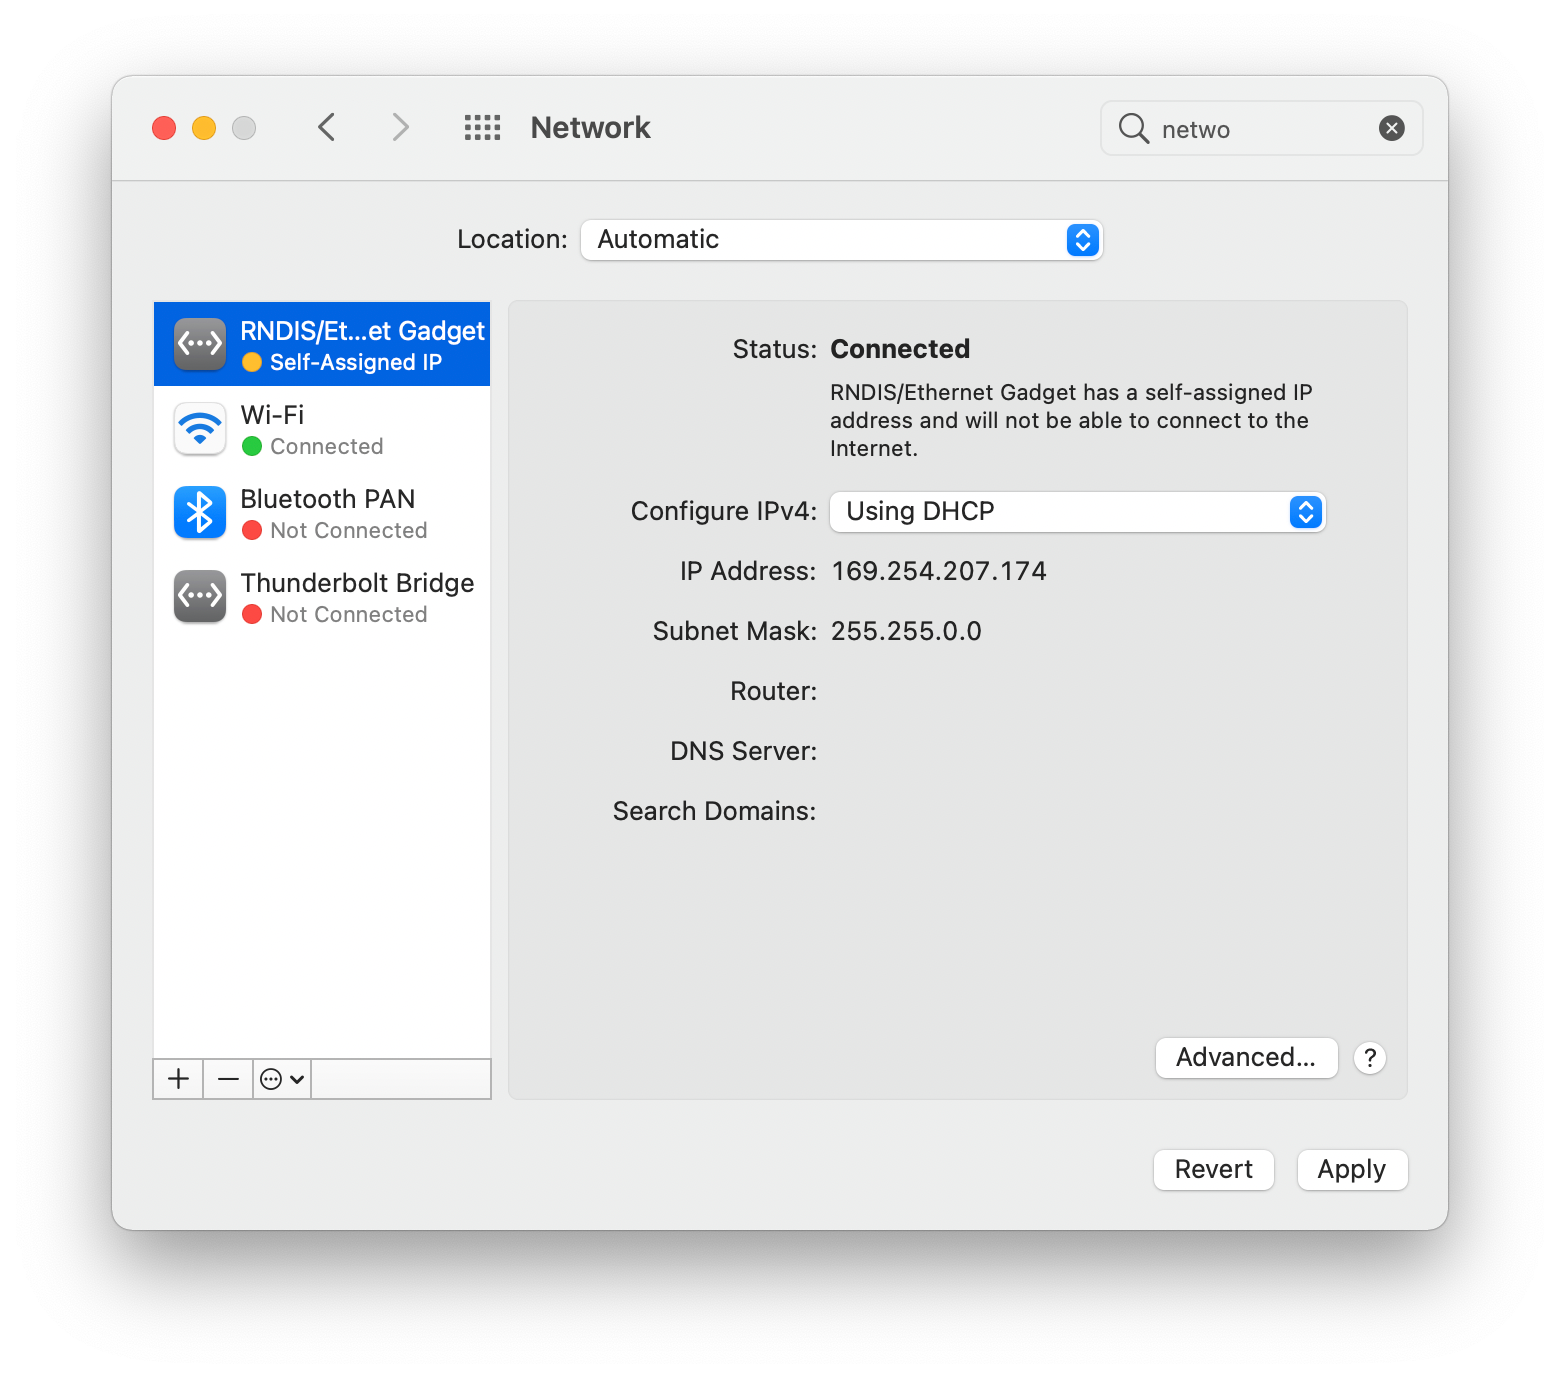
Waiting until the Pi is up
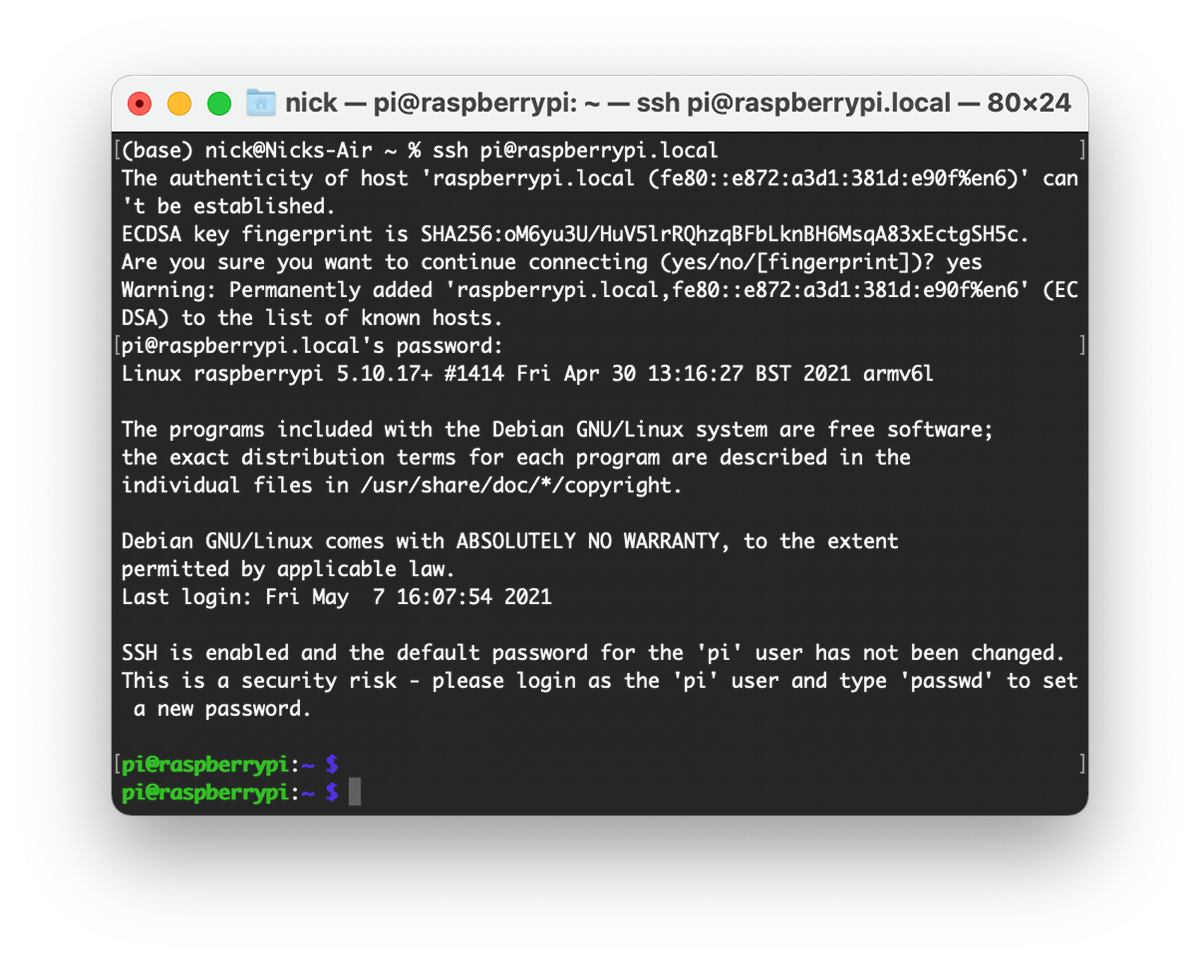
SSH-ing in successfully!
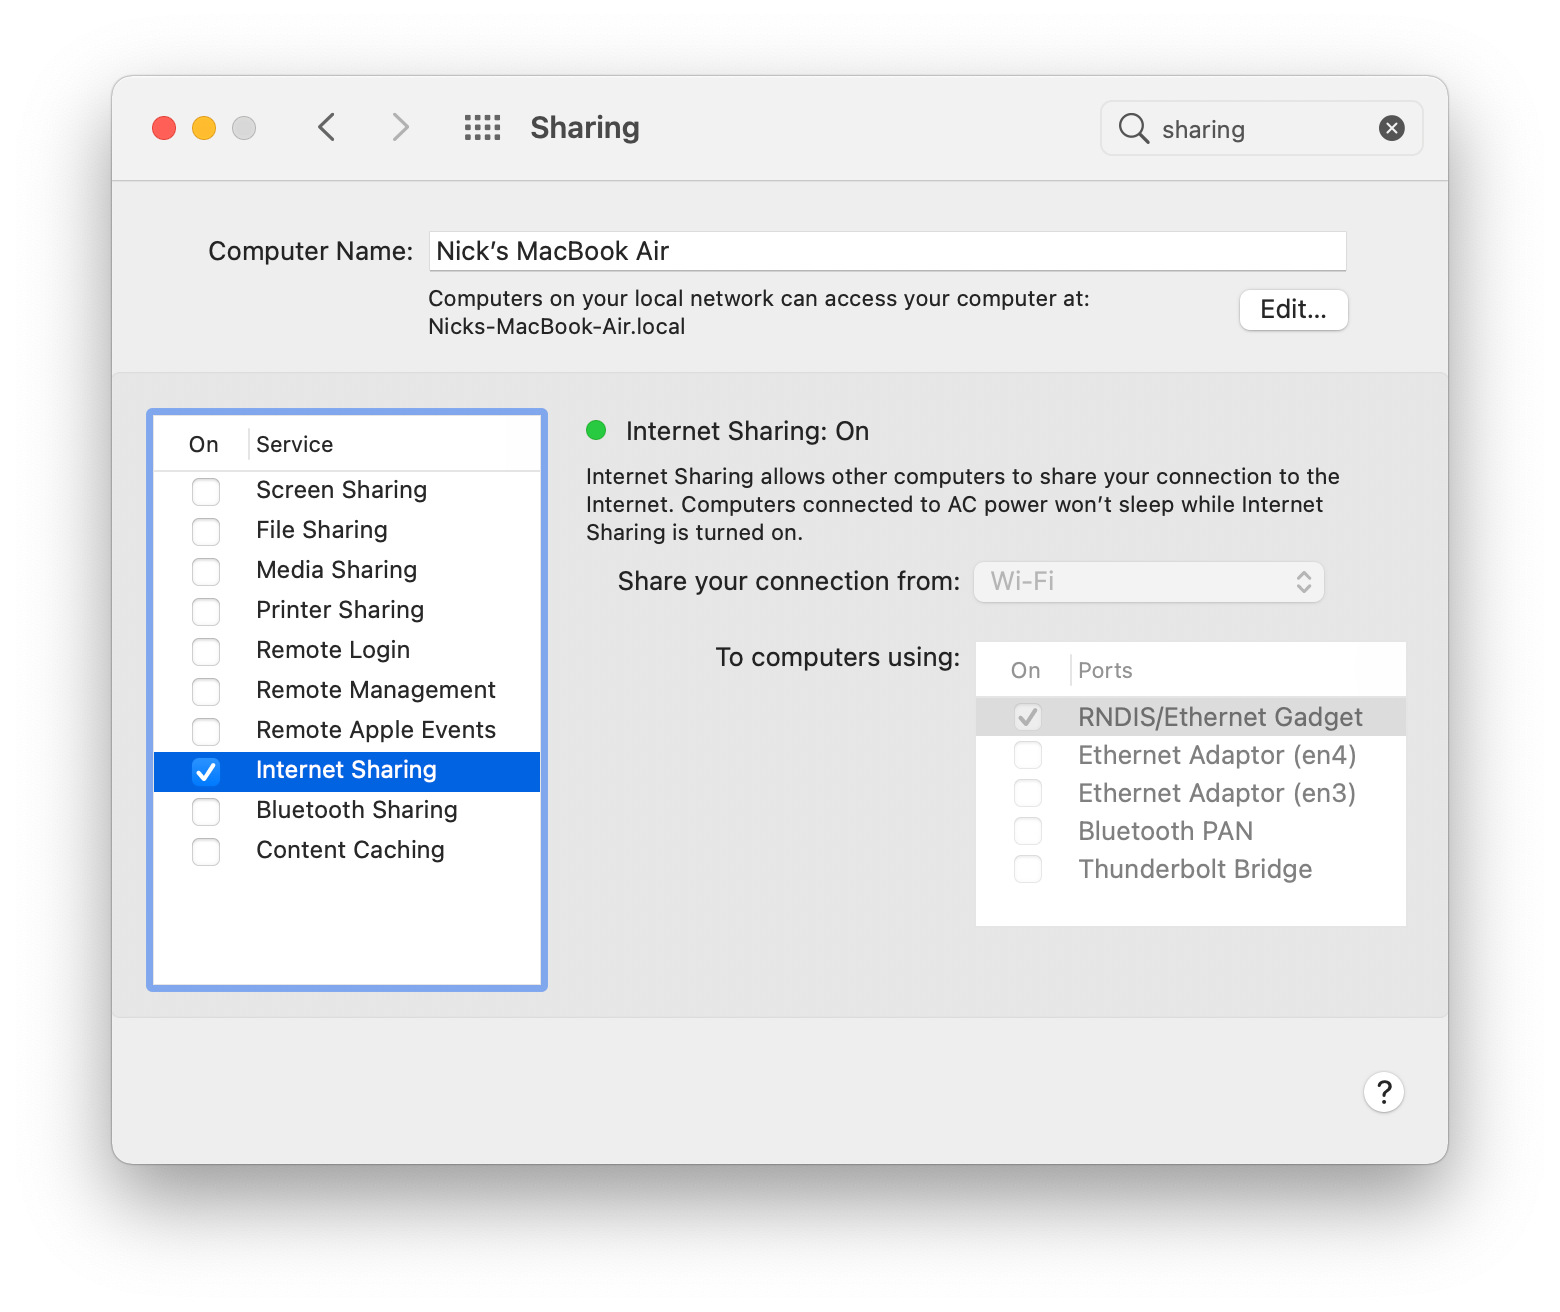
Share internet access with Pi
The next step was getting the Raspberry Pi Zero up and running. I installed Raspberry Pi OS on a MicroSD. Then, I enabled SSH which is disabled by default for security, and enabled gadget mode, which allows the Pi to communicate as an internet device directly over USB with my laptop. Last, I shared my internet connection with the Pi so I could install the necessary packages.
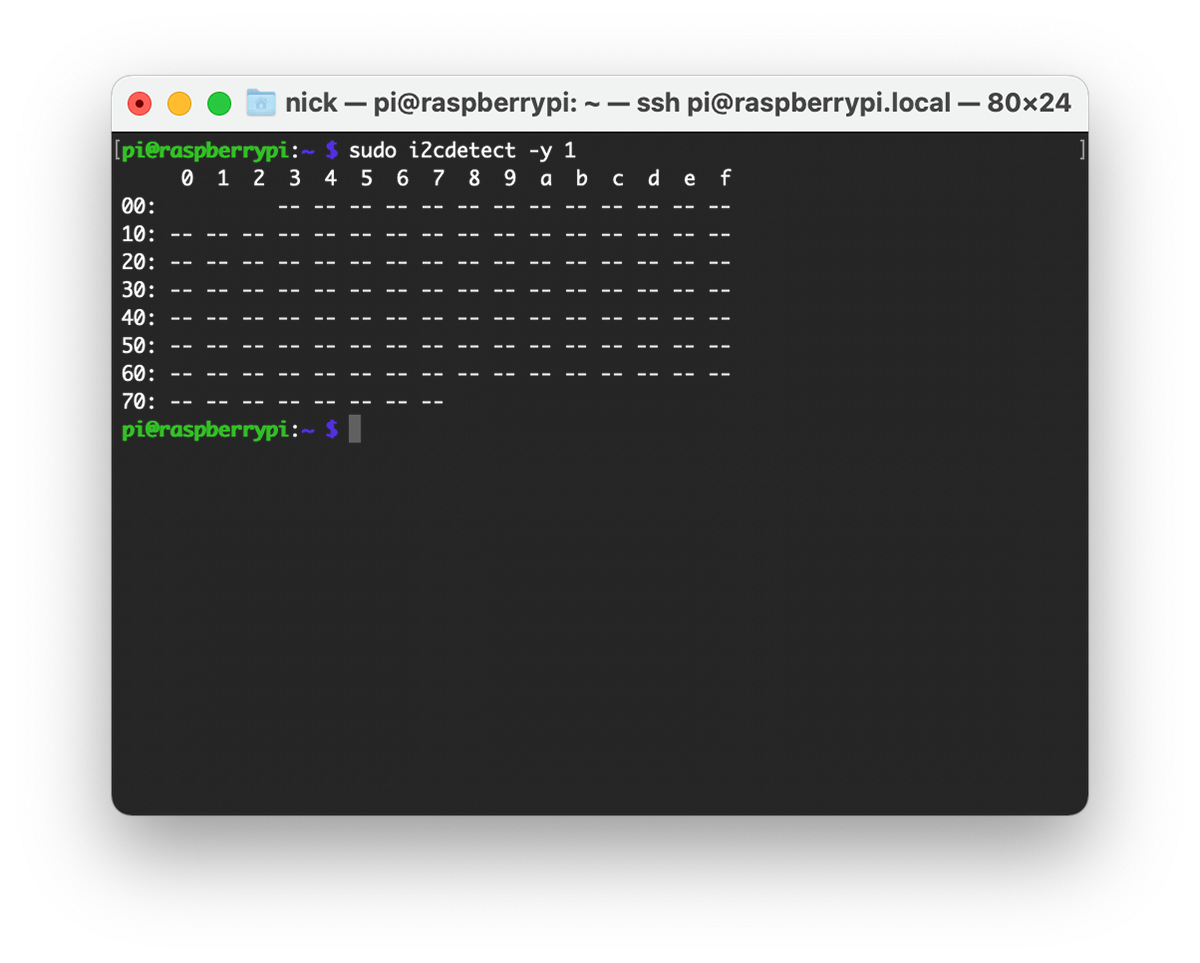
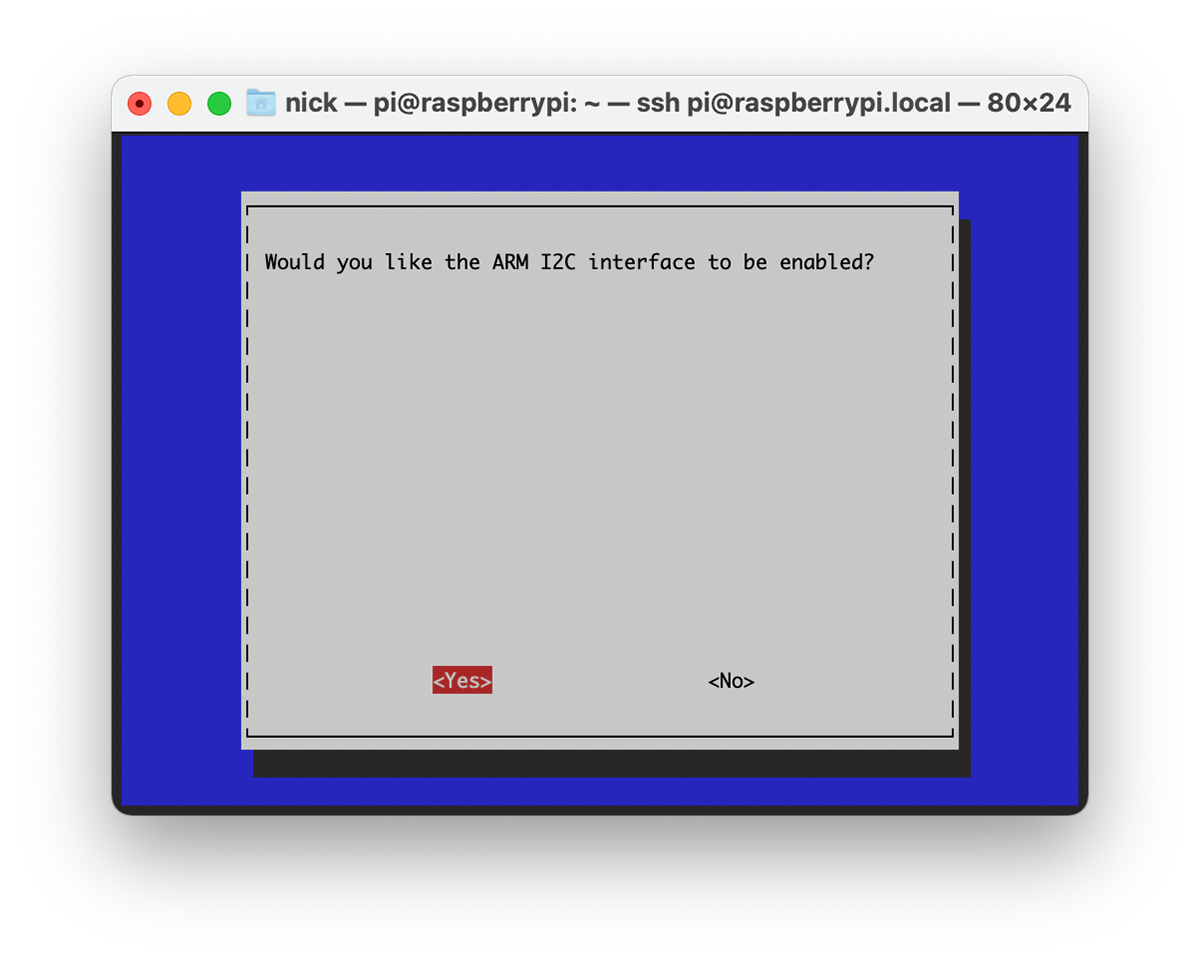
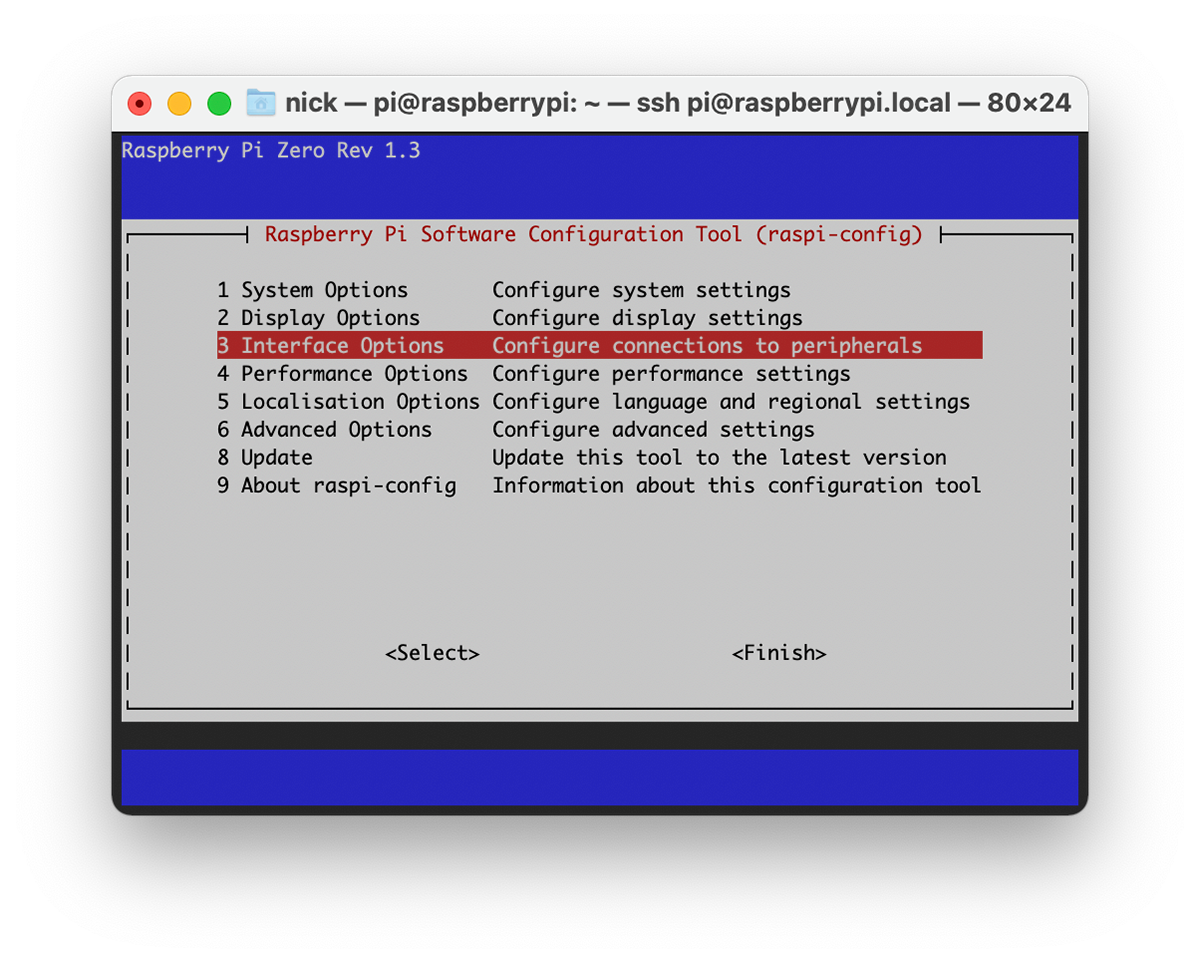
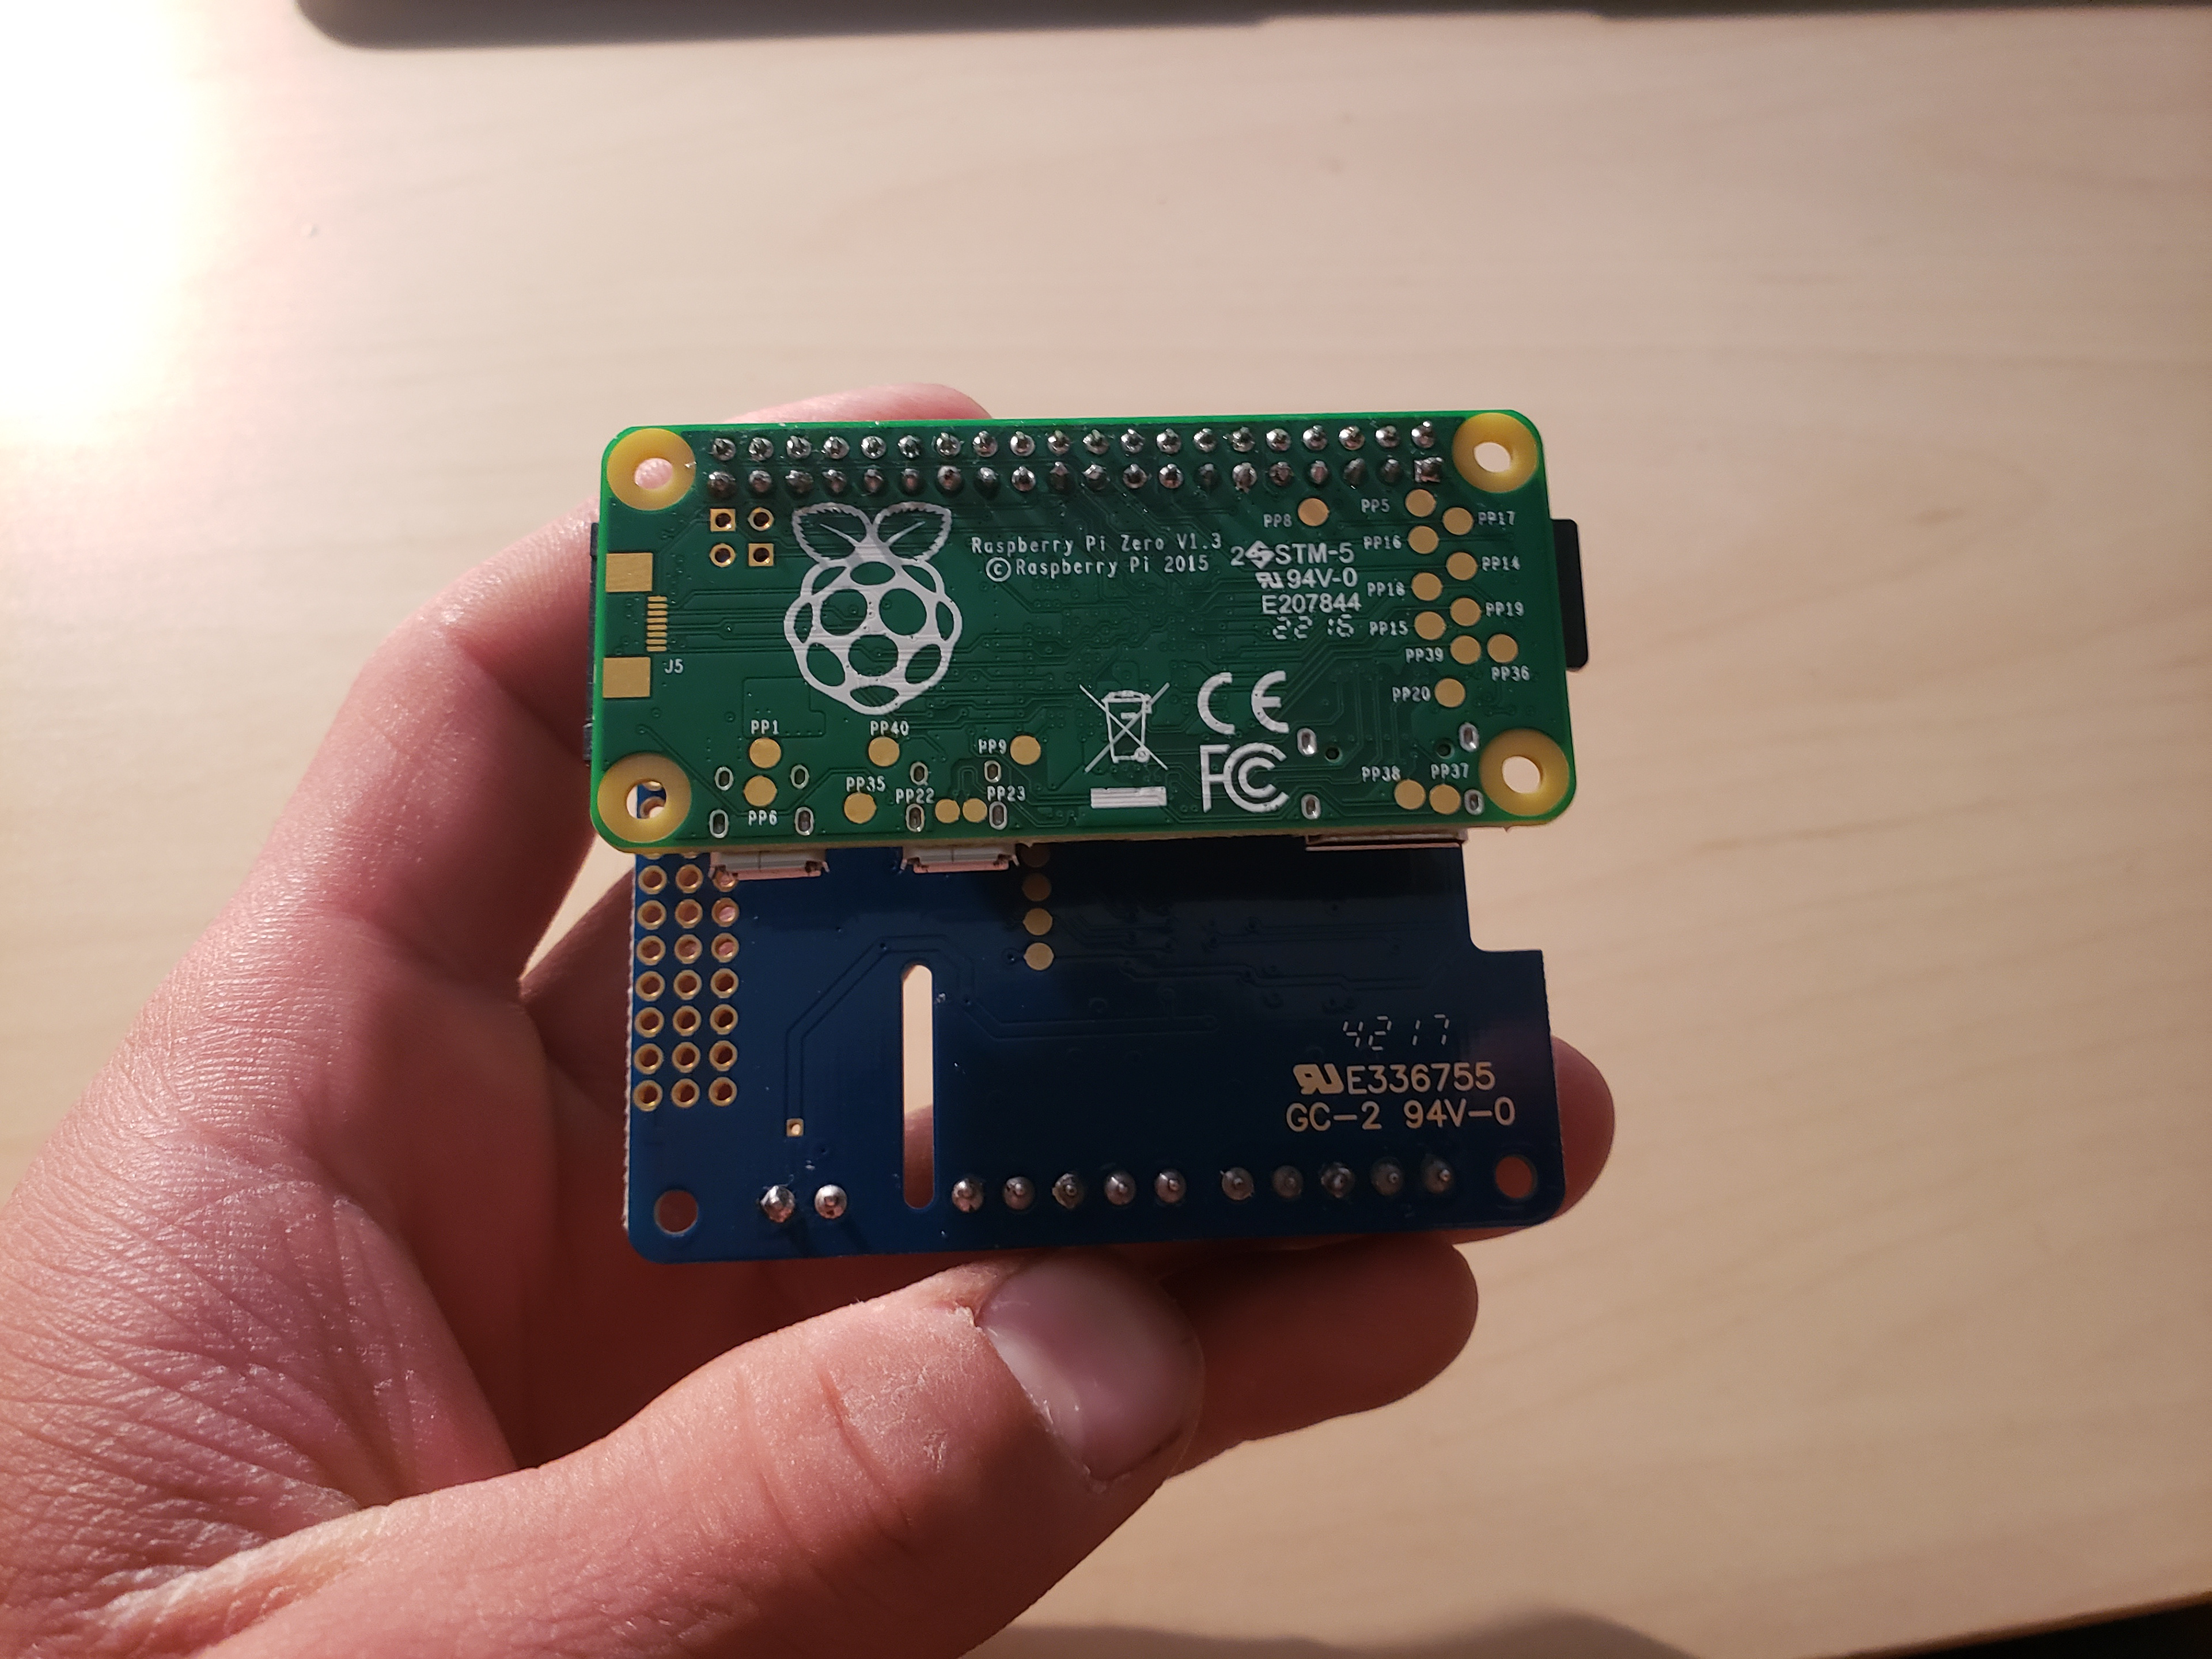
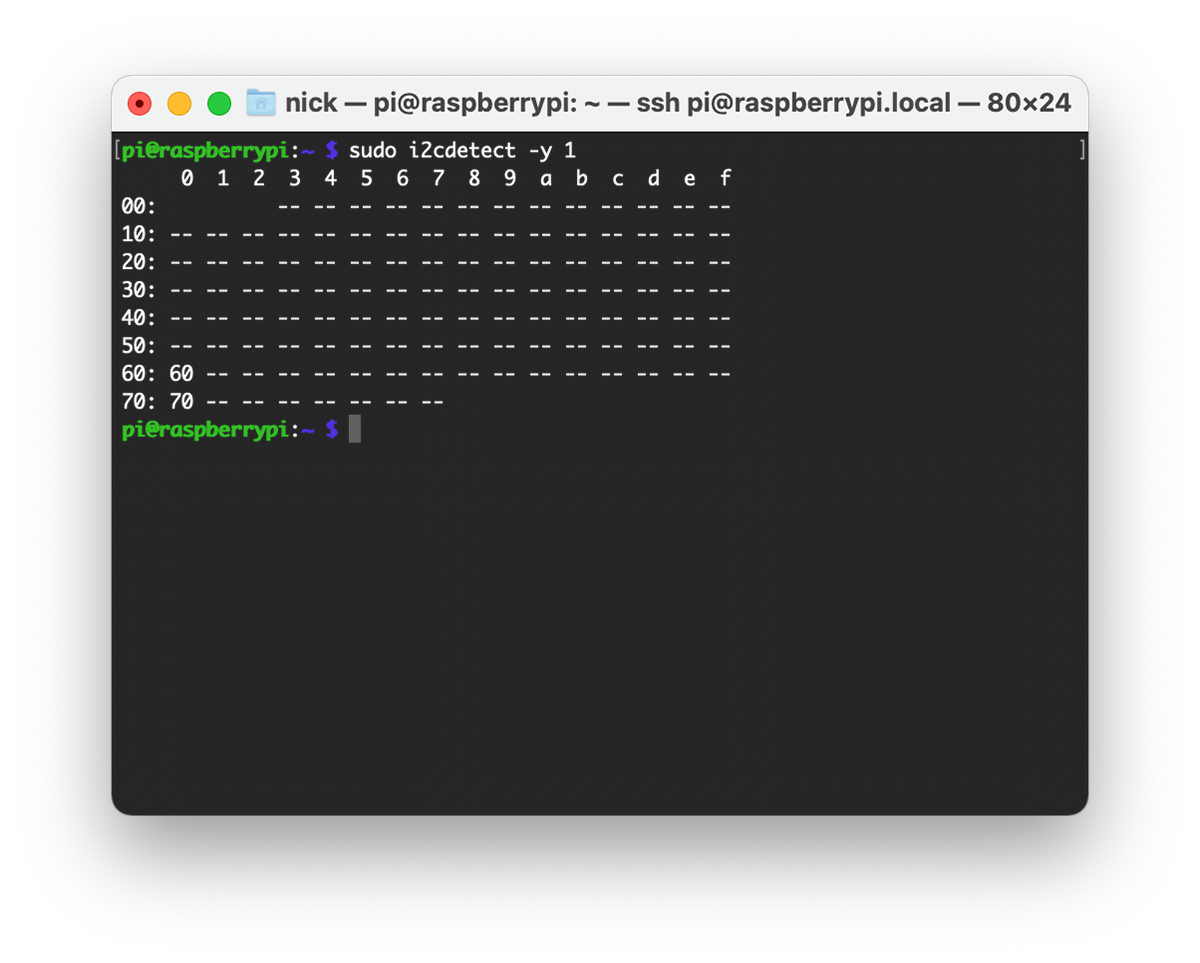
Next was enabling I2C, the serial communication protocol which the Pi uses to communicate with the motor control HAT. Once I2C is enabled using "raspi-config", the Pi is powered off, and the motor control HAT connected, the HAT appears on I2C addresses 60 and 70.
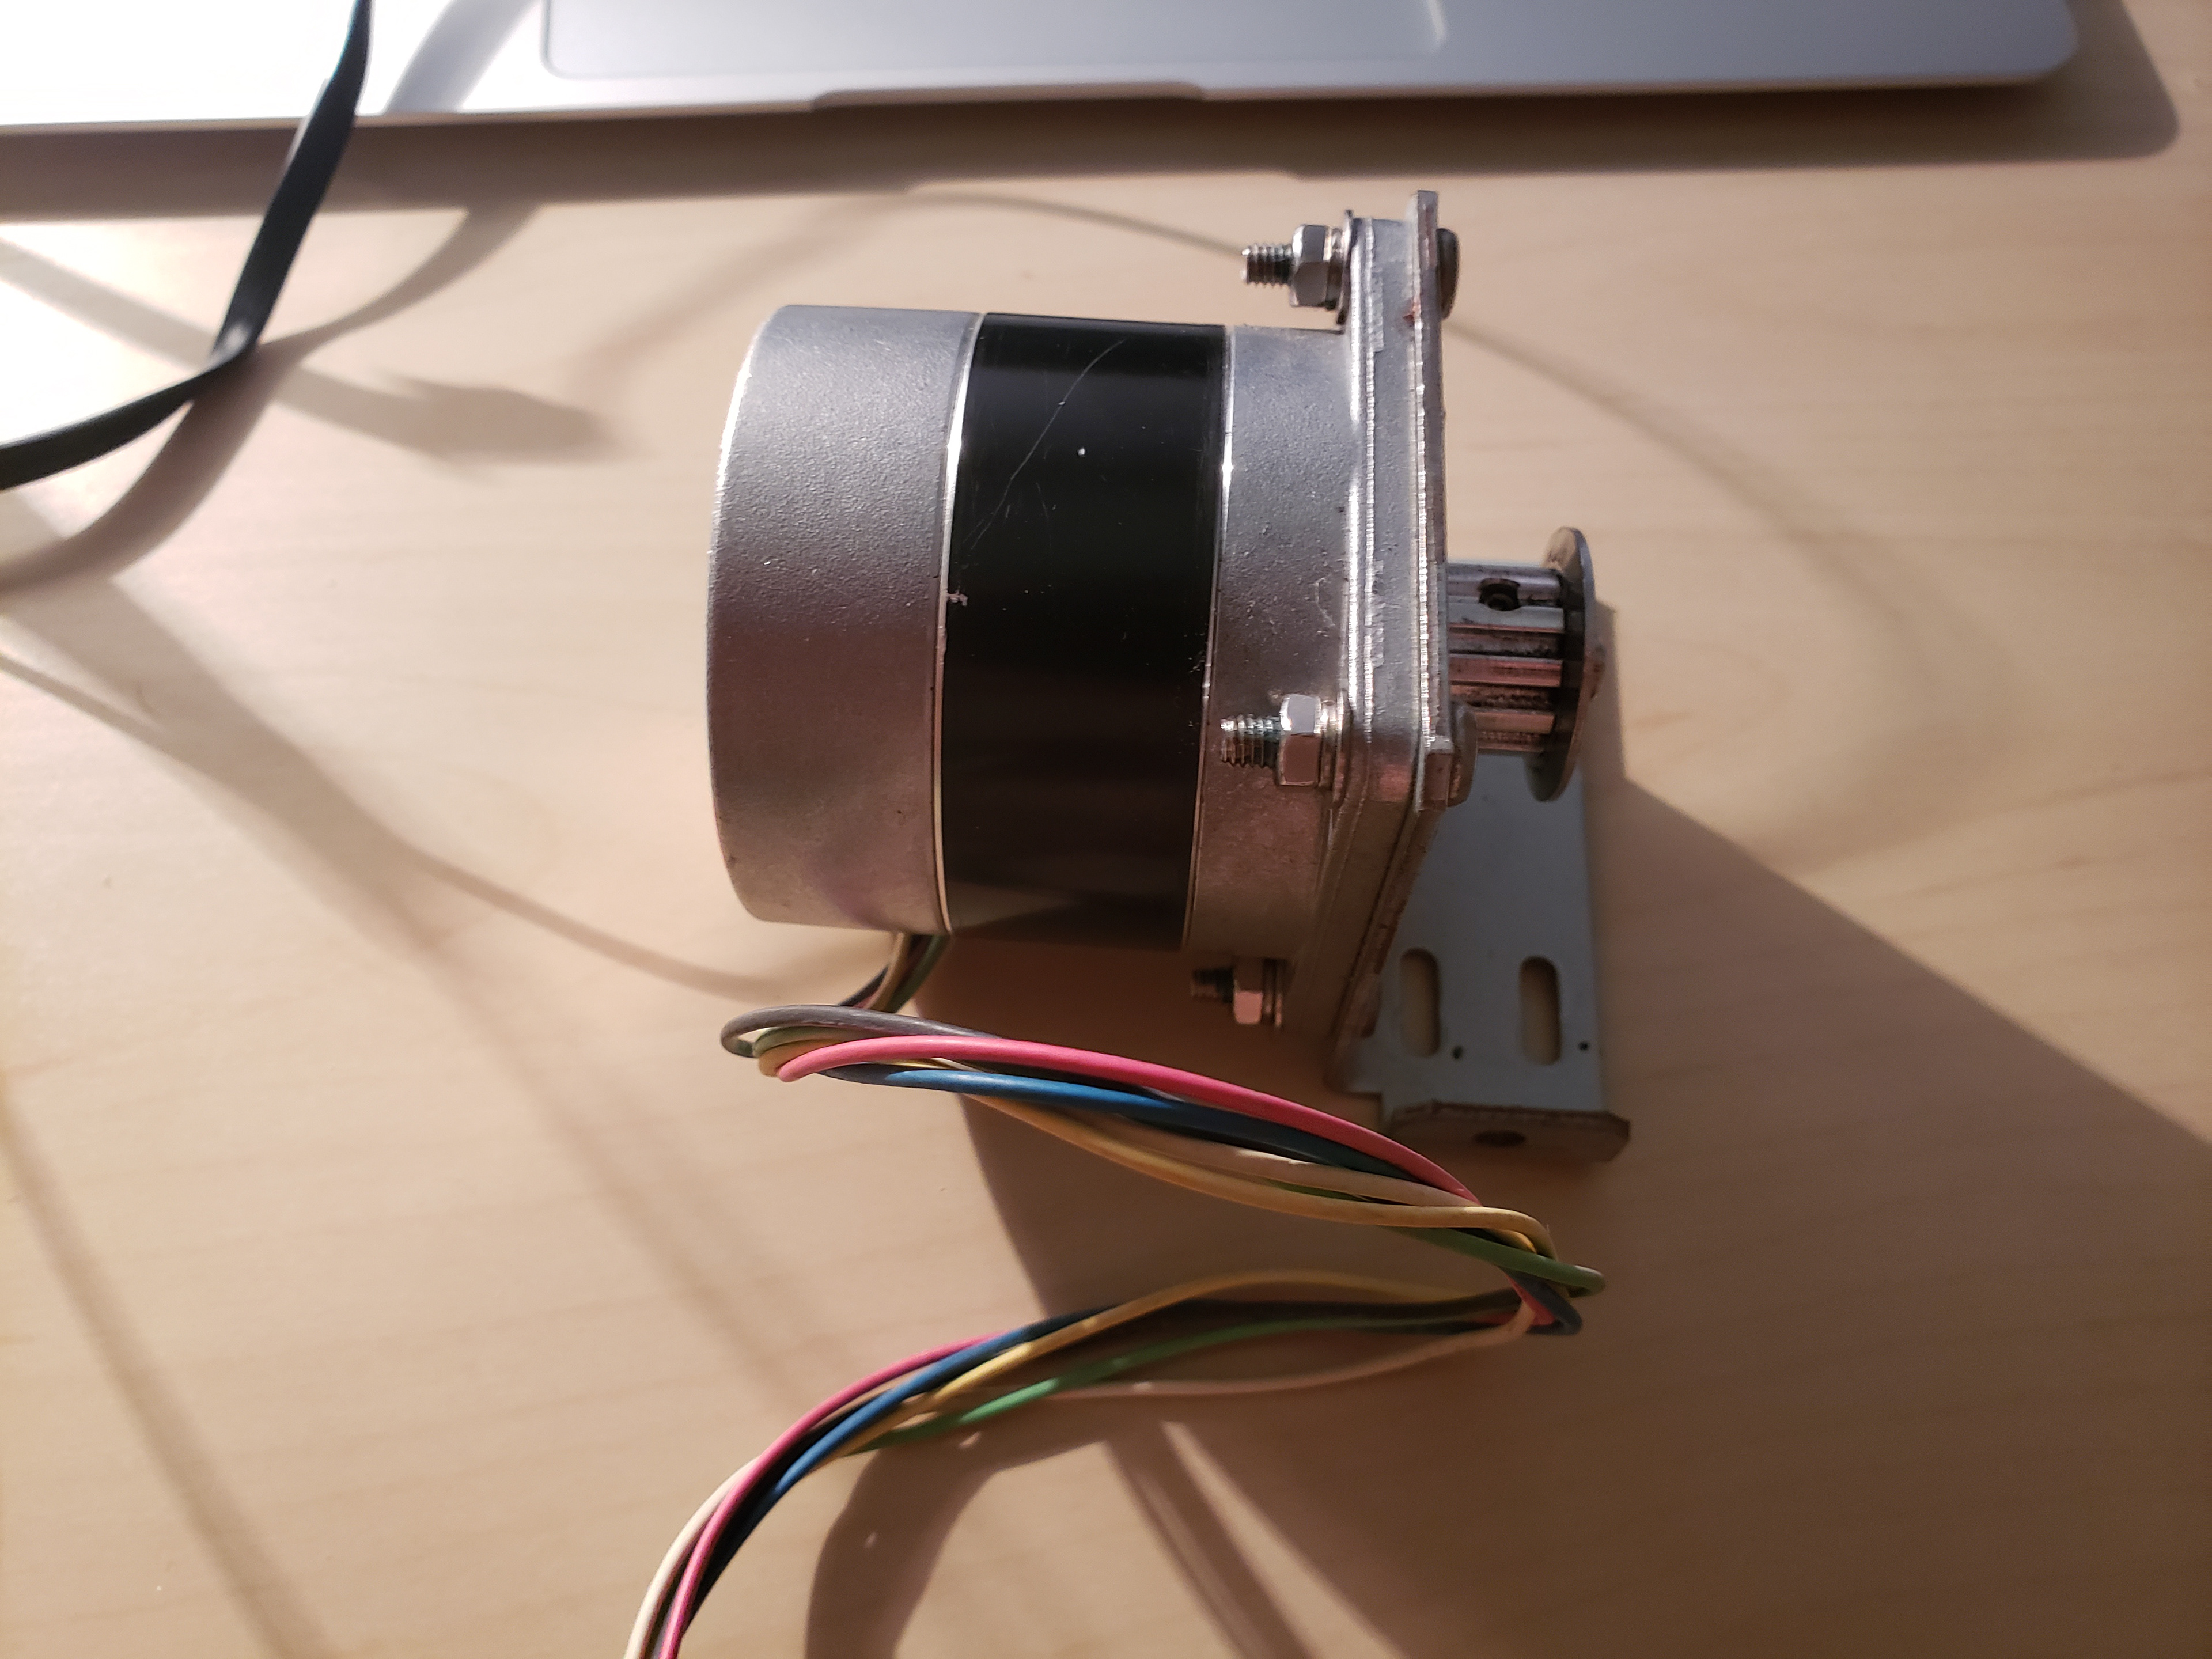
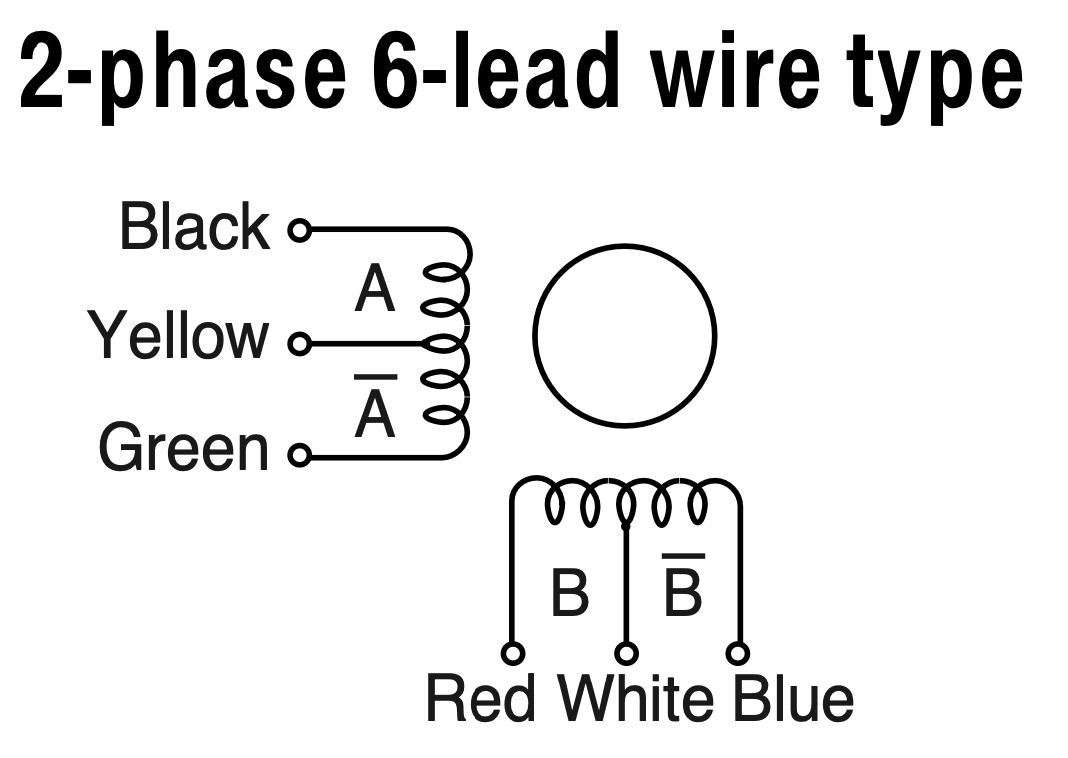
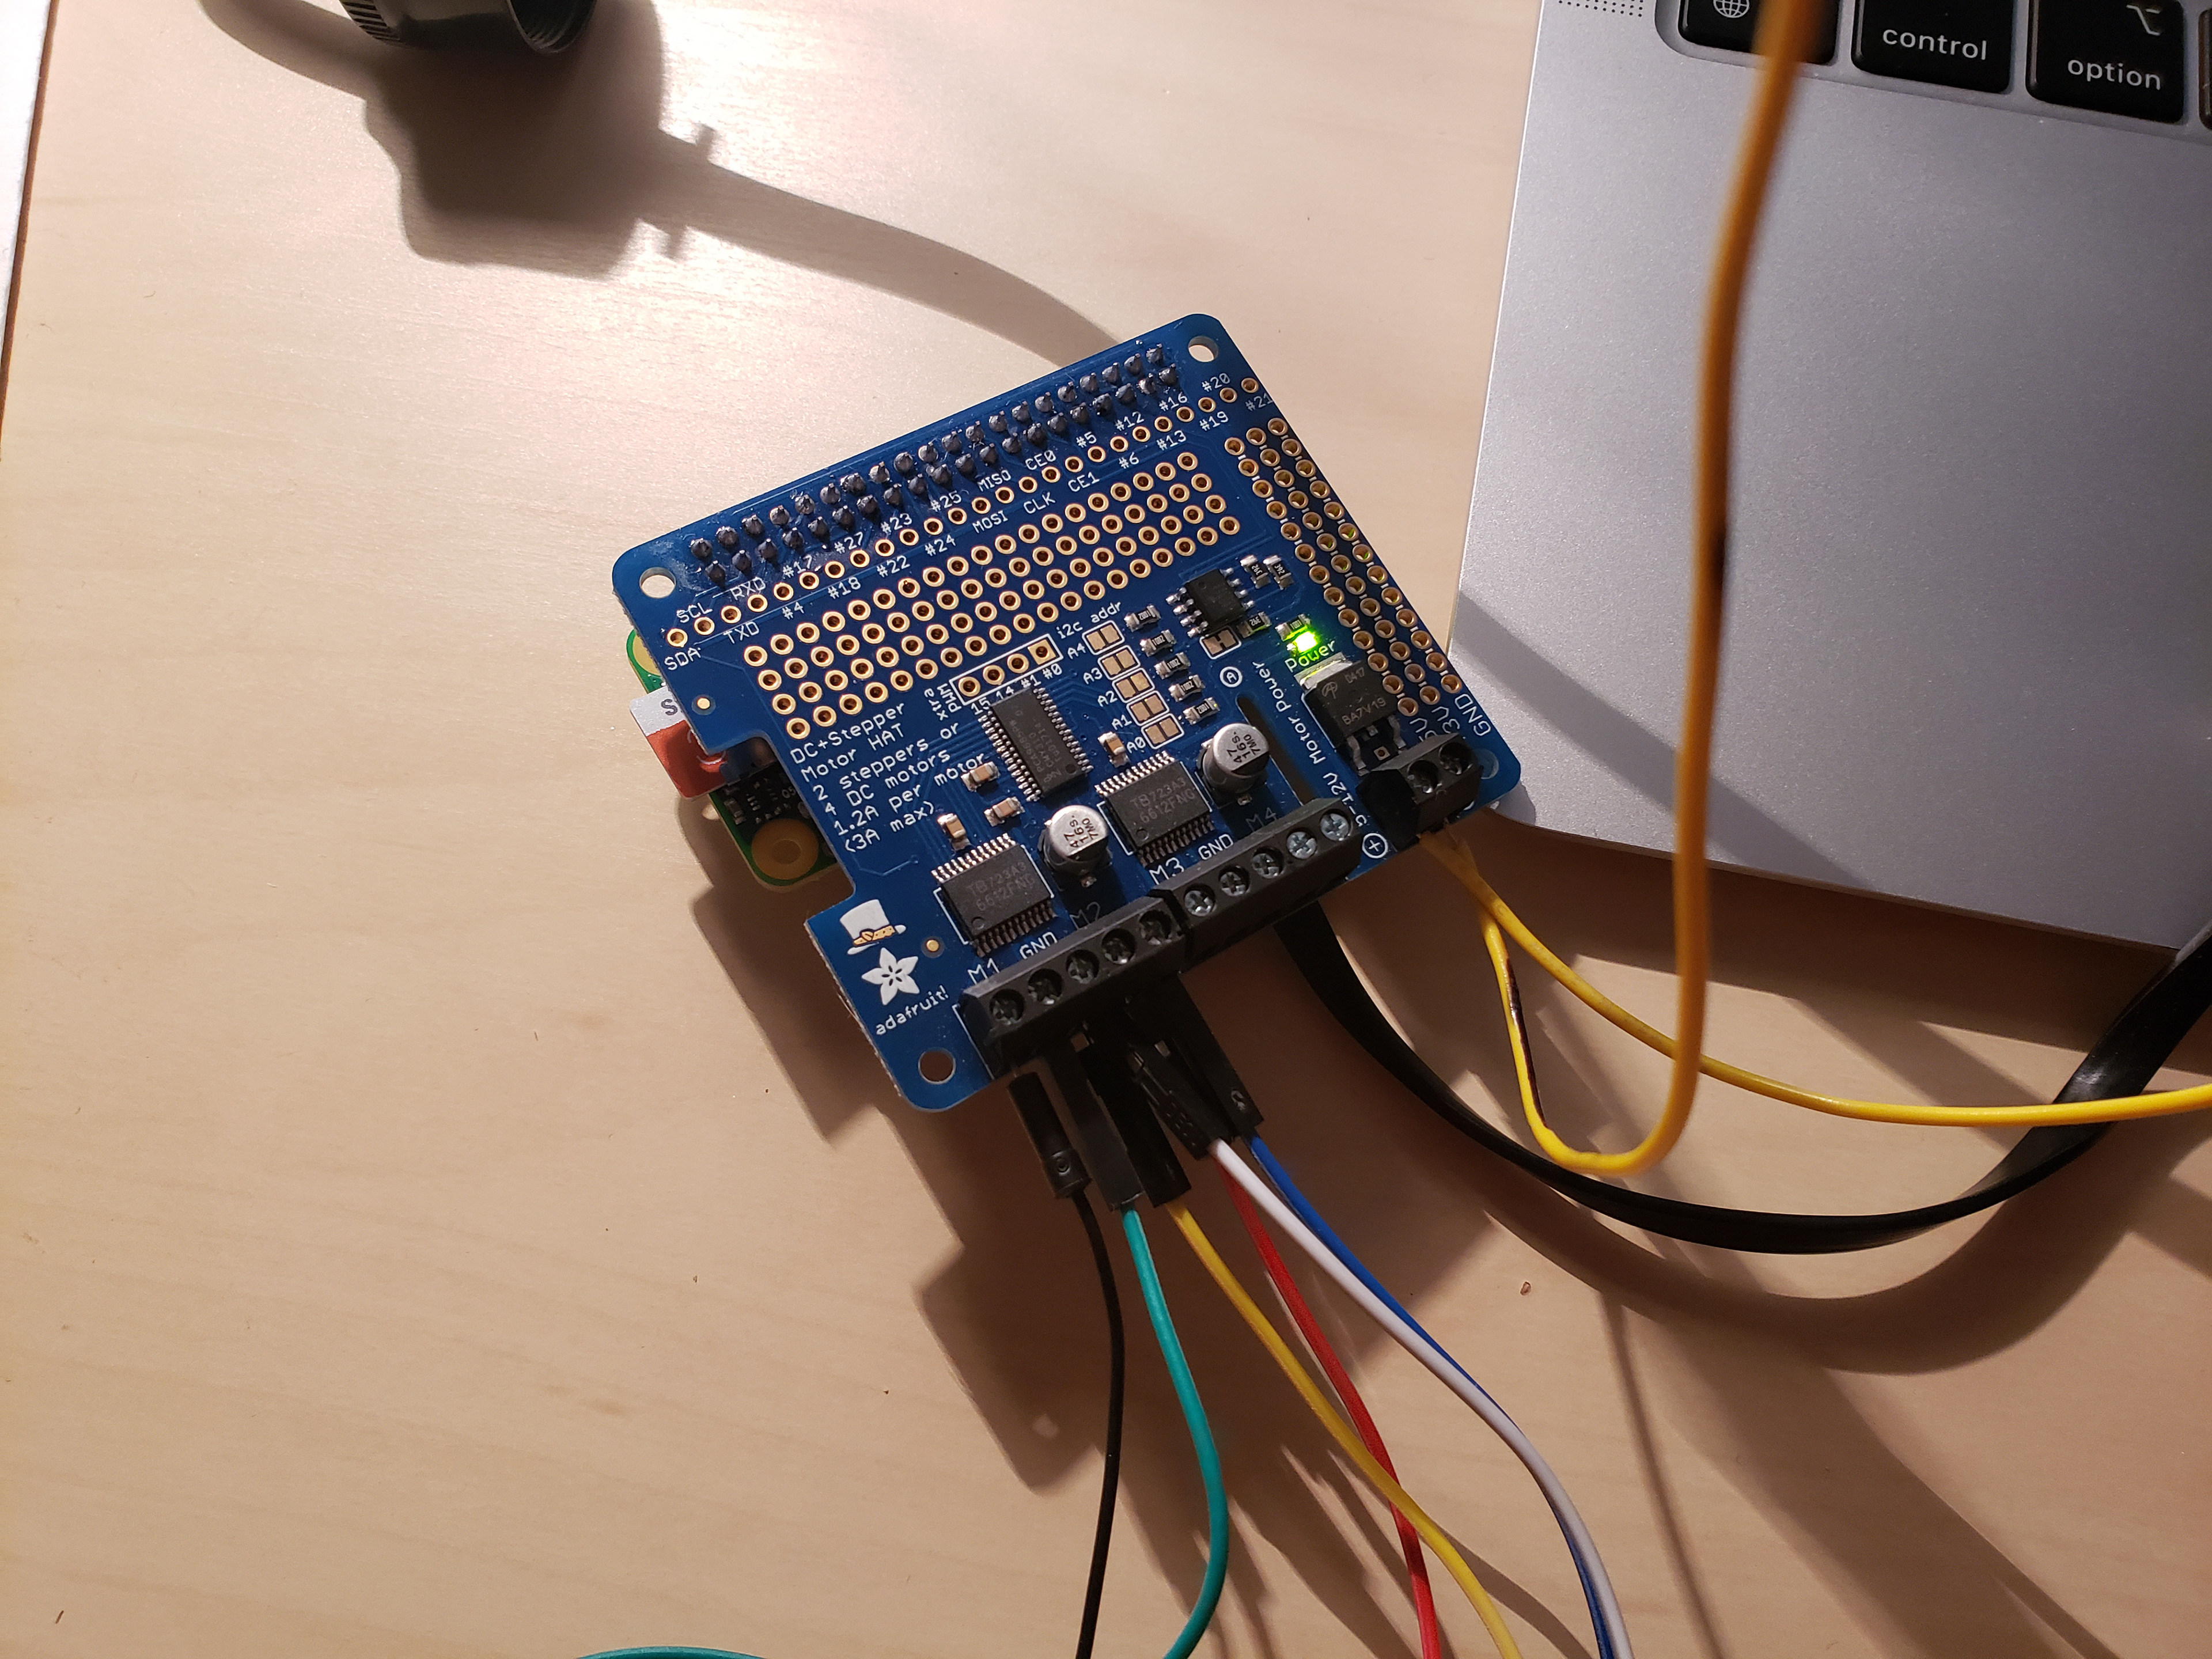
The stepper motor I used was a Vexta PH266-02 bipolar stepper motor. I found the data sheet for the motor and wired it accordingly to the motor controller.
Stepper motor up and running!
The stepper motor was not powerful enough to lift the curtains, so I initially tried using a counterweight. I found that due to the friction in the system, when the motor attempted to lower the curtains the curtains would not lower.
I also tried using two stepper motors, but ultimately decided to use a pulley system instead so I could use a single stepper.
The system in action.
